Ever wondered if your house has a secret story to tell? What if you could see through the walls and find hidden water leaks, cold drafts, or even electrical hazards before they turn into full-blown disasters?
That's pretty much what a thermal imaging house inspection lets you do. It's a game-changing, non-invasive technology that translates heat signatures into a visible picture, giving you an unprecedented look into your property's true condition.
Seeing Your Home's Hidden Story with Thermal Imaging

Think of it like getting a weather map for your house. Meteorologists use color-coded maps to show temperature variations across a region, right? A thermal camera does the exact same thing for your home. It creates a "thermogram" where different colors represent different surface temperatures.
A cool blue spot on an otherwise warm, yellow interior wall could be a dead giveaway for a hidden water leak. A bright red area around a circuit breaker? That might signal a dangerous electrical overload that's invisible to the naked eye.
Why This Technology Is a Game Changer
This approach has become essential for any serious property assessment. The old way of finding problems might have involved cutting into drywall or pulling up floorboards. A thermal scan, on the other hand, lets an inspector pinpoint trouble spots without causing a single bit of damage.
It’s a proactive diagnostic tool that gives you a clear, immediate snapshot of how your building is performing. The insights you get from a single scan are incredibly powerful. You can:
- Prevent Costly Damage: Catching a small plumbing leak before it soaks your subfloor can save you thousands of dollars in remediation costs.
- Boost Energy Efficiency: Find out exactly where insulation is missing or where cold air is sneaking in. This allows for targeted repairs that actually lower your utility bills.
- Enhance Safety: Detecting an overheating electrical component can prevent a potential house fire, giving you and your family critical peace of mind.
- Validate Repairs: After the work is done, another quick scan can confirm the problem was actually fixed right the first time.
A thermal imaging inspection doesn't just find problems; it provides a visual roadmap to a healthier, safer, and more efficient home. It turns abstract concerns like "energy loss" or "hidden moisture" into concrete, actionable data.
By seeing these otherwise invisible threats, you can make smart, informed decisions about maintenance and repairs. This is especially valuable in the coastal climates of Santa Barbara and Ventura Counties, where that persistent marine layer can lead to all sorts of hidden moisture issues.
A quick look with a thermal camera can instantly reveal issues that would otherwise take months—or a catastrophic failure—to become apparent.
What a Thermal Inspection Instantly Reveals
Here's a quick rundown of what we can spot in just one visit:
| Problem Area | What the Thermal Camera Detects | Potential Impact on Your Home |
|---|---|---|
| Moisture Intrusion | Cold spots (blue/purple) from evaporation | Hidden mold growth, wood rot, structural damage |
| Insulation Gaps | Cold spots in winter, hot spots in summer | High energy bills, uncomfortable rooms, drafts |
| HVAC & Ductwork | Air leaks shown as streaks of hot or cold air | Inefficient heating/cooling, poor air quality |
| Electrical Issues | "Hot spots" (orange/red) on outlets or panels | Fire hazards, system failure, damaged appliances |
| Pest Infestations | Warm spots from nests (rodents, bees) in walls | Structural damage, health risks |
| Roof Leaks | Patterns of moisture retained in roofing materials | Attic mold, ceiling damage, compromised structure |
Seeing these problems laid out in a clear, visual format takes all the guesswork out of home maintenance.
At Pacific Mold Pros, we use this advanced technology to give our clients the complete picture of their property’s health. Regular preventative maintenance inspections are one of the smartest investments you can make to stay ahead of expensive surprises and ensure no issue goes unnoticed.
How a Thermal Imaging Inspection Actually Works
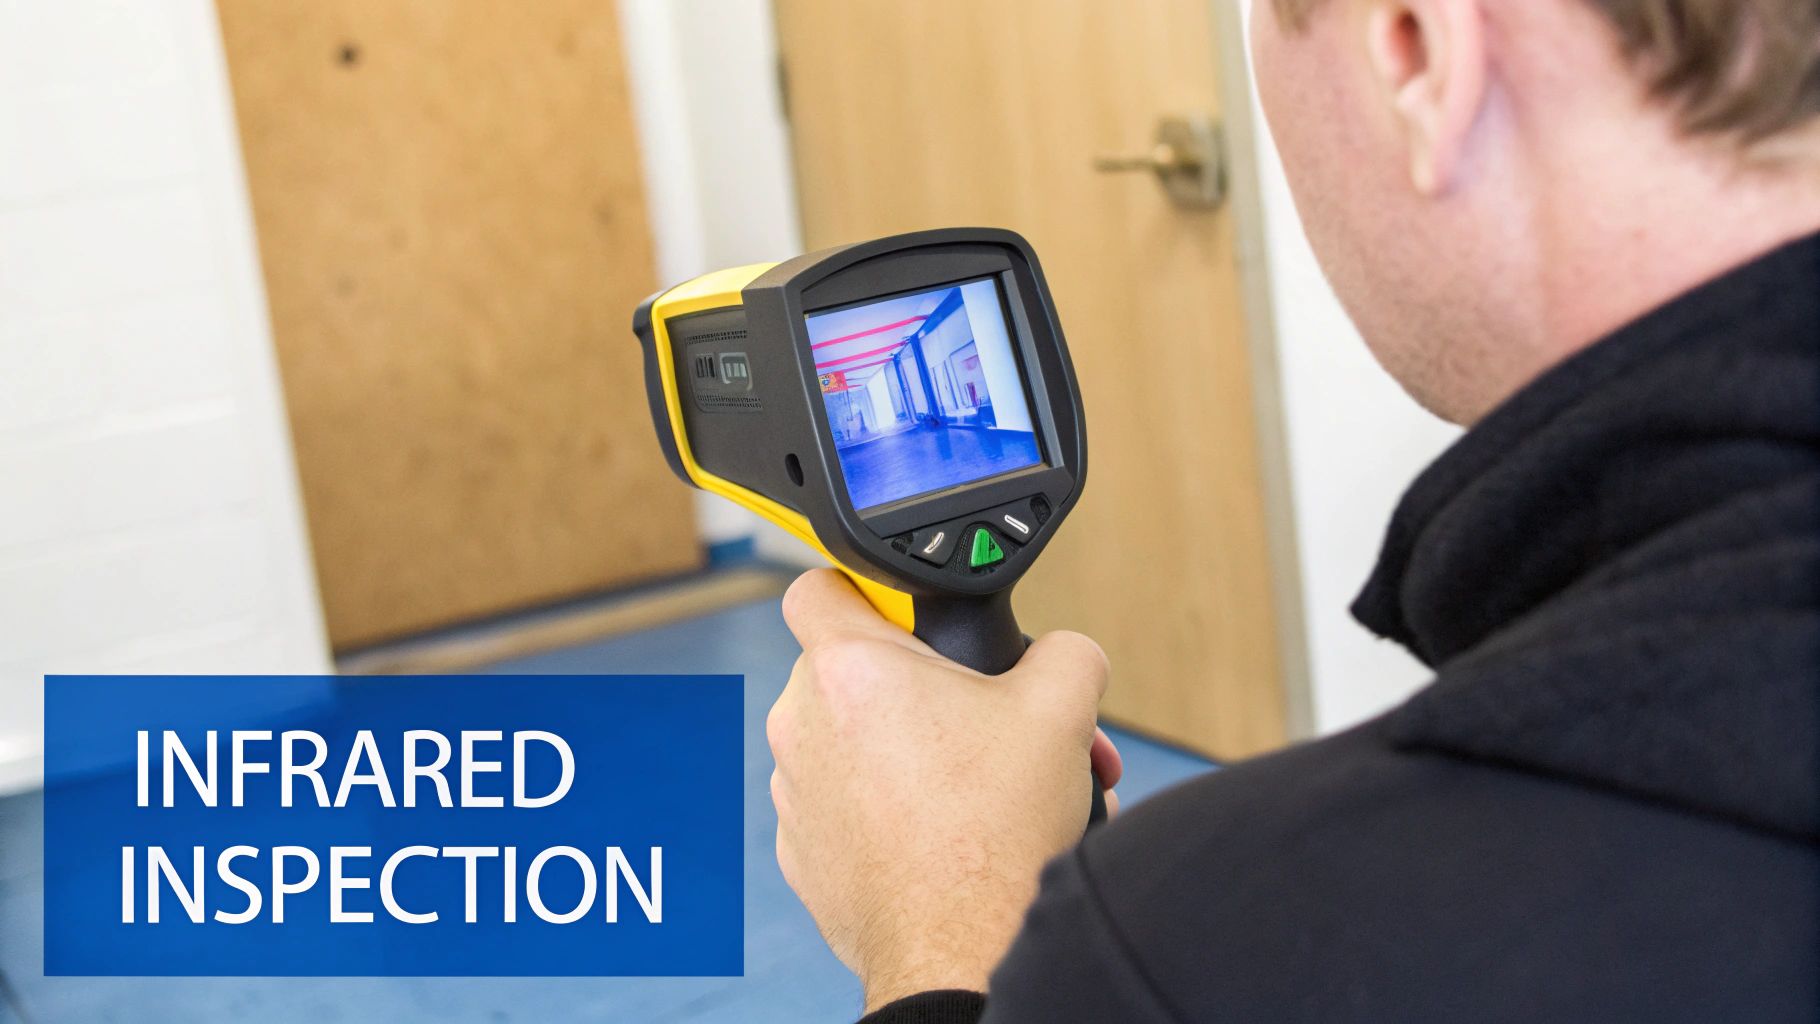
A thermal imaging inspection can feel a bit like having X-ray vision for your home, but the science behind it is actually pretty straightforward. It's all about seeing the invisible. Everything around us—walls, ceilings, floors—emits infrared energy, a type of light our eyes can't pick up. The warmer an object is, the more energy it radiates.
A specialized thermal camera is our translator. It captures this infrared energy and converts it into a visual map called a thermogram. This image uses a color spectrum to show surface temperatures, turning heat into a story we can read.
This gives us the power to spot temperature anomalies that point to hidden problems, all without drilling a single hole or tearing up a floorboard. It’s a completely non-destructive way to diagnose some of a home's biggest issues.
Setting the Stage for Clear Results
To get a clear picture, an inspector can't just show up and start scanning. The single most important part of a successful thermal imaging house inspection is creating a strong temperature difference between the inside and outside of your home—ideally at least 20°F. We call this creating a "thermal differential."
Think of it like trying to find a tiny leak in a tire. It's much easier to spot when the tire is fully inflated. In the same way, that big temperature difference makes heat loss or air intrusion pop on the thermal camera.
An inspector creates this differential in two ways:
- In colder months: We'll crank up the heat inside. This pressure forces warm air to escape through any weak points in your home's exterior—like missing insulation or unsealed gaps—which show up as bright, warm spots on the camera.
- In warmer months: We do the opposite and run the air conditioning. This makes hot outdoor air seep in through those same weak points, appearing as warm patches against the cool interior surfaces.
The Step-by-Step Inspection Process
Once the conditions are right, a professional inspector begins a methodical sweep of the property. This isn't just about pointing a camera around; it's a systematic investigation that pairs advanced technology with years of experience.
Here’s what a typical inspection looks like:
- Exterior Scan: We often start outside, scanning the building's exterior to find potential areas where heat is escaping or where moisture might be getting in.
- Interior Scan: Next, we move inside and conduct a thorough, room-by-room scan from top to bottom. We pay extra attention to common trouble spots like windows, doorways, plumbing fixtures, and electrical outlets.
- Using a Blower Door: For a deeper energy audit, we might use a blower door. This is a powerful fan fitted into an exterior doorway that depressurizes the entire house, literally pulling outside air in through every tiny crack and crevice. This makes air leaks dramatically easier to see with the thermal camera.
A thermal camera doesn't see through walls; it reads the story written on their surface. A subtle cool spot might be the signature of a slow pipe leak, while a faint warm streak from a ceiling vent could reveal a disconnected HVAC duct bleeding conditioned air into the attic.
The demand for this kind of detailed analysis is skyrocketing. The global market for infrared inspection equipment is projected to hit $2.5 billion by 2025, a clear sign that homeowners and builders are prioritizing energy efficiency and proactive maintenance.
Beyond the Camera Lens
A certified inspector knows the thermal camera is just one tool in the toolbox. It gives us the clues—the "X" on the map—but the final step is always to confirm what we're seeing.
If the camera flags a cool, damp-looking spot on a wall, for instance, we’ll follow up with a non-invasive moisture meter. This tool gives us a concrete reading, confirming the presence of water and telling us just how saturated the material is. It’s this combination of technologies that provides undeniable proof.
The real skill lies in interpreting the images and connecting the dots, much like the methodical approach we take in our detailed Santa Barbara mold inspection process. This blend of technology and expert analysis is what turns a colorful image into a clear, actionable plan to protect your home.
What a Thermal Scan Can Actually Find in Your Home
Think of a thermal camera as a tool that translates hidden temperature differences into a clear, visual story. It lets an inspector see what’s happening behind your walls, under your floors, and in your attic—problems that are completely invisible to the naked eye. While the technology is cool, its real value is in the serious issues it uncovers.
These findings are more than just interesting pictures; they’re actionable data that can save you a fortune in repairs and prevent dangerous situations. A thermal imaging house inspection is your first line of defense, pointing a certified inspector directly to the source of trouble.
Let’s dive into the four most common—and most critical—problems a thermal scan brings to light.
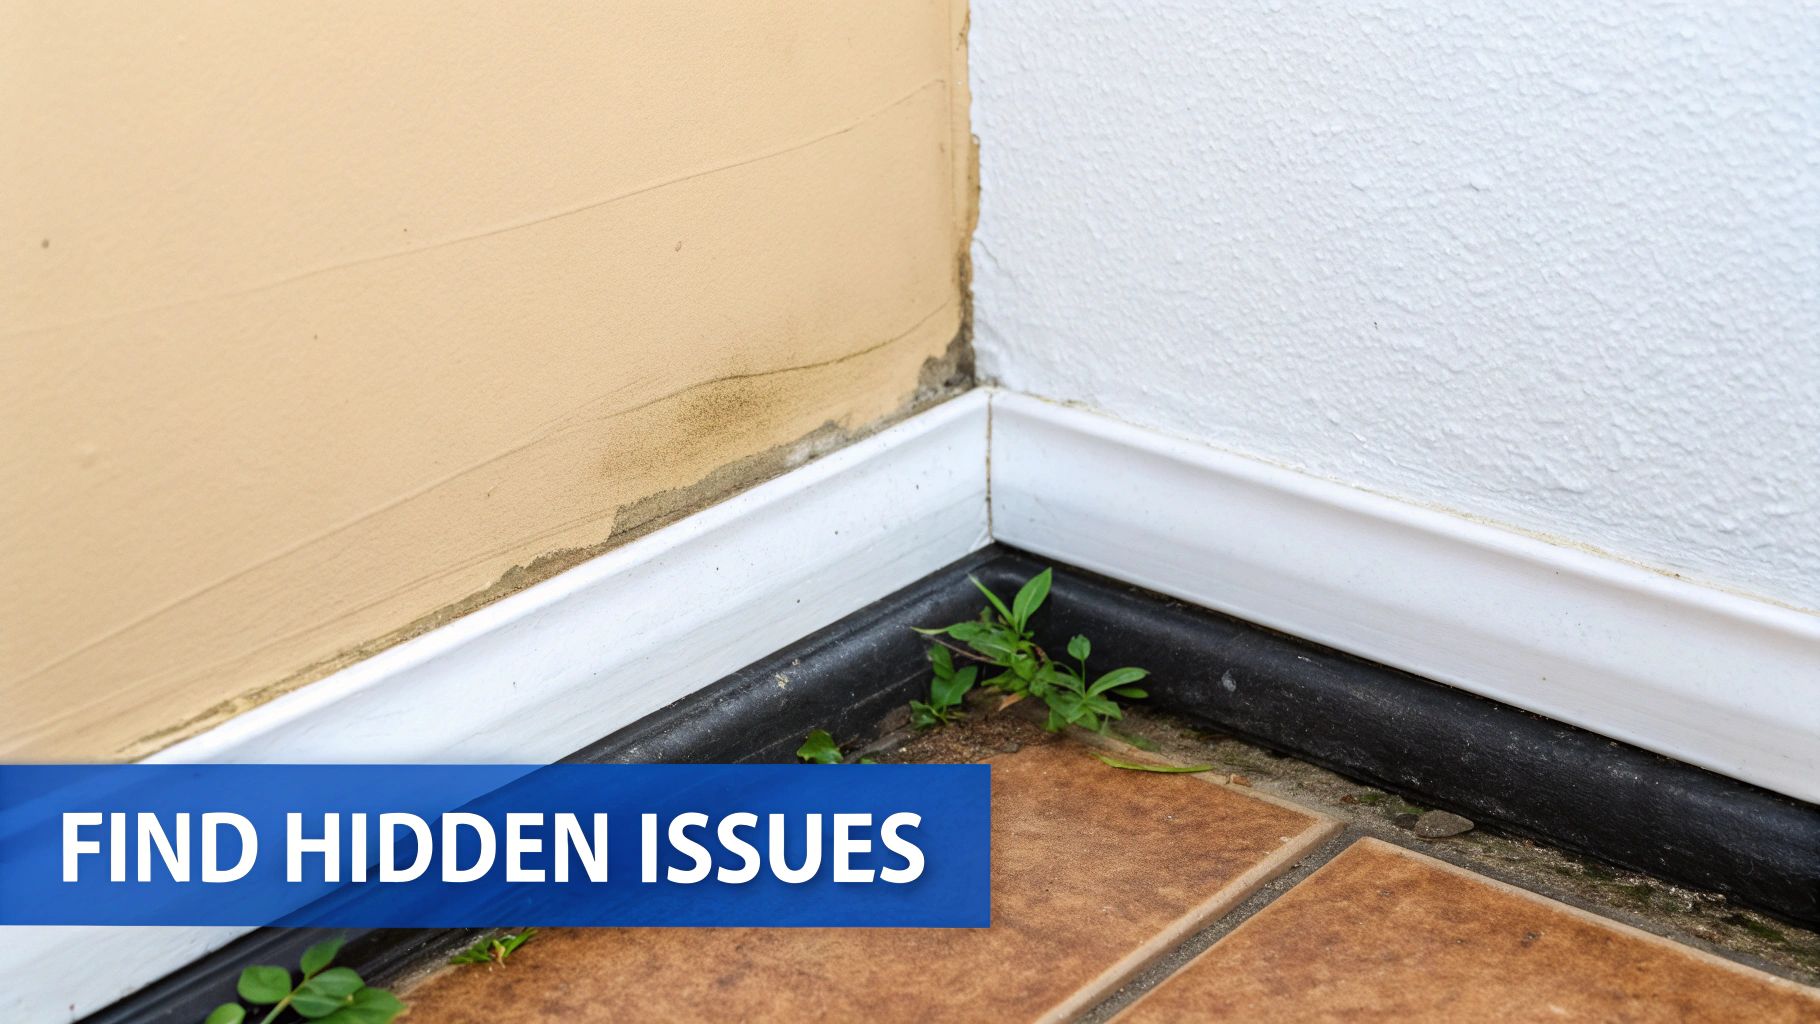
Pinpointing Moisture Intrusion
Water is a home's worst enemy when it gets in the wrong place. Hidden leaks from pipes, roofs, or windows can lead to structural rot, crumbling drywall, and, most importantly, the perfect breeding ground for mold.
A thermal camera is brilliant at finding these secret pockets of moisture. When water evaporates, it cools the surface it’s touching. Even though this temperature change is tiny, the camera picks it up and displays it as a distinct cool spot—usually a dark blue or purple patch on an otherwise normal-looking wall.
That thermal signature is basically the "X" on a treasure map, guiding the inspector to a problem that might otherwise fester for months or even years. Finding the leak is the first step, and our team at Pacific Mold Pros specializes in comprehensive moisture intrusion solutions that address the root cause, not just the symptom.
Identifying Insulation Gaps and Energy Waste
Ever wonder why one room in your house feels like an icebox while the others are fine? Or why your energy bills keep creeping up? The culprit is often missing or poorly installed insulation, and a thermal camera makes these gaps stick out like a sore thumb.
On a cold day, areas with bad insulation let all your expensive heated air escape, showing up as bright, warm patches on the exterior of your home. Inside, you'll see them as cold streaks on the walls. In the summer, the reverse happens, forcing your AC to work overtime.
An inspector can easily spot common issues like:
- Settled Insulation: Blown-in insulation in an attic often settles over time, leaving the upper parts of your walls unprotected.
- Missed Cavities: It's easy for installers to miss small, awkward cavities, especially around windows and electrical boxes.
- Compressed Batts: When insulation gets squished, it loses its effectiveness and creates a "thermal bridge" for heat to travel right through.
By visually mapping out these energy drains, a thermal inspection gives you a precise blueprint for repairs. You can fix the exact spots that are costing you money instead of just guessing.
Finding HVAC Ductwork Leaks
Your HVAC system is like the circulatory system for your home, and leaky ductwork is a bleeding artery. Ducts hidden in attics, crawlspaces, or walls that are disconnected or poorly sealed waste a huge amount of energy. All that conditioned air just spills into unconditioned spaces instead of reaching the rooms you actually want to heat or cool.
A thermal camera spots these leaks by seeing the temperature of the air escaping from bad joints. An inspector might see a cool streak running across a warm ceiling in the summer, showing exactly where cold AC air is dumping into the hot attic. This doesn't just drive up your bills; it can also pull dust, allergens, and insulation fibers into your living space, tanking your indoor air quality.
Detecting Electrical System Hotspots
This is perhaps the most critical safety issue a thermal scan can find: an overheating electrical component. A faulty wire, overloaded circuit, or failing breaker generates a lot of heat long before it starts a fire. To the naked eye, everything in your breaker panel might look fine.
But a thermal camera can instantly spot a connection that is dangerously hot. These "hotspots" light up as bright red, orange, or white on the thermogram, standing out starkly against the cooler components around them. Catching these problems early is a powerful fire prevention measure. An electrician can then be called to fix the issue before it fails catastrophically, protecting your property and your family.
The role of thermography in home diagnostics is so vital that its use in energy auditing alone is projected to grow the market to $820.8 million by 2035. This growth shows just how essential this technology has become for ensuring a home is safe and efficient. You can read more about this trend on Future Market Insights.
How to Interpret Your Thermal Inspection Report

After the thermal imaging inspection is done, you’ll get a report filled with vibrant, colorful images. At first glance, it might look more like modern art than a diagnostic tool, but every color and pattern tells a critical story about your home’s health. Learning to read this visual language is the key to turning your report into a solid action plan.
These images, called thermograms, are essentially temperature maps of your home's surfaces. A professional report will always include a color spectrum for reference, and while the exact scale can vary, the core principle is the same across the board.
Decoding the Color Spectrum
Think of the color palette like a simple weather map you’d see on the news. The colors directly correspond to the surface temperatures the infrared camera picked up, allowing your inspector to spot issues that would otherwise be completely invisible.
Here’s a general guide to what the colors mean:
- Reds, Oranges, and Yellows: These hot colors indicate warmer temperatures. They often point to areas of heat loss, active electrical circuits, or even hidden pest nests that generate body heat.
- Blues, Purples, and Blacks: These cooler shades represent lower temperatures. They’re frequently the tell-tale sign of moisture intrusion, air conditioning leaks, or cold drafts sneaking in from outside.
What really matters is the contrast. A small, dark blue blob on an otherwise uniform yellow wall is a major red flag for a potential water leak. By the same token, a bright red spot on a cool circuit breaker panel demands immediate attention from an electrician.
Common Patterns and What They Mean
Beyond just the colors, the shapes and patterns in the thermograms provide much deeper context. A trained inspector isn't just looking at colors; they're analyzing the visual story to diagnose very specific problems.
Here are a few common patterns you might spot in your report:
- Irregular, Blob-Like Cool Spots: Dark, shapeless blobs on ceilings or walls often scream moisture. The evaporative cooling effect of water makes the surface colder than the dry areas around it.
- Grid-Like or Rectangular Cold Patterns: If you see a perfectly rectangular cold shape, it’s a classic sign of missing or settled insulation between the wall studs.
- Streaks or Plumes: Faint streaks of hot or cold air, especially around windows, doors, or vents, clearly show air leaks. This is where your heated or cooled air is escaping, or where outside air is getting in.
Remember, a thermogram is a powerful clue, not a final diagnosis. The image tells your inspector exactly where to investigate further. It's the starting point that guides them to confirm the underlying issue with tools like a moisture meter.
The Inspector's Written Analysis Is Key
The images are only half of the story. The most valuable part of any thermal imaging report is the inspector's written analysis—this is where true expertise shines. A certified thermographer will interpret each image, explain what the thermal anomaly likely represents, and provide clear, straightforward recommendations.
Without this expert context, a colorful picture is just that. The written report connects the dots, explaining that the cool spot on the ceiling is directly below a plumbing line, strongly suggesting a slow pipe leak. The report also highlights how severe the issue is and advises on what to do next, whether that’s calling a plumber, an electrician, or an insulation contractor. This detailed documentation is a critical part of services like comprehensive house environmental testing, where visual data must be backed by expert interpretation.
As homeowners become more aware of energy conservation and building health, the demand for this level of detail is growing. The thermography building inspection market was valued at $3.69 billion in 2024 and is projected to grow substantially, driven by how effectively it pinpoints everything from heat loss to electrical faults. You can find more insights on this growing market over at Market Research Future.
Choosing a Qualified Thermal Imaging Inspector
The colorful images from a thermal imaging house inspection are captivating, but they’re only as good as the person behind the camera. The technology is powerful, no doubt. But its real value comes from an inspector’s training, experience, and methodical approach. Choosing the right professional is the single most important decision you'll make.
Think of it this way: handing a top-of-the-line camera to an amateur doesn't suddenly make them a professional photographer. In the same way, an untrained inspector with an expensive thermal imager might misread a harmless thermal pattern as a major problem—or worse, completely miss a critical issue hiding in plain sight.
A true thermographer knows that the camera is just the first step. It's a diagnostic tool used to spot anomalies. Their real job is to use that information, combined with their knowledge of building science and other tools, to figure out what’s actually going on. That’s what separates a real pro from someone just offering a flashy add-on service.
Look for Certified Expertise
The easiest way to gauge an inspector's skill is to check their certifications. Proper certification proves they’ve gone through serious training on thermography principles, how to operate the equipment, and the right way to conduct an inspection. It's not just about pushing buttons; it's about understanding the physics of heat transfer and how things like sunlight and wind can skew the results.
Look for credentials from respected organizations like:
- Infrared Training Center (ITC): A global leader in infrared training and certification for thermographers.
- InterNACHI (International Association of Certified Home Inspectors): They offer a specialized Infrared Certified® program specifically for home inspectors.
When an inspector has these credentials, it means they’ve invested in their craft and are committed to doing things by the book. This training is what allows them to accurately interpret the thermal data and give you a reliable assessment of your home.
Vetting Your Thermal Imaging Inspector
Before hiring anyone, it pays to ask a few direct questions. A quick chat can tell you a lot about their qualifications and professionalism. Don’t be shy—you're trusting them with the health and safety of your home.
Here’s a practical checklist to help you find a reliable and skilled inspector.
| Qualification Criteria | Why It Matters | Questions to Ask |
|---|---|---|
| Certification Level | Ensures they have foundational knowledge of thermography principles and best practices. | "What level of thermography certification do you hold?" (Look for at least Level I). |
| Camera Quality | Higher resolution means clearer images, making it easier to spot subtle temperature differences. | "What kind of thermal camera do you use?" (A resolution of 320×240 pixels or higher is ideal). |
| Verification Tools | Thermal imaging finds anomalies; other tools confirm the cause. This is non-negotiable for moisture issues. | "Do you use a moisture meter to confirm suspected water intrusion?" (The answer must be yes). |
| Reporting Detail | A good report explains the findings clearly, includes thermal images, and offers actionable advice. | "Could I see a sample of one of your thermal inspection reports?" |
| Inspection Protocol | A true pro knows how to set up the right conditions for an accurate scan, like creating a temperature difference. | "How do you prepare the home to ensure the conditions are right for an inspection?" |
Asking these questions helps you screen out the amateurs and find someone who truly knows what they’re doing.
A cheap thermal scan is often worse than no scan at all. An inspector without proper training can provide a false sense of security by missing serious problems or create unnecessary panic by misinterpreting normal thermal patterns.
Finding a trustworthy inspector is the first step toward uncovering any hidden issues in your home. For homeowners in Santa Barbara and Ventura Counties, looking into local options for professional mold testing near you is a great way to find certified experts who use thermal imaging as part of their comprehensive assessments. This ensures potential moisture problems are not just found but also correctly diagnosed for any related mold risk.
Still Have Questions About Thermal Inspections?
Even after learning the basics, it's completely normal to have a few more questions rattling around. A thermal imaging house inspection is a specialized service, and feeling confident in your decision means getting all the details sorted out first. Let's tackle some of the most common questions we hear from homeowners.
Our goal here is to clear up any lingering confusion so you can feel 100% informed about protecting your property.
How Much Does a Thermal Imaging Inspection Cost?
The final price tag can shift based on a few things: your home’s size, where it’s located (say, Santa Barbara versus Ventura), and the overall scope of the inspection. A quick, targeted thermal scan for a specific concern will naturally cost less than one rolled into a comprehensive home or mold inspection.
The best move is always to get a detailed quote from a certified professional. That way, the price is tailored to your home’s unique needs and the level of detail you require in the final report.
Can Thermal Imaging See Through Walls or Find Mold Directly?
This is a big one, and it’s a critical point to understand. Thermal cameras do not see through walls like an X-ray machine. It's a common misconception. Instead, they read the surface temperature of the wall itself, detecting the subtle temperature changes caused by problems behind the surface—like a tell-tale cold spot from a hidden water leak.
While a thermal camera cannot "see" mold, it's exceptionally good at finding the moisture conditions that mold needs to thrive. Think of it as a highly accurate treasure map that tells an inspector exactly where to investigate further with other tools.
When Is the Best Time for a Thermal Inspection?
For the sharpest, clearest results, you need a good temperature difference between the inside and outside of your home. The magic number is at least a 20°F (10°C) difference. This contrast makes winter the perfect time to spot heat loss and summer ideal for pinpointing where your cool, conditioned air is escaping.
That said, a skilled thermographer doesn't have to wait for the perfect weather. By running your home's HVAC system, we can create the necessary temperature differential to get an accurate scan any time of the year.
Is a Thermal Scan Really Worth It for a Brand New Home?
Absolutely. You'd be surprised what can get missed during the final walkthrough of a new build. We often find issues like poorly installed insulation, air leaks around brand-new windows, or even HVAC ducts that were never properly connected up in the attic.
Getting a thermal imaging house inspection done before your builder's one-year warranty expires is a very smart move. It gives you documented, undeniable proof of any defects, ensuring the builder has to fix them on their dime, not yours.