The crawl space is often the most neglected part of a home, a true case of "out of sight, out of mind." Yet, this hidden area beneath your floors can harbor a significant and persistent threat: mold. The unique coastal climate of areas like Santa Barbara and Ventura, combined with potential plumbing leaks or poor ventilation, creates the perfect breeding ground for various mold species. This isn't just a minor issue; left unchecked, crawl space mold can silently compromise your home's structural integrity, ruin expensive insulation, and significantly impact your family's health by degrading indoor air quality.
Many homeowners only become aware of the problem when persistent musty odors permeate their living spaces or allergy-like symptoms mysteriously worsen without a clear cause. These are often late-stage indicators of a well-established colony. Recognizing the early warning signs of mold in a crawl space is the first and most critical step in protecting both your property investment and your well-being. Proactive identification prevents small moisture problems from escalating into widespread, costly contamination that requires extensive remediation.
This comprehensive guide is designed to empower you with the knowledge to spot trouble before it takes hold. We will walk you through the eight most common and subtle indicators of a mold problem, from obvious visual cues to less apparent signs like damaged building materials and pest activity. For each sign, you'll learn what to look for, what it means, and what initial steps you can take. Most importantly, you'll understand when the situation demands a professional assessment from certified experts, like Pacific Mold Pros, to ensure a definitive diagnosis and a lasting solution.
1. Visible Mold Growth
The most definitive and alarming of all the signs of mold in crawl space is, without a doubt, seeing it with your own eyes. While other indicators are clues, visible mold growth is a confirmation that a fungal colony has established itself and the conditions are right for it to spread. It's the primary evidence that your crawl space has a moisture problem that requires immediate attention.
What to Look For
Mold in a crawl space doesn't always look like the stereotypical fuzzy black patches you might imagine. It can appear in various forms, colors, and textures. When you inspect your crawl space, grab a powerful flashlight and look for:
- Discolored Patches: Search for spots or stains on wood joists, subflooring, and support beams. These can be white and chalky, black and sooty, or have shades of green, yellow, or orange.
- Web-Like Growths: Some molds create fine, branching filaments that can look like spiderwebs spreading across wooden surfaces.
- Fuzzy or Slimy Textures: Active mold growth often has a distinct texture. It may appear fuzzy, cottony, or even slimy if moisture levels are particularly high.
Example: A homeowner in Santa Barbara noticed a musty smell and decided to inspect their crawl space. On the north-facing side, where the ground was consistently damp, they found a fine, white, powdery substance coating the wooden subfloor, which a professional later identified as a common type of mold thriving on the persistent condensation.
What It Indicates and Next Steps
Discovering any amount of visible growth, even a small patch, confirms two critical things: there is a source of moisture, and there are organic materials for the mold to feed on. The color and size of the mold are less important than its mere presence.
Important Note: Do not attempt to disturb or clean visible mold yourself. Scraping or spraying it with bleach can release millions of spores into the air, potentially contaminating your home's living spaces and creating a significant health hazard.
If you find visible mold, your first step should be to identify and control the moisture source if possible, such as fixing a leaky pipe. Your next, most crucial step is to contact a certified mold professional. At Pacific Mold Pros, we conduct thorough inspections to identify the extent of the growth, perform air and surface testing to determine the species and concentration, and provide a detailed report outlining a safe and effective remediation plan. This professional approach ensures the problem is fully resolved, not just temporarily hidden.
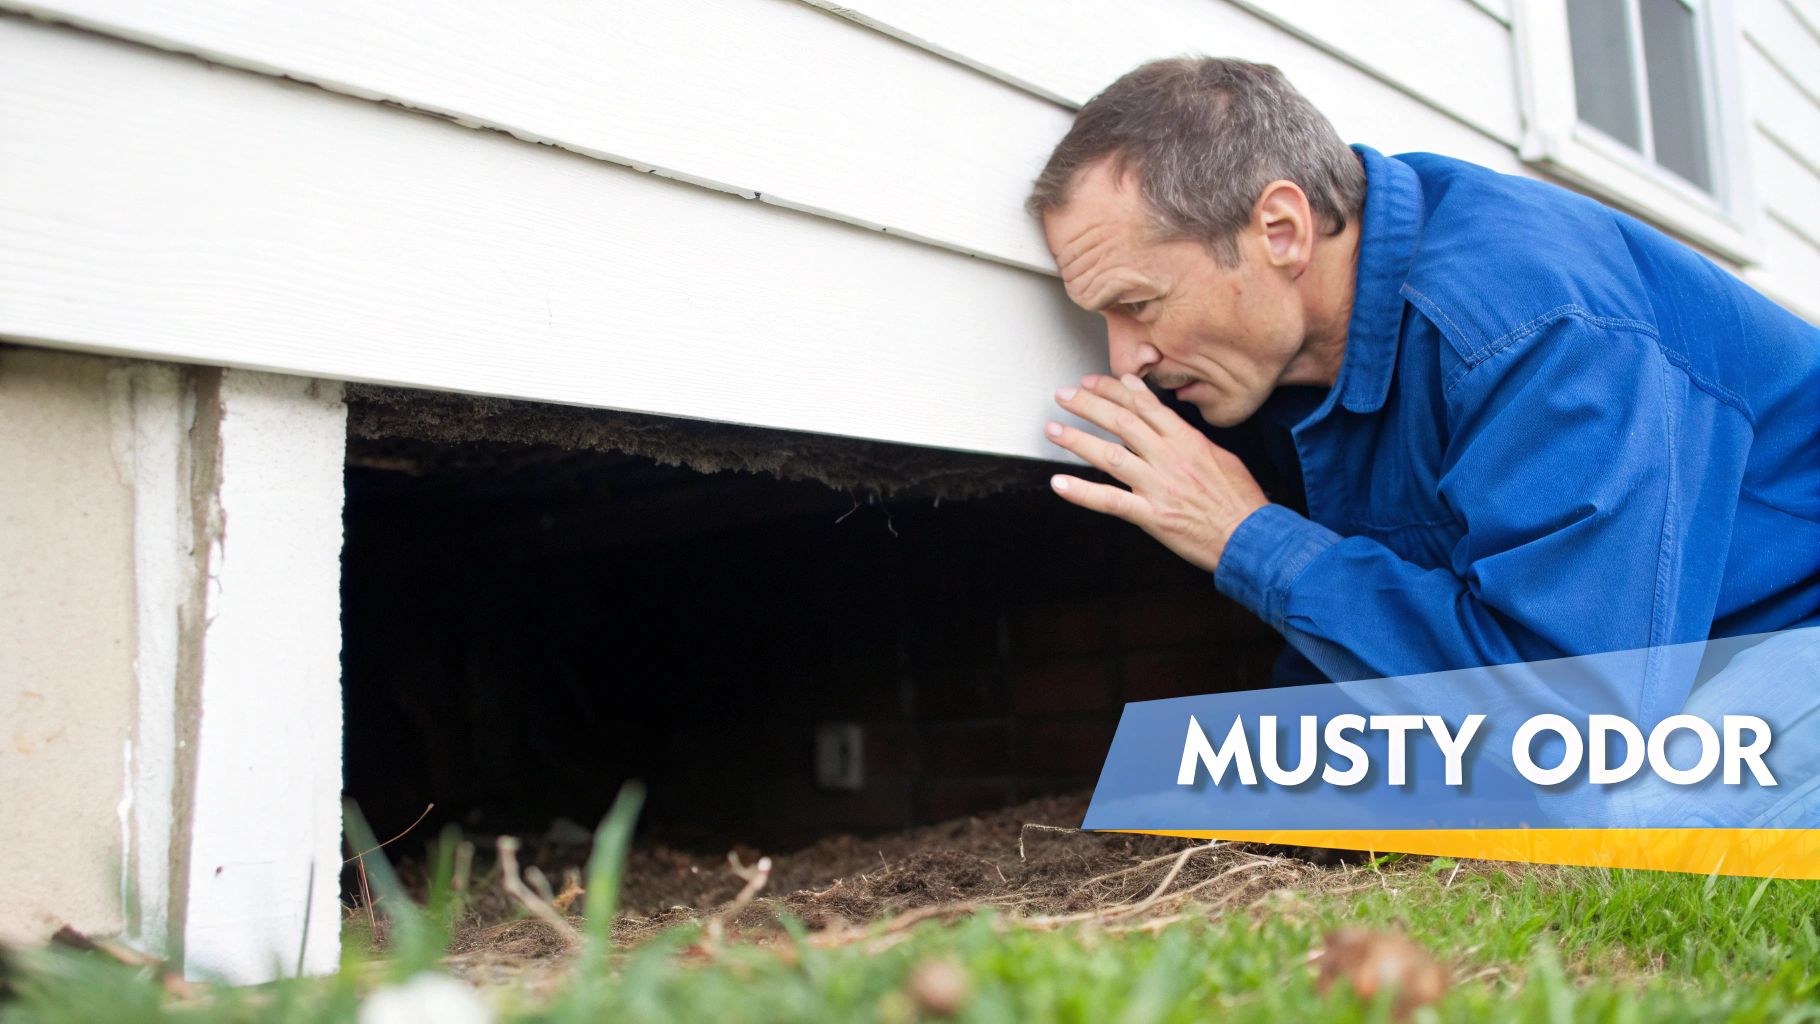
2. Musty Odor
Long before you see any visual evidence, your nose can often detect one of the most common signs of mold in crawl space: a persistent musty odor. This distinct, earthy smell, often described as smelling like a damp basement or wet socks, is a direct byproduct of the mold life cycle. It's produced by microbial volatile organic compounds (mVOCs), which are gasses released as mold consumes organic matter and reproduces. This odor is your home's early warning system that a hidden moisture and mold problem exists.
What to Look For
Trust your sense of smell. If you notice an unusual odor, especially one that gets stronger near floor vents or seems to emanate from a particular part of your home, it's worth investigating. The "stack effect" can draw this contaminated air from the crawl space up into your living areas. Pay attention to:
- Persistent Damp Smell: A smell that doesn’t go away with simple airing out and may seem to be "baked into" the home.
- Localized Odors: The scent is noticeably stronger when you open a crawl space access hatch or stand near vents connected to the underfloor area.
- Worsening with Humidity: The musty odor often intensifies after a rainstorm or during periods of high humidity, as the increased moisture accelerates mold activity.
Example: A property manager in Ventura received complaints about a "weird smell" in a ground-floor unit. Despite no visible water damage inside, the odor persisted. An inspection of the crawl space, where humidity levels were above 70%, revealed the source: the musty smell from mold growing on damp subflooring was being pulled into the home’s HVAC system.
What It Indicates and Next Steps
A musty odor is a strong indicator of an active mold colony, even if you can’t see it. The presence of mVOCs confirms that mold is not just present but actively metabolizing and releasing compounds into the air you breathe. This is a clear signal that there is excess moisture somewhere in the crawl space that needs to be addressed. To learn more about how to differentiate these smells, you can find helpful information on how to know if that musty smell is mold.
Important Note: Don't dismiss a musty smell as just "an old house smell." These odors are often the very first sign of a problem that could be affecting your home's structural integrity and your family's health.
If you detect a musty odor, your first step is to perform a thorough visual inspection of the crawl space for moisture sources like leaks, condensation, or poor drainage. The crucial next step is to contact a professional. At Pacific Mold Pros, we use advanced tools, including air quality testing, to pinpoint the source and concentration of mold spores causing the odor. This scientific approach allows us to develop a precise remediation plan to eliminate the mold and the smell for good, ensuring a healthy living environment.
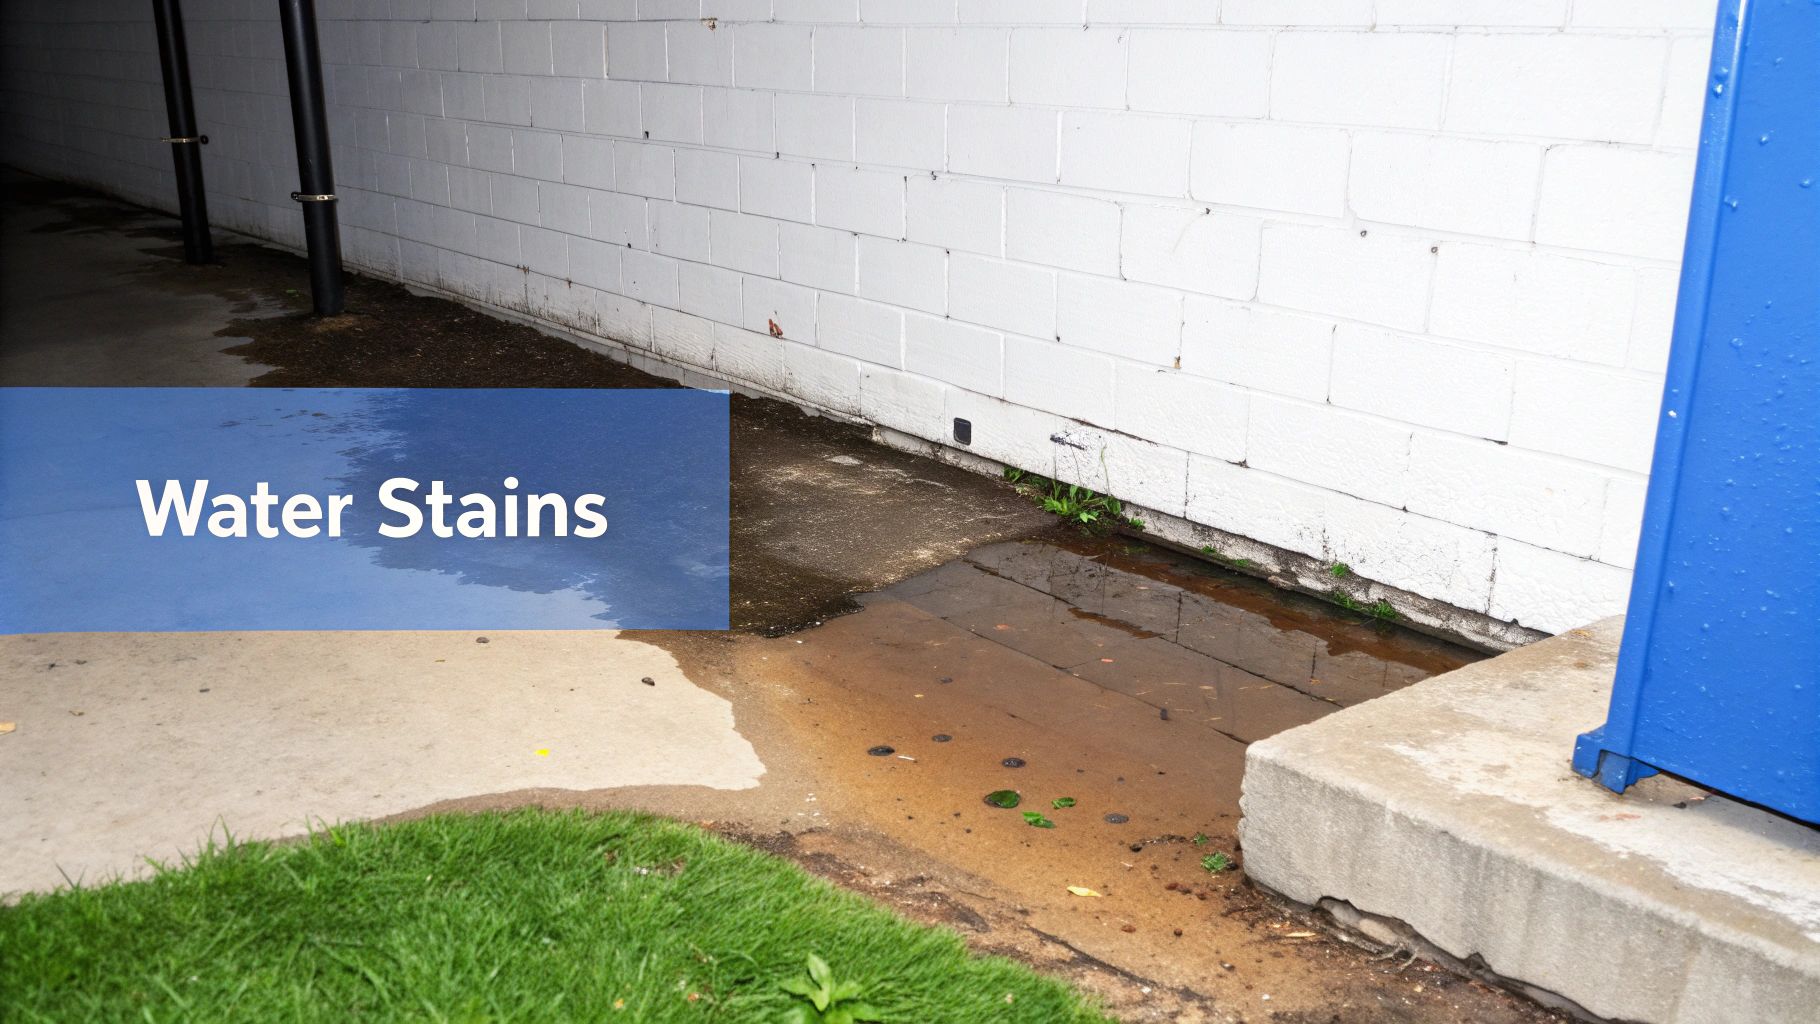
3. Excess Moisture and Water Stains
Long before mold establishes a visible colony, the conditions for its growth become apparent. Excess moisture, condensation, and water stains are critical early signs of mold in crawl space that should never be ignored. Where there is consistent moisture, mold is almost certain to follow. Identifying and addressing these water-related issues is the most proactive step a homeowner can take to prevent a widespread infestation.
What to Look For
Moisture can manifest in several ways within a crawl space. During your inspection, be vigilant for both active water and the evidence it leaves behind. Pay close attention to these indicators:
- Water Stains: Look for dark streaks or discolored rings on concrete foundation walls, wooden joists, and insulation. These "tide marks" show where water has previously sat or flowed.
- Active Dampness: Feel the surfaces of pipes, the subfloor, and foundation walls. A clammy or wet texture indicates ongoing condensation or a persistent leak.
- Pooling Water: Puddles of standing water, especially around the foundation perimeter or low spots after rainfall, are a major red flag for poor drainage or grading issues.
Example: A homeowner in Ventura, CA, noticed their hardwood floors were beginning to cup slightly. An inspection of the crawl space revealed dark, map-like stains on the wooden support beams directly below the kitchen sink, indicating a slow, long-term plumbing leak that was creating a perfect breeding ground for mold.
What It Indicates and Next Steps
Discovering moisture or water stains points directly to a water intrusion problem. This could stem from a plumbing leak, foundation cracks, poor exterior drainage, or high humidity from a lack of ventilation. The presence of water is the single most important ingredient for mold growth; addressing it is non-negotiable.
Important Note: A dehumidifier can help manage airborne moisture but will not solve the underlying problem of water intrusion. It is crucial to find and fix the source of the water to prevent structural damage and mold.
If you find signs of moisture, the first step is to trace the water back to its source. Check for leaky pipes, ensure gutters are clear and downspouts direct water far from the foundation, and inspect for cracks. For persistent dampness, installing a vapor barrier can be an effective solution. However, to understand the full impact of the moisture and whether a hidden mold problem has already started, a professional assessment is essential. A comprehensive mold inspection can identify hidden moisture pockets and determine if mold spores have begun to colonize.
4. Discolored or Deteriorating Wood
Beyond just surface growth, one of the most destructive signs of mold in crawl space is damage to the wood itself. Mold enzymes actively break down cellulose, the organic material that gives wood its strength and structure. This process not only discolors the wood but can lead to rot, decay, and a severe compromise of your home's foundational integrity.
What to Look For
Wood deterioration can be subtle at first, appearing as simple discoloration before progressing to more serious decay. During a crawl space inspection, pay close attention to the structural components for these specific signs:
- Dark Stains or "Water Marks": Look for darkened, streaky, or blotchy stains on floor joists, rim joists, and support posts. These often indicate where water has repeatedly soaked into the wood, creating a perfect environment for fungal growth.
- Soft or Spongy Texture: Use a screwdriver or another blunt tool to gently press on suspicious-looking areas. Healthy wood should be firm; wood that is soft, spongy, or crumbles easily is actively decaying.
- Warping or Cracking: Chronic moisture and mold activity can cause wood to warp, cup, or crack as its internal structure breaks down.
Example: A homeowner in Ventura was investigating a squeaky, bouncing floor in their living room. An inspection of the crawl space revealed that several floor joists directly below the area had dark, sooty stains and were soft to the touch. This wood rot, caused by a slow-draining exterior gutter, had weakened the subfloor support system.
What It Indicates and Next Steps
Discovering discolored or rotting wood is a clear signal of a long-term moisture problem. This is a more advanced sign of damage than surface mold, indicating that conditions have been favorable for mold growth for an extended period, potentially affecting your home's structural stability.
Important Note: Damaged structural components like joists, beams, and sill plates are not a DIY repair. Incorrectly replacing or reinforcing these elements can lead to catastrophic structural failure, posing a serious safety risk.
If you find deteriorating wood, your immediate priority is to prevent further damage. First, identify and stop the moisture source. Second, it is crucial to consult professionals. A structural engineer may be needed to assess the extent of the damage, while a mold remediation specialist is required to safely remove the mold-infested materials. For homeowners, understanding these risks is vital, which is why a comprehensive mold inspection is so important when buying a house. Learn more about the importance of a pre-purchase mold inspection. At Pacific Mold Pros, we can help identify the scope of both the mold and moisture issues to provide a clear path forward for safe remediation and repair.
5. Sagging or Warped Insulation
Crawl space insulation is designed to keep your floors warm and your energy bills down, but when it becomes compromised by moisture, it serves as another clear warning among the signs of mold in crawl space. Wet insulation not only loses its thermal resistance but also becomes an ideal breeding ground for mold, which feeds on the paper backing and dust trapped within the fibers. Sagging, compressed, or discolored insulation is a direct indicator of a persistent moisture problem.
What to Look For
When inspecting your crawl space insulation, it’s crucial to look for signs of water damage, which often precedes or accompanies mold growth. A powerful flashlight will help you spot these issues from a distance before you get too close. Be on the lookout for:
- Compression or Sagging: Insulation batts should be fluffy and fit snugly between the floor joists. If they are sagging, hanging down, or appear compressed and heavy, it's a strong sign they have absorbed water.
- Stains and Discoloration: Look for dark stains, watermarks, or black, grey, or brown discoloration on the insulation or its paper backing. This often points to mold colonization.
- Deterioration: Moisture can cause insulation, particularly fiberglass batts, to break down and fall apart. Check for debris on the crawl space floor directly below the insulation.
Example: A Ventura homeowner investigating high energy bills discovered that the fiberglass insulation beneath their living room was hanging down in several places. Upon closer inspection, the paper backing was damp and covered in black speckles, a sign that condensation from uninsulated HVAC ducts was saturating the material and fostering mold growth.
What It Indicates and Next Steps
Damaged insulation is a definitive sign of an unresolved moisture issue, whether from a plumbing leak, high humidity, or poor ventilation. Because insulation can hold a tremendous amount of water, it creates a perfect microenvironment for mold to flourish undetected for long periods, potentially releasing spores into your home through gaps in the subfloor.
Important Note: Never handle or remove potentially moldy insulation without proper personal protective equipment (PPE), including an N95 respirator, gloves, and eye protection. Disturbing it can release a high concentration of mold spores and fiberglass particles into the air.
If you find compromised insulation, the underlying moisture source must be addressed before any replacement occurs. The next step is to contact a professional for a comprehensive assessment. At Pacific Mold Pros, we can safely evaluate the extent of the damage, test the material for mold, and recommend a remediation plan that includes safe removal of the contaminated insulation and addressing the root cause of the moisture. This ensures that when new insulation is installed, it remains dry and effective.
6. Condensation Buildup and Sweating Surfaces
Beyond active leaks or standing water, one of the most common and overlooked signs of mold in crawl space is persistent condensation. When you see water droplets "sweating" on surfaces like pipes, ductwork, or foundation walls, it's a clear signal that the air in your crawl space is holding too much moisture. This high relative humidity creates the perfect damp environment for mold spores to germinate and thrive.
What to Look For
Condensation occurs when warm, humid air makes contact with a cooler surface, causing the water vapor in the air to turn back into liquid. When inspecting your crawl space, use a bright flashlight to scan for tell-tale signs of this moisture buildup:
- Wet or Dripping Pipes: Look for beads of water forming on cold water supply lines, especially during warmer, more humid months.
- "Sweating" Ductwork: Metal HVAC ducts that run through the crawl space are often cooler than the surrounding air, making them magnets for condensation.
- Damp Foundation Walls: Check concrete or block foundation walls for a damp sheen or visible wet spots, particularly near the ground level where the walls are cooler.
- Moisture on Metal Components: Examine any metal support posts, brackets, or even your furnace for signs of moisture accumulation.
Example: A property manager in Ventura was investigating musty odors in a rental unit. Upon entering the crawl space, they found the metal HVAC ductwork was visibly wet to the touch and dripping onto the ground below. This constant drip created a perpetually damp area where a significant patch of green mold had started to grow on the nearby wooden subfloor.
What It Indicates and Next Steps
Consistent condensation confirms that your crawl space has dangerously high relative humidity, a primary ingredient for widespread mold growth. It points to a ventilation problem, an external humidity issue, or unsealed vents allowing damp air to enter from outside. Ignoring this "sweating" is like leaving a welcome mat out for mold.
Important Note: Wiping away the condensation is a temporary fix for the symptom, not the cause. Without addressing the high humidity levels, the moisture will return, and mold will inevitably follow.
Your first step is to measure the humidity using a hygrometer; the ideal level should be below 60%. To control the moisture, you can insulate cold water pipes and ductwork. However, the most effective long-term solution is to control the air itself. This often involves professional solutions like installing a dehumidifier or encapsulating the crawl space to create a sealed, conditioned environment. A professional assessment can determine the root cause of the humidity. Our comprehensive mold inspection and testing services in Santa Barbara can accurately diagnose the source of the condensation and recommend the most effective remediation strategy.
7. Mold Growth on Insulation Batts and Fiberglass
Insulation is designed to keep your home comfortable, but when it gets damp, it becomes one of the most inviting habitats for mold. This is another one of the most telling signs of mold in crawl space because insulation materials can trap moisture, dust, and organic debris, creating a perfect storm for fungal growth. Once colonized, insulation loses its thermal resistance and can distribute mold spores throughout the home via air currents.
What to Look For
Inspecting insulation requires a careful eye and proper safety gear, including a respirator and gloves. Use a bright flashlight to examine the paper or foil backing as well as the fiberglass material itself. Be on the lookout for:
- Discoloration and Staining: Search for unusual dark streaks, black spots, or patches of pink, green, or yellow on the insulation batts. These are often signs that moisture has saturated the material.
- Compacted or Sagging Areas: Insulation that is wet or has been repeatedly damp will often compress and sag between the floor joists. This is a strong indicator of a persistent moisture problem.
- Visible Fungal Colonies: Look for fuzzy, sooty, or cotton-like growth directly on the surface of the fiberglass or its paper backing. This is a definitive sign of an active mold problem.
Example: A property manager in Ventura was investigating high utility bills in a rental unit and found the crawl space insulation was sagging heavily. Upon closer inspection, the paper backing on the fiberglass batts was covered in black, sooty mold, indicating a slow, long-term leak from a nearby plumbing line had saturated the insulation.
What It Indicates and Next Steps
Finding mold on your insulation confirms a significant moisture issue that has been present long enough to compromise your home’s thermal barrier. Because insulation is porous and difficult to clean thoroughly, it is nearly always considered a non-salvageable material once mold growth is established. The presence of mold here is a serious concern for indoor air quality.
Important Note: Never attempt to remove or handle mold-contaminated insulation yourself. The material can release a high concentration of fiberglass particles and mold spores into the air, creating a dangerous breathing hazard that can easily spread into your living space.
If you discover moldy insulation, the immediate priority is to stop the moisture source. The next and most critical step is to contact a certified remediation company like Pacific Mold Pros. Our team will safely contain the area, remove the contaminated materials following industry best practices, clean the surrounding structures, and provide recommendations for proper re-insulation after ensuring the underlying moisture problem is resolved.
8. Deteriorating or Discolored Vapor Barriers and Plastic Sheeting
A properly installed vapor barrier is a critical defense against ground moisture, but it can also become a billboard advertising a hidden problem. When you see this plastic sheeting deteriorating, discoloring, or showing growth, it’s one of the clearest signs of mold in crawl space because it points directly to excessive, long-term moisture that has overwhelmed its protective function. The barrier itself becomes a casualty of the very conditions it was meant to prevent.
What to Look For
Inspecting the vapor barrier requires a close look at its surface, seams, and edges. It's often where the first evidence of a widespread moisture issue appears. With your flashlight, carefully examine the polyethylene sheeting for:
- Discoloration and Stains: Look for dark, slimy, or stained patches, especially on the underside of the plastic where moisture gets trapped. You may see brownish or blackish streaks where water has pooled.
- Brittleness and Tears: An older or compromised barrier may become brittle, cracking easily. Check for tears, holes, and punctures, which render it ineffective and allow moisture to seep through.
- Pooling Water: Puddles of water sitting on top of the vapor barrier are an obvious red flag, indicating a leak from above or extremely high humidity causing condensation.
- Lifting or Separated Seams: If the barrier is lifting away from the ground or the seams are separating, it could be a sign of hydrostatic pressure (water pushing up from the ground) or poor installation.
Example: A property manager in Ventura performing a routine check discovered the vapor barrier in a crawl space had a strange, mottled appearance. Upon lifting a corner, they found a thick, black, slimy layer of mold growing between the plastic and the damp soil, a direct result of a high water table that season.
What It Indicates and Next Steps
A deteriorating vapor barrier is a symptom of a much larger issue. It confirms that the ground moisture level is consistently high, the crawl space has poor ventilation, or the barrier itself was improperly installed or is past its effective lifespan. The presence of mold on the barrier means spores are likely present throughout the crawl space.
Important Note: A compromised vapor barrier is not just a sign of a problem; it is a problem. It actively allows moisture vapor to enter the crawl space, increasing humidity and feeding mold growth on wood structures.
If you find your vapor barrier in this condition, the first step is to address the source of the overwhelming moisture. This may involve improving exterior drainage or installing a sump pump. The next critical action is to contact a professional. At Pacific Mold Pros, our comprehensive inspection includes assessing the condition of your vapor barrier and the underlying moisture dynamics. We can determine if a simple replacement is sufficient or if a more robust solution like full crawl space encapsulation is needed to protect your home from moisture and mold permanently.
8-Point Crawl Space Mold Signs Comparison
| Indicator | 🔄 Implementation complexity | ⚡ Resource requirements | 📊 Expected outcomes | ⭐ Effectiveness/Severity | 💡 Ideal use cases / Key tips |
|---|---|---|---|---|---|
| Visible Mold Growth | Moderate — detection easy, remediation often requires professionals and containment | Medium–High — PPE, testing (optional), remediation crew, disposal | Confirms active colonization; justifies prompt remediation | ⭐⭐⭐⭐⭐ | Inspect wood surfaces with flashlight; document and avoid disturbing colonies; mark areas before calling pros |
| Musty Odor | Low to Moderate — detection simple, source tracing can be challenging | Low — homeowner observation, hygrometer, possible professional assessment | Early warning of active mold metabolism; may precede visible growth | ⭐⭐⭐ | Trust smell as indicator; compare with references; combine with visual inspection |
| Excess Moisture & Water Stains | High — may require drainage, foundation repair or structural work | High — moisture meters, waterproofing, contractors, possible structural repair | Identifies root cause risk for mold; remediation reduces recurrence risk | ⭐⭐⭐⭐ | Check after rain; use moisture meter (target <60%); fix gutters/drainage; consider vapor barrier/dehumidifier |
| Discolored or Deteriorating Wood | High — structural assessment and repairs often needed; possible temporary supports | High — structural contractor, replacement materials, possible engineering assessment | Indicates advanced decay and compromised strength; requires repair/replacement | ⭐⭐⭐⭐ | Probe wood with screwdriver; photograph for assessment; address moisture source before replacement |
| Sagging or Warped Insulation | Moderate — removal and replacement needed; containment to limit spores | Medium — protective gear, disposal, replacement insulation, possible encapsulation | Restores thermal performance; removes mold substrate but must fix moisture source | ⭐⭐⭐⭐ | Wear PPE when inspecting; resolve moisture before re-insulating; consider closed-cell foam in wet areas |
| Condensation Buildup & Sweating Surfaces | Low to Moderate — often solved with insulation and dehumidification | Medium — hygrometer, pipe insulation, dehumidifier, ventilation improvements | Reduces humidity-related mold risk when controlled; often reversible | ⭐⭐⭐ | Monitor RH (target <60%); insulate cold surfaces; install/maintain dehumidifier |
| Mold Growth on Insulation Batts & Fiberglass | High — removal with containment and full replacement usually required | High — full PPE, certified remediation, disposal, new insulation (often costly) | Clear sign of contamination requiring replacement and moisture control | ⭐⭐⭐⭐⭐ | Do not DIY heavy removals; hire certified remediator; replace with moisture-resistant materials |
| Deteriorating / Discolored Vapor Barriers | Moderate — replacement or upgrade; encapsulation may be required | Medium — new barrier materials, seam tape, possible encapsulation system and labor | Reveals failure of moisture control; replacement/upgrade improves long-term control | ⭐⭐⭐⭐ | Inspect annually; use ≥6-mil polyethylene, taped seams, seal penetrations; consider full encapsulation as best practice |
Your Next Step to a Healthier Home: Taking Action on Crawl Space Mold
Navigating the dark, often-overlooked world beneath your floors can feel daunting, but you are now equipped with the knowledge to identify the critical signs of mold in your crawl space. From the unmistakable musty odor and visible patches of growth to more subtle clues like sagging insulation and discolored wood, each sign is a vital piece of a larger puzzle. Recognizing them is the essential first step toward safeguarding your property's structural integrity and, more importantly, your family's health.
The core message woven through each of these signs is simple yet profound: mold is a symptom, moisture is the disease. Whether it's a slow leak, poor ventilation creating condensation, or high humidity common to our coastal California climate, water is the lifeblood of every mold colony. Ignoring these indicators is akin to ignoring a smoke alarm; the problem will only intensify, leading to more extensive damage and potentially serious health implications.
From Awareness to Action: Your Strategic Next Steps
You've learned to spot the red flags, but true peace of mind comes from taking decisive, informed action. An incomplete or improper cleanup effort often results in mold returning with a vengeance. To avoid this cycle, your focus must shift from simply seeing the signs to strategically addressing the root cause.
Here is your action plan:
- Review Your Observations: Go back through the signs discussed in this article. Do any match what you've observed in your home, even subtly? Consider not just the crawl space itself but also related symptoms like new allergy flare-ups or odors in the living areas above.
- Prioritize Safety: If you suspect a significant mold issue, avoid extensive DIY removal attempts. Disturbing mold colonies without proper containment and personal protective equipment (PPE) can release millions of spores into your home's air, worsening indoor air quality.
- Document Everything: Take clear photos and make notes of what you see and smell. This documentation is invaluable when you consult with a professional, providing them with a clear history of the problem.
- Resist the Urge to Use Bleach: While a common instinct, bleach is not an effective long-term solution for mold on porous materials like wood. It may remove the surface color, but it often leaves the root structure intact, allowing for rapid regrowth.
Why Professional Expertise is Non-Negotiable
Identifying a few discolored spots on a joist is one thing; determining if that discoloration is part of a larger, hidden infestation that has compromised your subfloor and is impacting your air quality is another entirely. This is where professional expertise becomes crucial. A certified inspector doesn't just look for mold; they investigate the entire building envelope to diagnose the moisture source.
Key Insight: A professional mold inspection is not just about finding mold; it's about understanding the "why." Without correcting the underlying moisture intrusion, any cleanup effort is destined to fail.
At Pacific Mold Pros, we specialize in providing homeowners throughout Santa Barbara and Ventura Counties with this critical clarity. Our process is built on precision and transparency. We utilize advanced tools like thermal imaging and moisture meters to uncover hidden water sources, and our accredited lab testing provides definitive answers about the type and concentration of mold present.
You don't have to live with the uncertainty and worry that comes with discovering potential signs of mold in your crawl space. Taking control starts with a single, simple step. Let us provide you with a comprehensive, easy-to-understand report that empowers you to make the right decisions for your home and health. Our 'Breathe Easy Guarantee' is our commitment to delivering the accurate, actionable information you need.
Contact Pacific Mold Pros today at (805) 232-3475 to schedule your inspection and take the definitive step toward a healthier, safer home.
Article created using Outrank