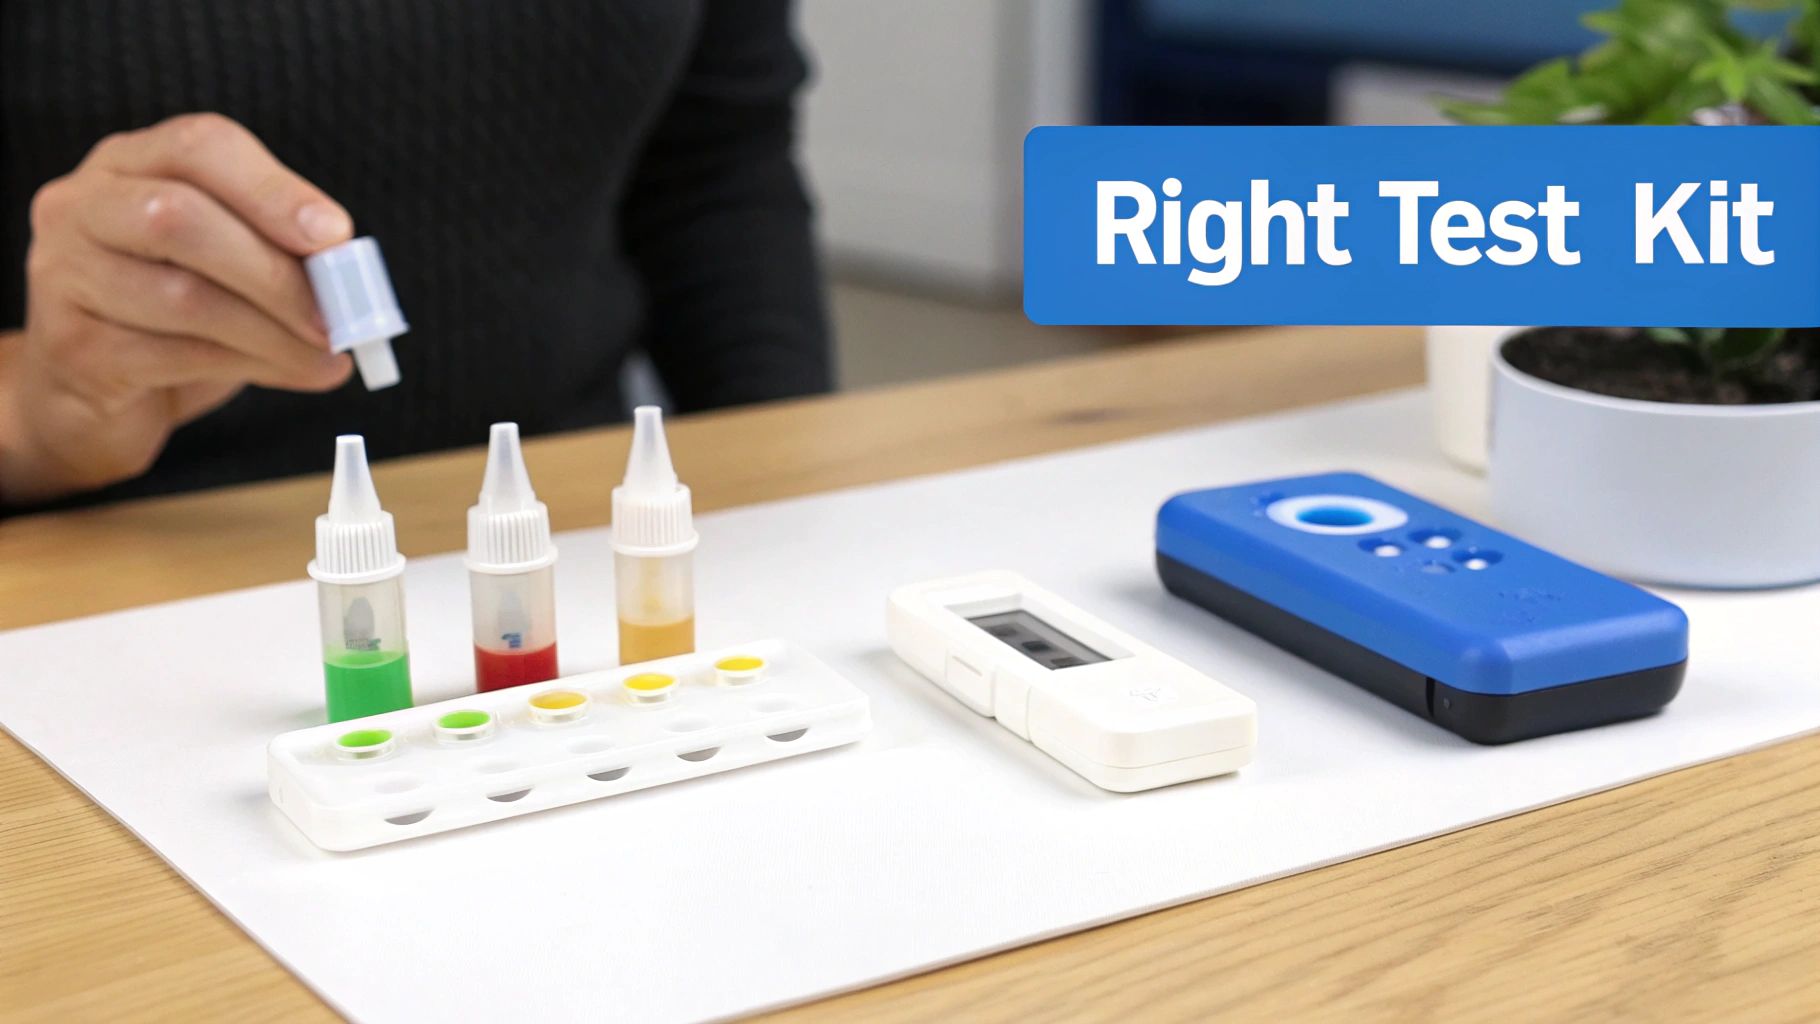
Figuring out the best mold test kit for your home really comes down to what you're dealing with. If you see a suspicious spot, a surface swab is your best bet. If you're chasing a musty smell you can't place, an air quality sampler is the way to go. There’s no single “best” kit, just the right tool for the job—like a doctor choosing a specific test for a specific symptom.
Choosing the Right Mold Test Kit for Your Situation
It’s an unsettling feeling. You’re staring at a strange spot on the wall or you keep catching a whiff of something damp and earthy. Your first thought might be to run out and buy a test kit, but the options on the shelf can be overwhelming.
The key is to match the tool to the specific problem you're facing. Think of it like a mechanic trying to figure out what's wrong with a car—you wouldn’t use a tire pressure gauge to check the engine oil. In the same way, the best mold test kit for home use is the one that directly addresses your specific concern.
Do you see a physical discoloration? A surface swab test is the most direct tool you can use. Are you more worried about a persistent smell? An air sampling kit is designed to catch the invisible airborne spores that might be causing it.
Matching the Kit to Your Concern
Knowing what each type of test is for saves you from wasting time and money. Here’s a simple way to break it down:
- You See It: If you can physically see what you think is mold, a surface test (using a swab or a piece of tape) is the perfect choice. Its job is simple: confirm if the gunk you're seeing is actually mold and, if so, what kind it is.
- You Smell It: When you can smell that tell-tale musty odor but can't see any mold, an air test makes the most sense. It will help you figure out if there are elevated levels of mold spores floating around in your home. For a deeper dive, check out our guide on how to know if that musty smell is mold.
- You Just Want to Know: Sometimes, you just want peace of mind, especially if you live in a high-moisture area like the coast in Santa Barbara or Ventura. An air quality test can be a great screening tool to get a baseline for your home's air.
To help you decide even faster, here's a quick comparison of the most common DIY test kits.
At a Glance Guide to Mold Test Kits
Use this table to quickly compare the main types of DIY mold test kits and find the best fit for your home's needs.
| Test Kit Type | Best Used For | Key Limitation |
|---|---|---|
| Surface Swab/Tape | Confirming if a visible spot is mold. | Doesn't measure airborne spores or hidden mold. |
| Air Settling Plate | A basic check for airborne spores in a room. | Highly inaccurate; can't distinguish between normal and problem levels. |
| Air Pump Sampler | Getting a more accurate count of airborne spores. | Still lacks context without a professional interpretation. |
Remember, these kits are just a starting point. They give you a piece of the puzzle, but not the whole picture.
It's clear that more and more homeowners are taking mold seriously. The global market for home mold test kits is expected to nearly double, hitting $950 million by 2033. This surge is largely driven by growing concerns over respiratory health and the increase in water damage events from our changing weather patterns.
At the end of the day, picking the right kit is the first step toward getting meaningful and actionable results.
What Each Type of Mold Test Actually Tells You
If you're thinking about grabbing a home mold test kit, the first thing to realize is that you're not just buying one product. You're choosing a specific tool designed to answer a very specific question. Picking the right one is the difference between getting a clear answer and ending up more confused than when you started.
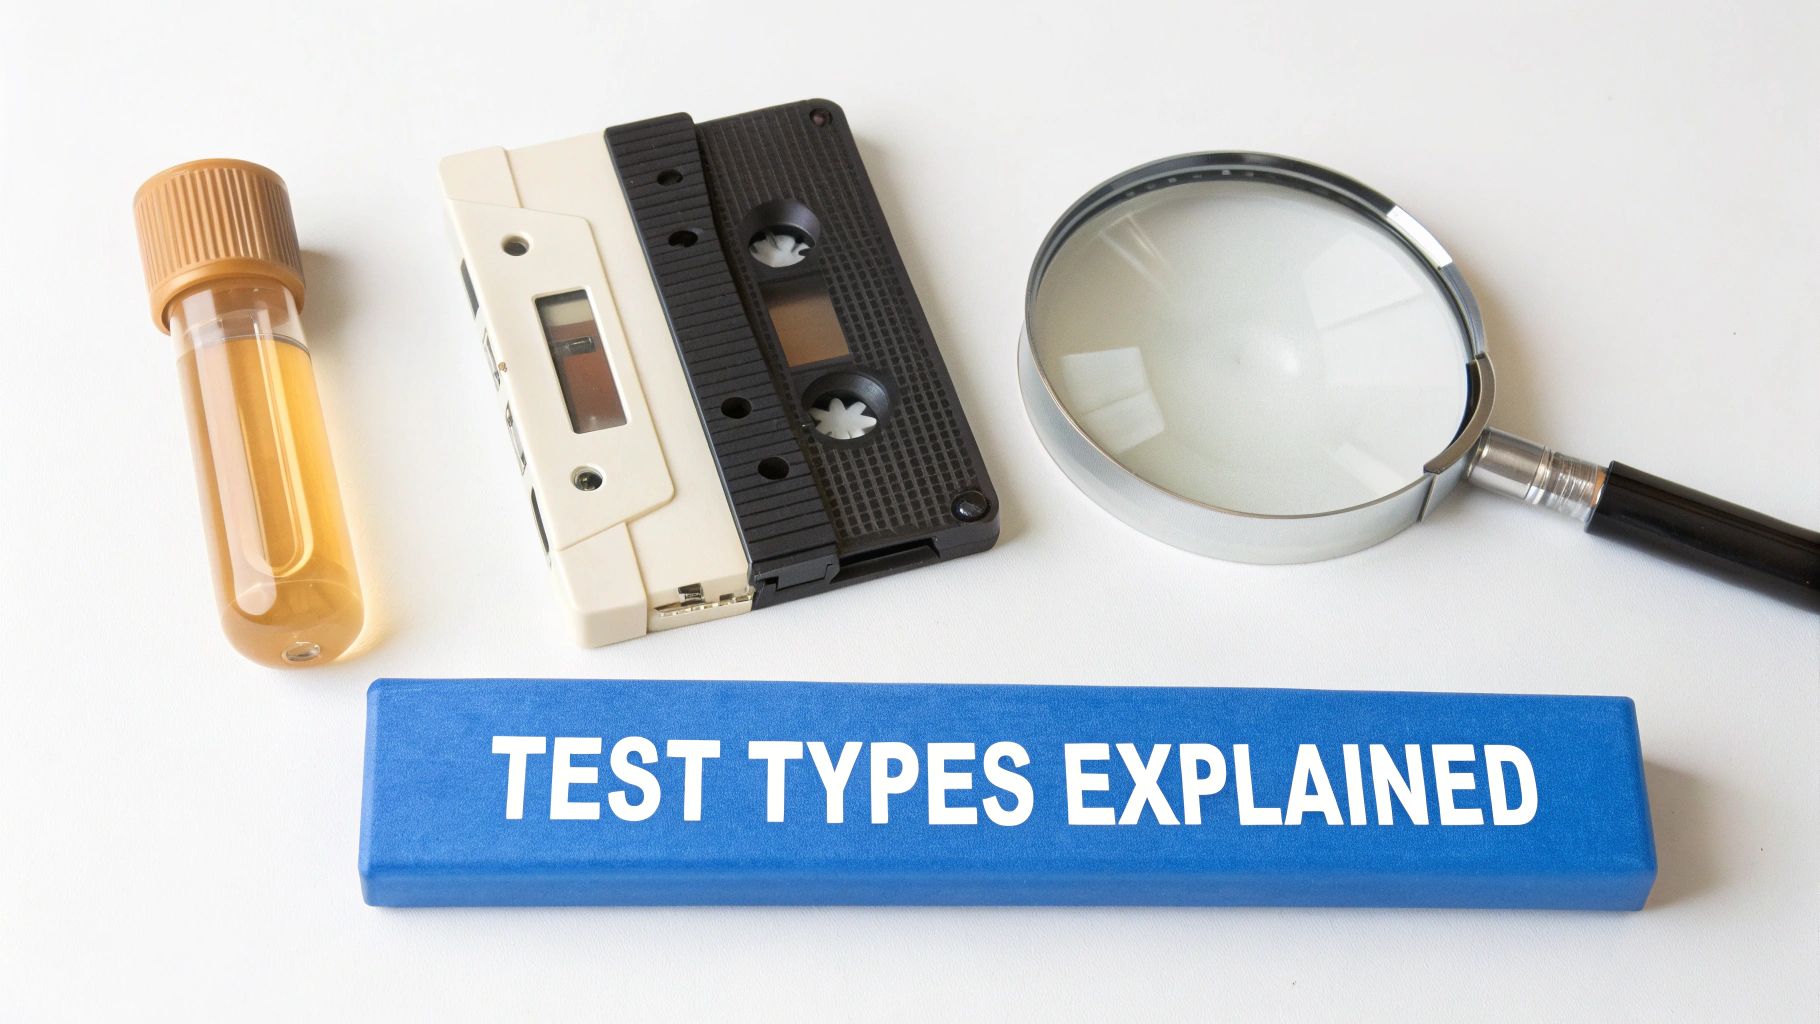
Let's break down what these kits actually tell you—and just as importantly, what they don't. We'll cover the three main types: surface tests, air tests, and dust tests.
Surface Tests: The Fingerprint
Think of a surface test (the kind with a swab or tape lift) like a detective taking a fingerprint at a crime scene. It's fantastic for identifying a suspect you already have in your sights.
When you see that suspicious black smudge on the bathroom ceiling or some fuzzy stuff growing on the drywall behind a couch, a surface test is your go-to. It can confirm two key things:
- Is it actually mold? The lab will tell you if that spot is fungal growth or just everyday dirt, soot, or an old stain.
- What kind of mold is it? You'll get an identification of the specific genus, like Penicillium or Stachybotrys, found in that precise location.
This is perfect for confirmation. But just like a fingerprint, it only gives you information about the one spot it touched. It can’t tell you if spores are floating around your home or if a much bigger colony is hiding inside the wall.
Air Tests: Casting a Wide Net
An air test, on the other hand, is like casting a fishing net into the ocean. You pull it up and see what was swimming by at that exact moment. This approach is ideal when you smell that unmistakable musty odor but can't see any visible mold.
It works by capturing airborne spores to give you a snapshot of your indoor air quality during the test. The lab report will break down:
- Spore Types: What kinds of mold are floating around.
- Spore Concentration: How many spores there are per cubic meter of air.
The most crucial part of an air test is context. A true professional will always take an outdoor "control" sample for comparison. If your indoor spore counts are way higher, or if you have types of mold inside that aren't present outside, that’s a huge red flag pointing to an indoor moisture source feeding a hidden colony.
Remember, though, an air test is just a snapshot in time. Spore levels can fluctuate wildly depending on airflow, humidity, or even just someone opening a door. It tells you that a problem likely exists somewhere, but it won't pinpoint the source. For more on what to do when you find certain mold types, our guide on how to test for toxic mold is a great resource.
Dust Tests: The Archeological Dig
Finally, we have dust tests, like the ERMI (Environmental Relative Moldiness Index). I like to think of this one as an archeological dig. Dust settles over months, sometimes years, creating a historical record of all the spores that have landed in your home.
Instead of just looking at spores, a lab analyzes a dust sample for the DNA of different mold species. It doesn't tell you what's in the air right now. What it does reveal is the long-term mold story of your home, which can point to past water damage or a chronic, low-level issue you never knew about.
This makes it an incredibly powerful tool, especially for people with chronic health sensitivities. It can uncover evidence of toxic mold that isn't even actively growing anymore but has left behind its allergenic fragments. The trade-off is that it gives you a historical overview, not a real-time snapshot, and it can’t help you find an active leak.
Getting Accurate Results From Your DIY Kit
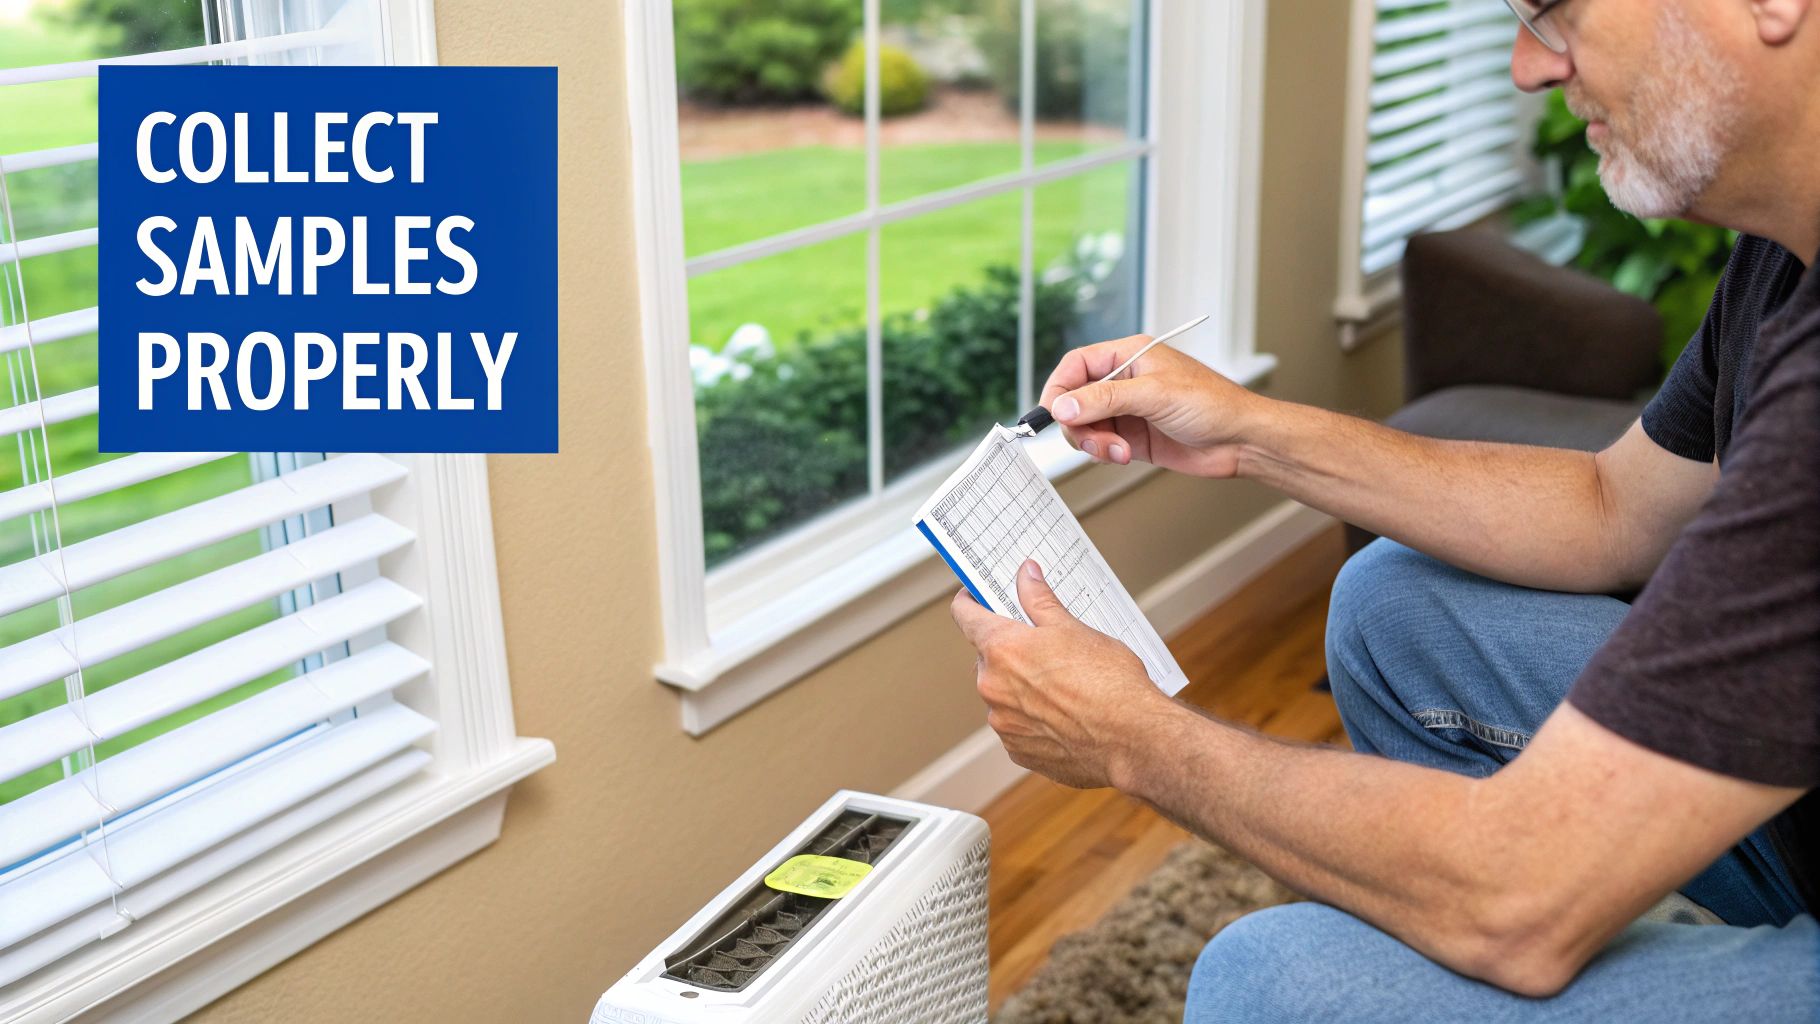
Even the best mold test kit for home use is only as good as the sample you collect. Think of it like a chef following a recipe—if you skip a step or use the wrong ingredient, the final dish just won't turn out right. It’s the same with mold testing. A compromised sample leads straight to compromised lab results, which is a complete waste of your time and money.
Following the right procedure is non-negotiable if you want a true snapshot of your home's condition. The whole point is to create a controlled environment that minimizes contamination and isolates the area you intend to test. This ensures the results reflect what's actually going on in your home, not just a random fluke.
Pre-Sampling Preparation Checklist
Before you even crack open the kit, a little prep work makes all the difference. For air sampling especially, the single most important step is creating a "still air" environment. This is critical for preventing outdoor spores from blowing in and completely skewing your indoor results.
- Seal the Environment: Close all windows and exterior doors for at least 24 hours before you plan to sample. This lets the indoor air settle and stabilize.
- Turn Off Air Movers: Shut down any fans, air purifiers, and your HVAC system—both heating and air conditioning—at least an hour before you start testing.
- Avoid Disturbances: Don’t vacuum, dust, or do any heavy cleaning on the day of the test. Kicking up settled spores is a surefire way to contaminate your sample.
Following these steps isn't just a friendly suggestion; it's the difference between a useful piece of data and a meaningless one. The lab can only analyze what you send them, so providing a clean, representative sample is entirely on you.
Common Sampling Mistakes to Avoid
Knowing what not to do is just as important as knowing what to do. Homeowners often make simple mistakes that can completely invalidate their test results. Here are the most common pitfalls to sidestep:
- Testing Near Open Windows: Even a tiny draft can pull in pollen and outdoor mold, making your indoor spore count seem artificially—and inaccurately—high.
- Sampling Immediately After Cleaning: Bleach, vinegar, and other cleaning agents are designed to kill mold spores. Testing right after you've cleaned will almost certainly give you a false negative.
- Mishandling the Sample: Touching the swab tip or the inside of a collection cassette contaminates it with bacteria and fungi from your hands. Always, always wear the gloves provided.
The market for home mold management tools is growing fast, which shows just how seriously homeowners are taking these issues. The global mold remover kit market was recently valued at around $362 million and is expected to climb to $536 million, all driven by a greater awareness of mold's health risks. To get real value from these products, you have to use them correctly. You can learn more about how the pros handle this by checking out our guide to the mold inspection process in Santa Barbara.
Decoding Your Mold Test Lab Report

So, the envelope arrives, and you finally have your lab report. You open it up, and it looks like it’s written in a foreign language—a jumble of scientific names, charts, and numbers that don’t mean much to the average homeowner.
Don't worry, you don't need to become a microbiologist overnight. The goal here is to translate that complex data into clear, actionable information. Let's break down what you're looking at so you can move from confusion to clarity.
The Two Big Questions: What and How Much?
When you boil it down, your report is trying to answer two main questions. Think of it like a census for the fungi in your home’s air. The lab identifies each "resident" (the mold type) and then counts how many there are in a given space.
- Mold Genus/Species: This is the what. The report lists the specific kinds of mold found, like Aspergillus, Penicillium, or the infamous Stachybotrys. Some of these are perfectly normal to find indoors, while others are known water-damage indicators that raise an immediate red flag.
- Spore Count/Concentration: This is the how much. It measures the quantity of mold, usually shown as spores per cubic meter (spores/m³) for an air sample. A few stray spores are normal—they’re everywhere. It’s the unusually high concentrations that tell us there’s likely an active colony growing somewhere nearby.
For a more detailed dive into the numbers, our guide on understanding mold test results can walk you through the specifics.
A Simple Way to Read Your Results: The Traffic Light System
To keep things simple, I like to use a "traffic light" analogy. It helps you quickly sort your findings into categories without getting bogged down in the scientific weeds. It turns all that data into a straightforward action plan.
Green Light (Normal): Your indoor spore counts are either the same as or lower than your outdoor control sample. The types of mold you see inside are the same ones floating around outside. This is a good sign, generally pointing to a healthy indoor environment.
Yellow Light (Caution): Here, your indoor counts are moderately higher than the outdoor baseline. Or, you might see a specific water-damage indicator mold like Chaetomium, even if it's at a low level. This is a warning sign that a hidden moisture problem could be brewing.
Red Light (Action Required): This is a clear signal. Your indoor spore counts are drastically elevated compared to the outside sample. Alternatively, you might have high concentrations of toxigenic molds like Stachybotrys. A red light means there's almost certainly an active, indoor mold source that needs professional attention—and soon.
Seeing common names like Aspergillus or Penicillium on your report isn’t automatically a cause for panic. The real key is context—how do those indoor numbers stack up against the outdoor sample you took? That comparison is everything. If the indoor levels are significantly higher, it tells you the source isn't just the outside air; it's coming from inside your house.
When Your DIY Kit Isn't Enough
A DIY mold test kit can be a decent first step, giving you an initial clue about what might be going on in your home. Think of it like a home thermometer; it tells you if there’s a fever, but it can't diagnose the illness causing it. The same goes for even the best home mold test kits—they are screening tools, not a complete diagnostic solution.
By design, these kits are limited. They can confirm mold is present on a surface or in the air, but they leave out the most critical details: the source of the moisture feeding the growth, the true extent of the contamination, and what’s hiding behind your drywall.
Red Flags That Signal a Deeper Problem
Relying only on a home test kit when a bigger issue is lurking can create a false sense of security. It’s crucial to recognize when your situation has moved beyond a simple DIY fix. Calling in a professional becomes non-negotiable when certain red flags pop up.
Here are the key scenarios that demand an expert evaluation:
- Persistent Musty Odors: If your home has that constant damp, earthy smell but you can’t find any visible mold, that's a classic sign of hidden growth inside walls, under floors, or in your HVAC system.
- Unexplained Health Symptoms: Are you or your family dealing with chronic allergy-like symptoms, headaches, or fatigue that seem to get better when you leave the house? This points directly to an indoor air quality problem that a simple test just can't properly assess.
- Significant Water Damage: If you've had a recent flood, a major pipe leak, or a roof leak, you can almost guarantee moisture is trapped somewhere in your home's building materials. A professional is needed to find all the affected areas before mold takes over.
- "Red Light" Lab Results: If your DIY kit’s lab report comes back showing high concentrations of toxigenic molds like Stachybotrys or Chaetotium, it’s time to stop guessing and get an expert involved immediately.
Why Professional Testing Is Different
A certified mold inspector doesn't just show up to collect a sample; they conduct a full-blown investigation. They come armed with specialized equipment like thermal imaging cameras and moisture meters to pinpoint the exact location of water intrusion—the root cause of the entire problem.
A professional assessment connects the dots between a lab result and the physical conditions in your home. It moves you from knowing you have a mold problem to understanding exactly where it is, how bad it is, and what to do next.
This is a level of detail no home kit can ever provide. If you're seeing any of these warning signs, especially here in the humid coastal climates of Santa Barbara or Ventura, a professional inspection is the only way to get the full picture. For homeowners in this area, learning about professional mold inspection and testing services in Santa Barbara can provide real clarity and a definitive action plan. An expert ensures you fix the problem at its source, protecting both your property and your family's health.
Got Questions About Home Mold Testing? We've Got Answers.
When you're dealing with potential mold, questions start piling up fast. It’s easy to feel lost wondering if those hardware store kits are any good, what to use for cleanup, or when it's time to stop guessing and just call a professional.
Let’s clear the air and tackle some of the most common points of confusion.
Are Home Mold Test Kits Really Accurate?
Here's the honest answer: home mold test kits are accurate for what they're designed to do, which is tell you if mold spores are present on a very specific spot or in the air at a single moment in time. But that’s where their usefulness ends.
Think of a home kit like taking a single snapshot of a busy intersection. It tells you what was happening in that one frame, but it can't tell you where the traffic came from, where it’s going, or if there’s a massive pile-up just around the corner. A home kit can confirm that mold exists in your sample, but it won't tell you the scale of the problem, find the hidden leak feeding it, or detect the colony growing behind your walls.
Plus, their accuracy is entirely on you—one wrong move during collection can contaminate the sample and give you a misleading result.
Is It Safe to Just Clean Mold with Bleach?
Using bleach on mold is one of the most stubborn myths in home maintenance. It might look like it's working on a non-porous surface like a bathtub, but it’s a terrible idea for porous materials like drywall, wood, or grout.
Why? Bleach is mostly water. Its chlorine component kills surface mold but evaporates quickly, leaving the water behind to soak into the material. This leftover moisture is a perfect meal for the mold's deeper roots, often causing it to grow back even stronger than before. For a tiny patch (less than 10 square feet), a simple scrub with soap and water is a much safer bet.
The EPA is clear on this: for any mold problem larger than a small patch, you need professional remediation. This isn't just about cleaning what you see; it's about safely removing contaminated materials and fixing the moisture problem so the mold never comes back.
What Is the Difference Between Mold and Mildew?
This one comes up a lot, and the answer is actually pretty simple: mildew is just a specific type of mold.
The word "mildew" usually describes the flat, powdery fungus you see growing on damp surfaces, often in shades of white or gray. Think of the stuff on a shower curtain or a damp windowsill.
Other molds can be fuzzy, slimy, and come in a whole rainbow of colors like green, blue, or the infamous black. While mildew is generally less hazardous than some of the more toxigenic molds, all fungi can trigger allergies and breathing problems. Just think of mildew as one branch on the very large family tree of mold—and both need to be dealt with quickly.
When Should I Call a Professional Mold Inspector?
Knowing when to switch from DIY to calling a pro is the most important step in protecting your home and your health. It’s time to pick up the phone and call a certified inspector if you run into any of these situations:
- You Find a Large Contaminated Area: If you discover a patch of mold larger than 10 square feet.
- There's a Persistent Musty Smell: You can smell that damp, earthy odor but just can't pinpoint the source.
- You've Had Recent Water Damage: Your home just dealt with a serious leak, a flood, or any major water intrusion.
- Someone Has Unexplained Health Issues: A family member is dealing with constant allergy-like symptoms that seem to get better when they leave the house.
Professionals bring in the heavy-duty gear, like thermal imaging cameras and moisture meters, to find hidden problems that the best home mold test kit could never hope to uncover. They give you the complete picture, not just a tiny, confusing piece of the puzzle.