Passing a home inspection really just boils down to one thing: being proactive. If you get ahead of the big issues before the inspector ever sets foot on your property, you're already halfway there. It's a simple strategy: focus on the critical stuff like plumbing and roofing, make sure everything is working and easy to get to, and have your paperwork ready for any improvements you've made. This isn't about hiding flaws; it's about heading off surprises and showing you're a responsible homeowner.
Your Pre-Inspection Roadmap to a Confident Home Sale

Let's be honest, staring down a home inspection can feel like the final boss battle of selling your house. It’s stressful. But what if you stopped thinking of it as a pass-fail test and started seeing it as a strategic part of the sale? That shift in mindset is everything. It puts you back in the driver's seat and turns anxiety into confidence.
The trick is to think like an inspector. They aren't there to judge your paint colors or your taste in furniture. Their job is to find the material defects that impact a home’s safety, structure, and major systems. By tackling those potential red flags now, you set yourself up for a smooth sale without the last-minute scramble.
What Inspectors Really Look For
Inspectors are trained to see what buyers miss—the big-ticket items that can turn a dream home into a money pit. You’ll want to focus your time and energy on these exact areas.
They’re almost always going to zero in on:
- Roofing and Gutters: Are there damaged shingles? Is the flashing around the chimney secure? Are the gutters clogged and pulling away from the house?
- Plumbing Systems: They’ll run every faucet and flush every toilet, looking for active leaks, low water pressure, and slow drains.
- Electrical Issues: Outdated wiring, dead outlets, and an overloaded panel are major red flags.
- HVAC Performance: Does the AC actually cool? Does the furnace actually heat? Simple function tests are a must.
- Structural Integrity: They’ll be on the lookout for foundation cracks and any signs of water getting into the basement or crawlspace.
To give you a head start, here’s a quick rundown of the most common—and often scariest—issues that pop up on inspection reports, along with what you can do about them right now.
Top 5 Home Inspection Deal-Breakers and Quick Fixes
| Problem Area | What Inspectors Look For | Your First Step |
|---|---|---|
| Water Damage | Stains on ceilings/walls, musty smells, soft spots around tubs/sinks, evidence of leaks in crawlspaces or basements. | Check under every sink, around toilets, and in your attic for any signs of past or present leaks. Fix drips immediately. |
| Roof Issues | Missing, curled, or cracked shingles; damaged flashing; clogged gutters; signs of leaks in the attic. | Clean your gutters. From the ground, use binoculars to look for obvious shingle damage. |
| Electrical Problems | Outdated knob-and-tube wiring, ungrounded outlets, double-tapped breakers in the electrical panel, non-functional GFCI outlets. | Test all outlets and replace any that are dead. Make sure all light switches work. Label your breaker panel clearly if it isn't already. |
| Plumbing Leaks | Low water pressure, slow drains, gurgling sounds, visible drips from pipes under sinks or in the basement. | Run all faucets and check for drips. Fix any slow drains with a drain cleaner or snake. Check the water heater for any signs of leaking. |
| HVAC Malfunctions | System doesn’t turn on, blows air that isn't hot/cold, makes loud noises, has a dirty filter. | Replace the air filter—it’s the easiest fix in the book. Run both the heat and the AC to ensure they kick on and work properly. |
Tackling even a few of these common trouble spots shows you've taken good care of the property, which gives buyers a huge boost of confidence.
Here's the thing: no home is perfect. Industry surveys show a staggering 86% of inspections turn up at least one issue. So, finding something is the norm, not the exception. The goal isn't a flawless report; it's being prepared for what might show up.
This isn't about deception. It’s about presenting a well-maintained home transparently. Many small fixes can be knocked out with basic upkeep, and our home spring maintenance checklist is a great place to start. Getting these known problem areas sorted out ahead of time makes all the difference.
The High-Impact Repair Checklist for Sellers
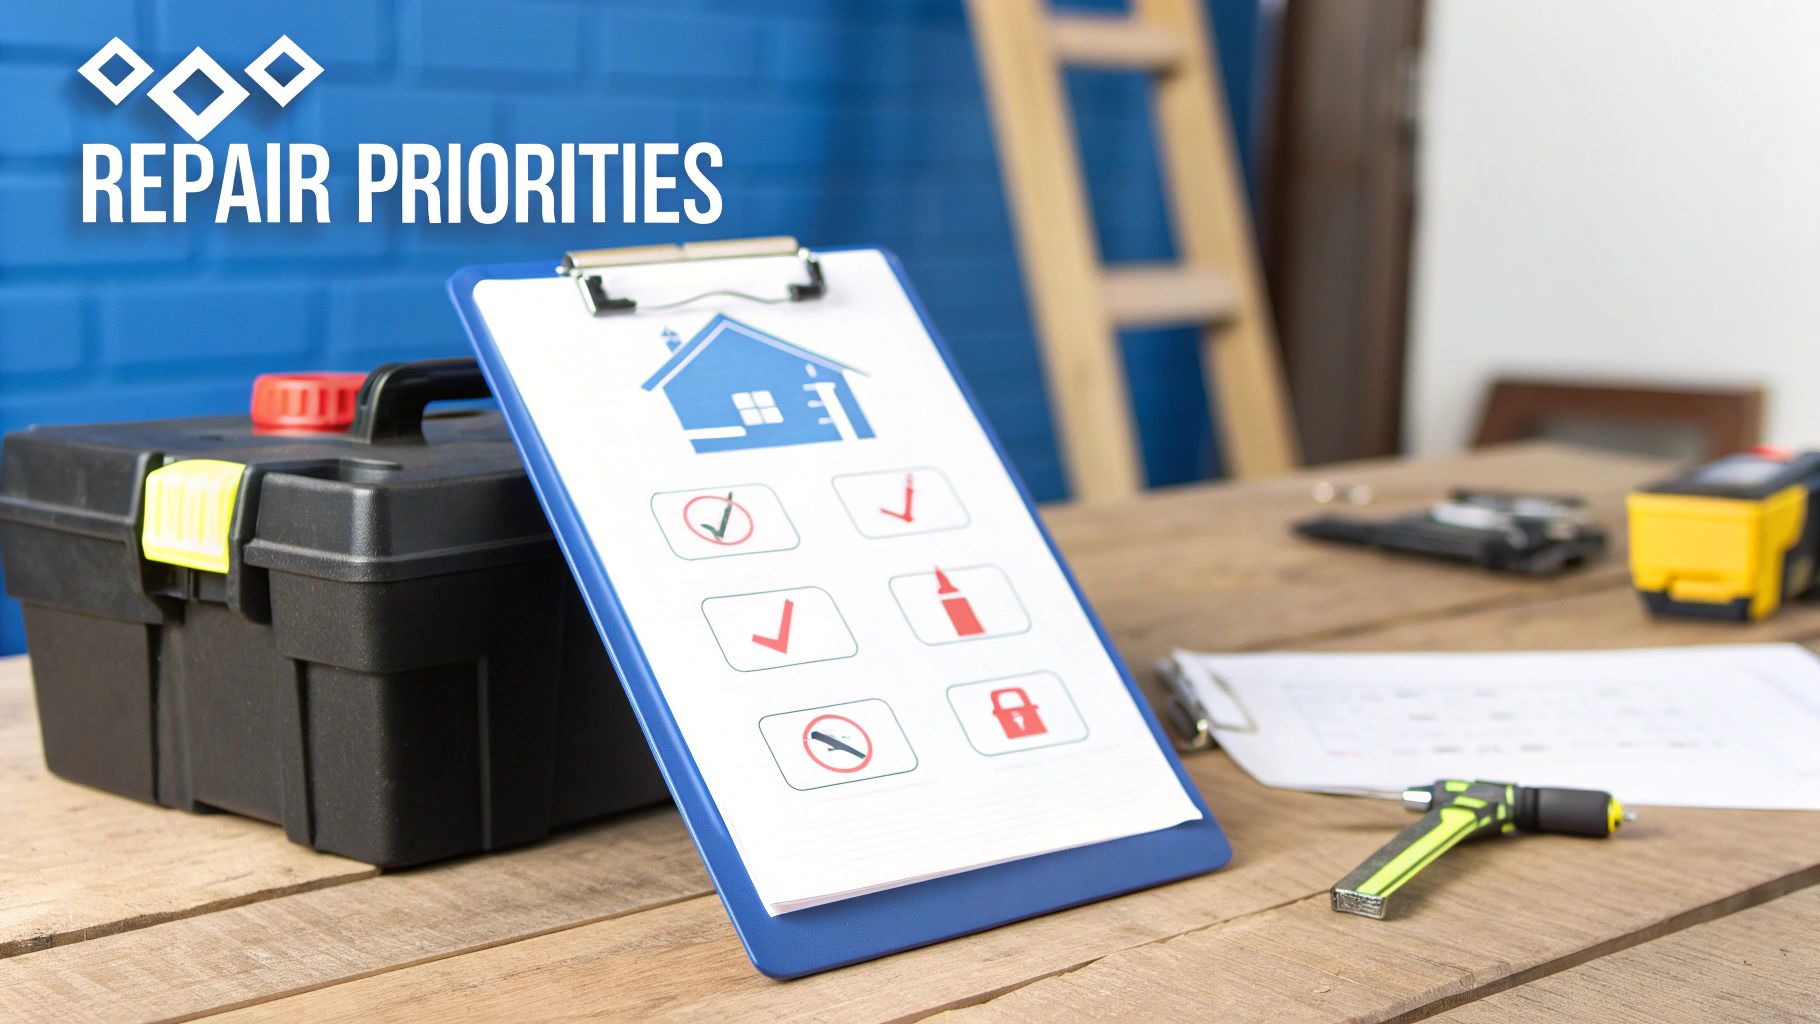
Let's be honest—not all repairs are created equal in the eyes of a home inspector. To truly understand how to pass a home inspection without a hitch, you have to prioritize. Forget about minor cosmetic scuffs for now. Inspectors are laser-focused on the five core systems that define a home's safety, structure, and livability.
By zeroing in on these high-impact areas first, you're putting your time and money where it counts. This isn't just about fixing things; it's about getting ahead of the inspection report and preventing small issues from blowing up into major negotiation hurdles that could derail your sale.
Plumbing: Track Down Leaks and Clogs
Water is a home's number one enemy when it escapes its pipes. Trust me, an inspector will check every single fixture, so your mission is to find the problems before they do.
Start with the obvious: slow drains in sinks, tubs, and showers. A simple drain cleaner might do the trick, but a stubborn clog could point to a bigger issue deeper in the plumbing.
Next, grab a flashlight and get on your hands and knees. Check under every sink in the house—kitchen, bathrooms, laundry room. You're hunting for active drips, chalky white residue on pipes, or those tell-tale water stains on the cabinet floor. These are red flags for slow leaks that scream "potential mold and wood rot" to a buyer.
Before you're done, give the water heater a quick look. Is there any water pooling at the base? Is the temperature and pressure relief (TPR) valve dripping? A failing water heater is an expensive surprise nobody wants.
Electrical: A Quick Safety Sweep
Electrical problems are a huge deal for inspectors because they're directly tied to safety. Your pre-inspection sweep should start with the basics. Flip every light switch and test every outlet. A dead outlet could just be a tripped breaker, but it might also signal faulty wiring.
Pay close attention to your GFCI outlets—those are the ones with the little "test" and "reset" buttons, usually found in kitchens, bathrooms, and garages. Press the "test" button on each one. It should click off immediately. If it doesn't, that outlet isn't providing the shock protection it's designed for and needs to be replaced. It's an easy, inexpensive fix that shows you take safety seriously.
Pro Tip: A neatly labeled electrical panel is the mark of a well-cared-for home. If your breakers are a mystery, spend 15 minutes figuring out what each one controls and labeling it clearly. This small detail makes a huge impression and helps the inspector move through their process smoothly.
HVAC: It's All About Health and Airflow
An inspector is going to run both the heat and the air conditioning, no matter what season it is. Your job is to make sure both systems fire up and work properly.
The easiest and most critical task here? Replace the HVAC filter. A dirty, clogged filter chokes the airflow and makes the system struggle, which can make a simple maintenance issue look like a major mechanical problem.
Next, head outside to your AC condenser unit. Clear away any leaves, branches, and debris. Make sure there’s at least two feet of clearance all the way around it for proper airflow. Back inside, find the condensation drain line (usually a PVC pipe near your furnace) and make sure it isn't clogged, which can cause water to back up and create a mess.
Roofing and Foundation: Your Home's First Line of Defense
Your roof and foundation are what keep your home standing and dry. From the ground, grab a pair of binoculars and scan the roof for any shingles that are missing, cracked, or curling up at the edges. Pay special attention to the flashing around chimneys, vents, and skylights, as these are common spots for leaks to start.
While you're outside, take a slow walk around the perimeter of your foundation. You're looking for significant cracks. Tiny hairline cracks are usually just normal settling, but larger, stair-step cracks in brick or concrete block could signal a structural issue that needs a closer look.
Also, check that the soil and mulch around your foundation slope away from the house. This prevents water from pooling against the walls and seeping into your basement or crawlspace. Catching and managing these issues early is critical; for more detailed guidance, check out our guide to moisture intrusion solutions.
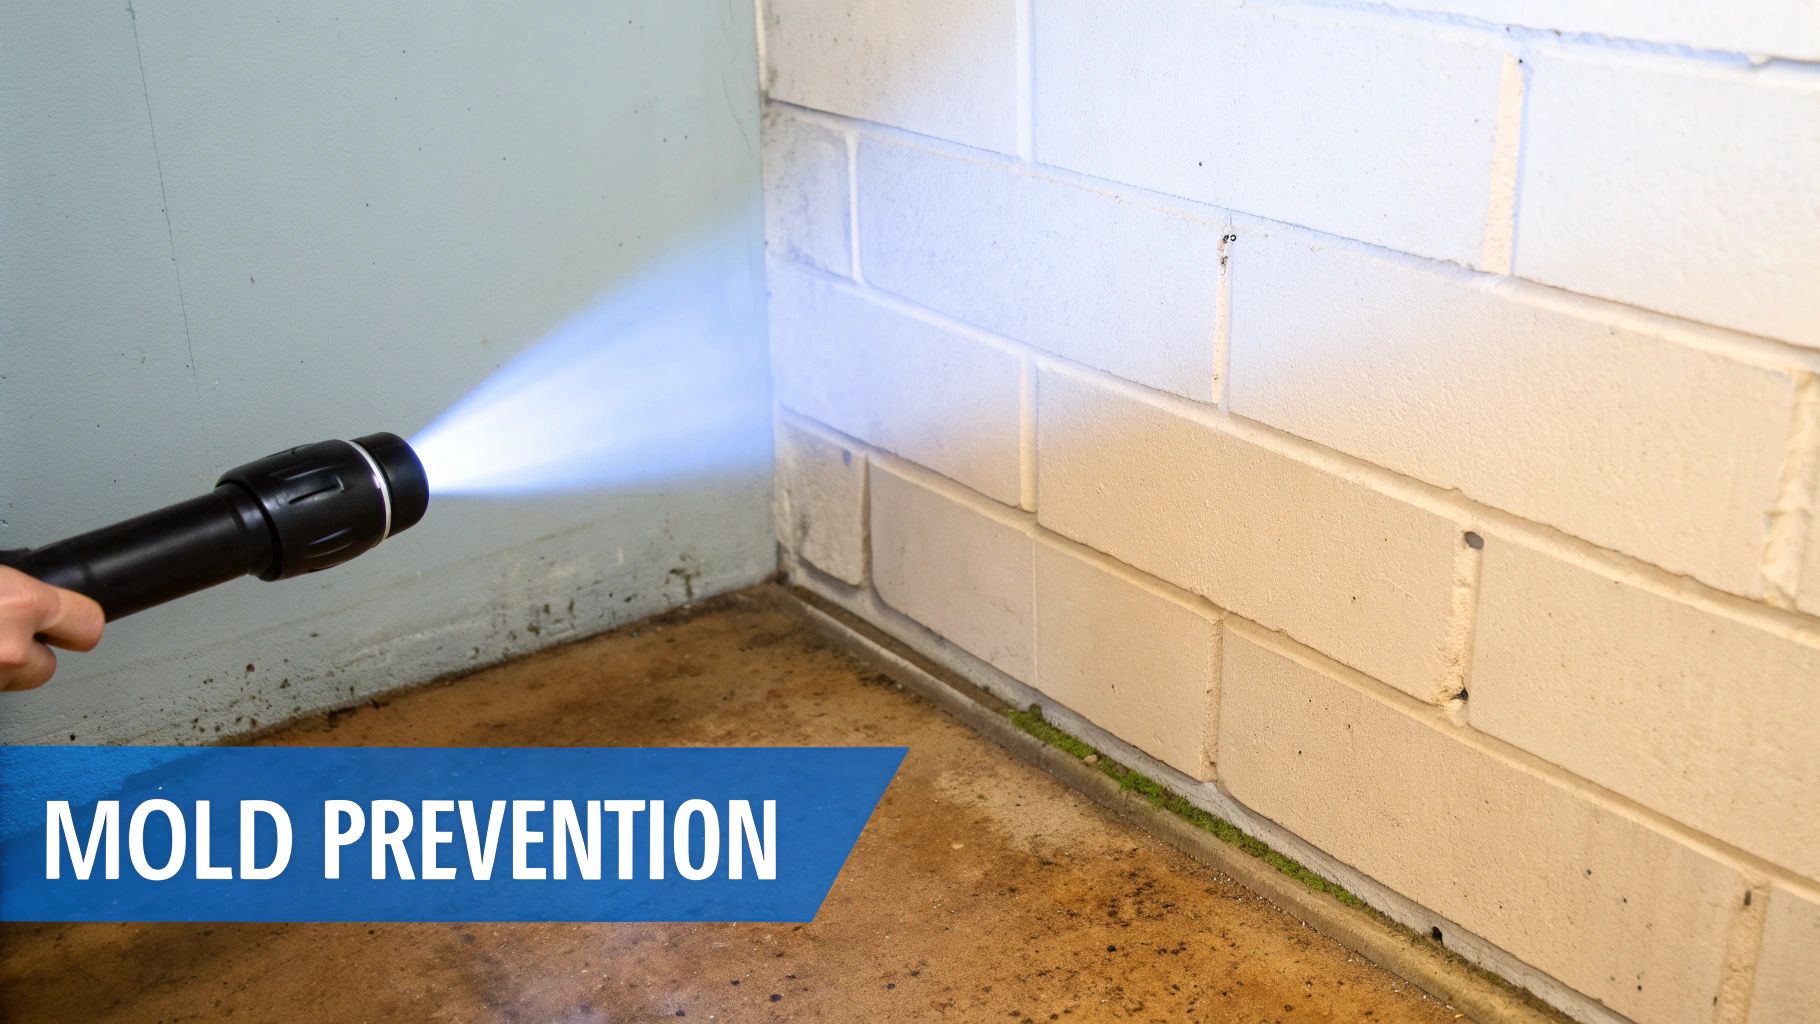
How to Tackle Moisture and Mold Before the Inspector Does
There’s no word that stops a real estate transaction in its tracks quite like “mold.” It’s a deal-killer in waiting, almost always born from moisture issues you might not even realize exist.
If you’re serious about a smooth sale and want to understand how to pass a home inspection, getting ahead of any water-related problems is non-negotiable.
Inspectors are trained to hunt for evidence of water intrusion. By doing your own proactive search, you get to find and fix things on your own terms—not under the pressure of a ticking clock before closing.
Your Systematic Visual Inspection
Think like a detective. Grab a powerful flashlight and get ready to systematically check every damp-prone area of your house. Your mission is to spot the subtle clues an inspector is paid to find.
Make sure your search hits these key zones:
- Basements and Crawlspaces: Shine that light along the bottom of your foundation walls. Look for efflorescence—a white, chalky residue left behind when water evaporates. It’s a dead giveaway that moisture is seeping through the concrete.
- Under Sinks: Open every single cabinet under a sink, in both kitchens and bathrooms. You’re looking for dark stains, warped cabinet floors, or even just a faint musty smell. A slow drip can cause a world of damage over time.
- Around Windows and Doors: Are you seeing peeling paint, discolored drywall, or condensation between the panes of your windows? Those are classic signs of failing seals that are letting moisture in.
- Attics: Get up there and aim your flashlight at the underside of the roof sheathing. Any dark stains or streaks mean you have a roof leak that needs immediate attention.
Differentiating Mildew from Mold
So you've found a suspicious spot. What’s next? It's important to know if you're dealing with simple mildew or a more serious mold problem. Mildew is usually a gray or white powdery growth you'll find on the surface of damp spots, like shower grout. You can typically scrub it away with a household cleaner.
Mold, however, is a different beast. It’s often black, green, or even orange, and can look fuzzy or slimy. It’s a sign of a deeper, more persistent moisture issue and often grows into the material itself, like drywall or wood. If you see this, your problem isn’t just cosmetic—it's a symptom of a water problem that has to be fixed.
The inspector isn’t just looking at the spot; they’re assessing the underlying cause. Simply painting over a water stain on the ceiling is a classic seller mistake. A moisture meter will reveal the cover-up in seconds, instantly damaging your credibility with the buyer.
Taking Decisive Action on Water Issues
Once you've found the source of moisture, your next move is critical. A small, active leak under the bathroom sink might be a simple DIY fix with a wrench and a new gasket. But signs of a roof leak or water seeping into the basement demand a professional. Don't try to patch these yourself.
After any water event, no matter how small, thoroughly drying the area is essential. For a clear timeline and the right steps to take, our guide explains how to prevent mold after water damage and will help you build a solid action plan.
For any widespread or stubborn issues, getting a professional mold inspection is the best move. It gives you definitive answers and, more importantly, shows potential buyers you’ve handled the problem responsibly. That confidence is exactly what you need to keep your sale on track.
Organizing Your Paperwork and Calling in the Pros
A home inspection isn’t just about the physical state of your house—it’s about proving you’ve been a responsible homeowner. Having an organized folder of documents ready can answer an inspector's questions before they even ask, giving the buyer a huge dose of confidence.
Think of it this way: if you can pull out a receipt for a professional roof repair from two years ago, it stops a minor note about "aging shingles" from blowing up into a major negotiation point. Your goal here is to create a complete maintenance history file. It’s about demonstrating a history of care.
Gather Your Essential Documents
Before the inspector even rings the doorbell, get a simple binder or folder together with all your key records. This small gesture speaks volumes about your diligence.
Make sure you include these items:
- Major Replacements: All receipts and warranties for the big-ticket stuff, like a new HVAC system, water heater, or roof.
- Service Records: Paperwork for recent furnace tune-ups, pest control treatments, or that chimney sweep you hired last fall.
- Permits: Got a finished basement or a new deck? Show the permits that prove it was all done to code.
- Appliance Manuals: Having these handy for major appliances is a thoughtful, organized touch.
An organized paper trail is your best defense against speculation. When an inspector sees a professional invoice for a recent plumbing fix, it changes the conversation from "Is this a problem?" to "This problem was handled correctly."
Presenting this information streamlines the whole process. If you found a potential mold issue and had it fixed, the documentation is non-negotiable. For an official record, professional mold inspection services can give you a detailed report and a clearance certificate, offering definitive proof that you've dealt with the concern.
Knowing When to DIY vs. Hiring a Pro
Knowing your limits is a huge part of passing a home inspection. Sure, you can save a few bucks by tackling some fixes yourself, but a botched job creates a much bigger red flag than the original issue ever would have.
A good rule of thumb is to weigh the risk. You can absolutely handle replacing a leaky faucet washer, swapping out an HVAC filter, or patching a small hole in the drywall. These are low-risk tasks that improve your home’s look and feel without needing specialized skills.
However, some jobs should always be left to licensed professionals. This means most electrical work, any significant plumbing repairs, and anything involving your gas lines. An improperly wired outlet isn't just a defect; it's a serious fire hazard. Pros ensure the work is done safely and to code, which is exactly what an inspector—and your buyer—wants to see.
When in doubt, call in an expert. It's an investment in a smoother inspection and a faster sale.
Managing Inspection Day and Negotiating Repairs
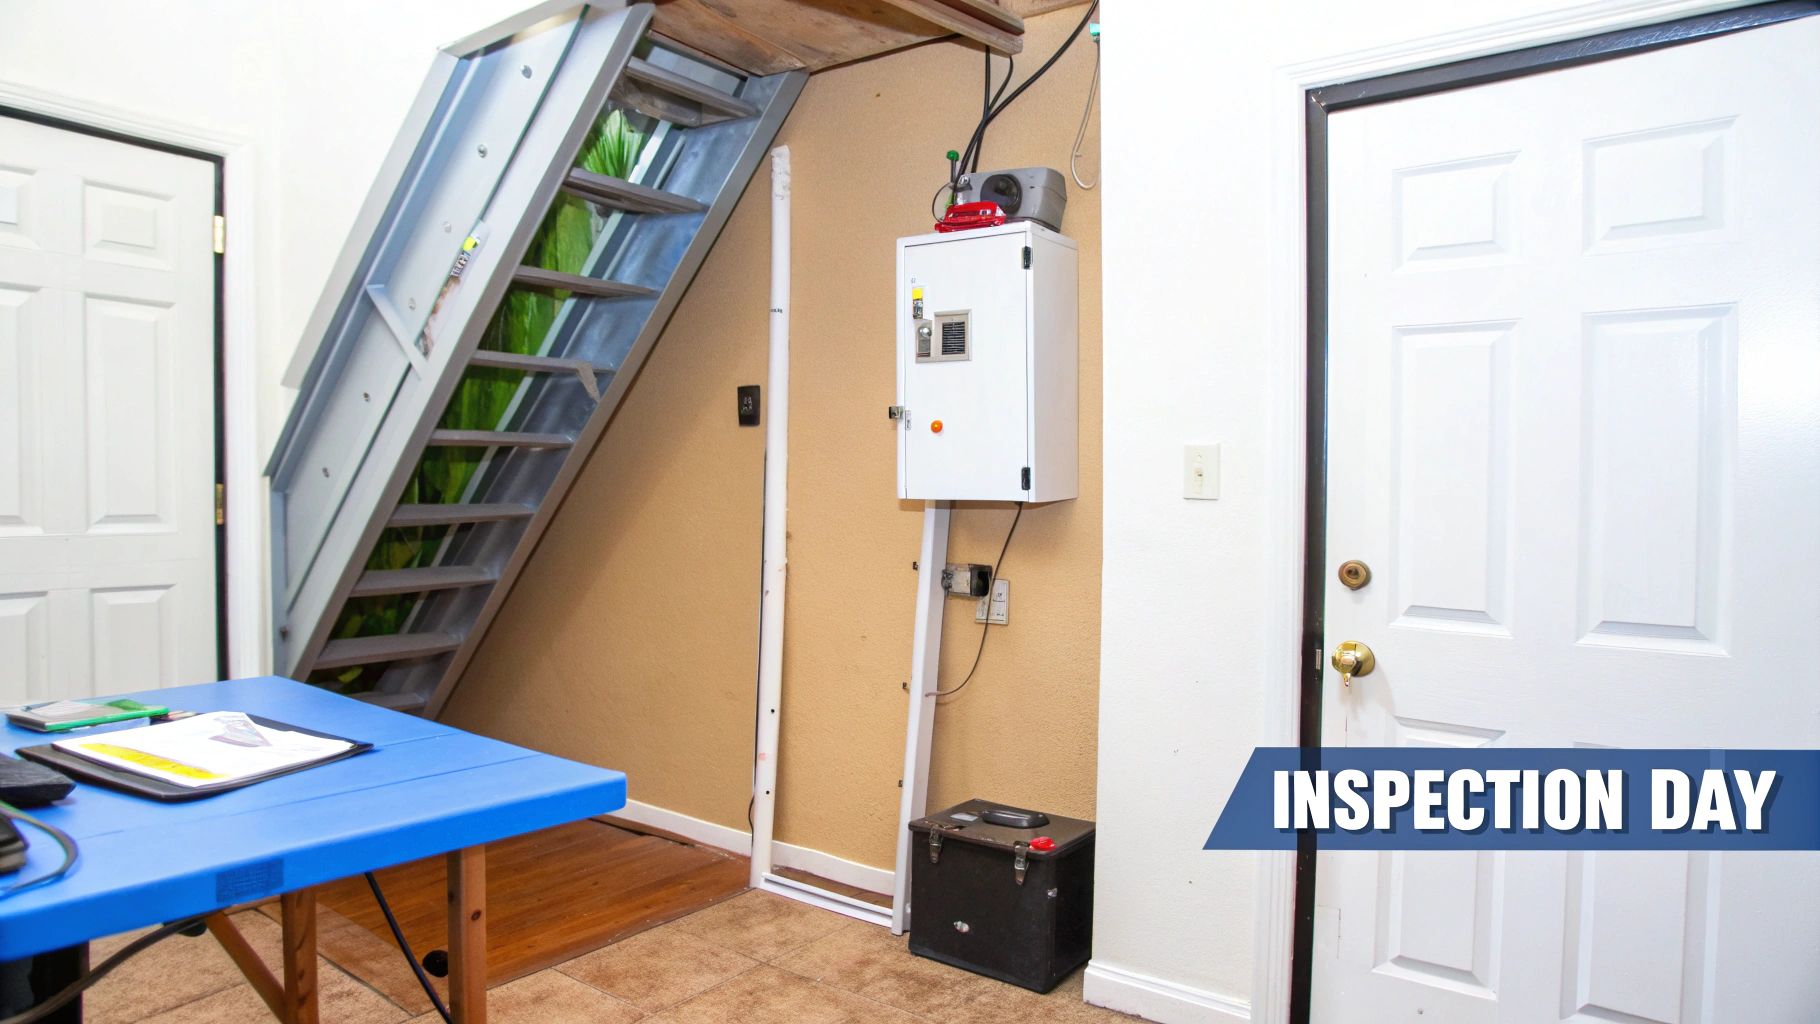
The big day is here. After all your prep work, the home inspection is the final exam, and how you handle it can make a real difference. The name of the game is making the inspector's job as seamless as possible. This isn't just about being polite; it’s about preventing a minor hassle from becoming a flagged item on the final report.
Your number one job is to guarantee total access. If an inspector can't get into the attic, squeeze into the crawlspace, or open a locked utility closet, they have to mark it as "uninspectable." That one word creates doubt and can trigger follow-up inspections, dragging out your sale. Make sure there are clear, easy paths to all the key areas—especially the electrical panel, furnace, and water heater.
The Etiquette of Inspection Day
I know it’s tempting to hover over the inspector’s shoulder, but trust me on this: the best move is usually to make yourself scarce. Give the inspector and the buyer some breathing room to talk openly. It lets them build a rapport and discuss findings without feeling like they’re being watched or rushed.
A few thoughtful gestures can set a positive tone right from the start:
- Leave a friendly note explaining how to work a tricky lock or where the remote for the gas fireplace is.
- Double-check that all utilities—water, gas, and electricity—are on. Don't forget the pilot lights!
- Keep your pets secured so the inspector can move around freely without any furry distractions.
These small things show you’re an organized, on-the-ball seller, which helps build goodwill before the inspection even begins.
Decoding the Inspection Report
When the report lands in your inbox, your first instinct might be to panic at the long list of issues. Take a deep breath. No home is perfect, and inspectors are literally paid to find every single flaw, from the major to the minuscule.
Your job is to read it strategically. I recommend sorting the findings into three simple buckets:
- The Deal-Breakers: These are major safety or structural problems—think faulty wiring, a failing roof, or foundation cracks. These are the non-negotiables.
- The "Getting Old" List: An aging HVAC system or water heater might still be chugging along, but it’s a perfectly valid concern for a buyer looking at future expenses.
- The Small Stuff: This includes minor repairs and cosmetic flaws like a dripping faucet, a cracked tile, or a window that sticks.
Focus your energy on the first two categories. Remember, an inspector’s report isn't a legally binding to-do list. It’s a road map for the next round of negotiations.
This is where the inspection really hits your bottom line. Data shows that about 30% of inspections trigger another round of negotiations, and when they do, buyers end up getting an average of $14,000 off the price.
Strategies for a Fair Negotiation
When the buyer’s repair request comes in, don't take it personally. This is just business. Your response should be calm and professional. For each item, you really have three choices: agree to fix it, offer a credit, or say no.
Offering a credit is often the cleanest solution. It sidesteps the headache of scheduling repairs yourself and allows the buyer to hire their own preferred contractors.
Be reasonable, but don’t be a pushover. If the request is for something significant, like remediating a hidden mold problem, get your own quotes. Knowing the true cost of a mold inspection and remediation gives you solid data to negotiate from a position of strength. It’s the key to passing your home inspection without giving up your hard-earned equity.
Answering Your Lingering Home Inspection Questions
Even with all the prep in the world, it's completely normal to have a few nagging questions about the inspection itself. Getting some straight answers can take a lot of the stress out of the process and help you head into negotiations feeling confident. Let's tackle some of the most common ones we hear from sellers.
What Repairs Are Actually Mandatory After an Inspection?
This is the big one, and the short answer might surprise you: legally, none. An inspection report isn’t a work order from the city; it’s a detailed look at the home’s condition that the buyer uses as a negotiation tool.
But here's where it gets a little more complicated. If the inspector flags a major safety hazard—think exposed wiring, a crumbling foundation, or serious structural defects—a buyer is almost guaranteed to ask for a fix. They won’t (and shouldn't) close on a house with those kinds of risks.
On top of that, certain government-backed loans, like FHA or VA loans, come with their own strict health and safety standards. Lenders for these programs can absolutely require specific repairs, like fixing peeling lead-based paint or adding a missing handrail, before they'll release the funds.
Ultimately, what you repair comes down to the negotiation between you and the buyer.
Remember, the goal is to get to the closing table. While you can refuse any request, digging in your heels on a legitimate safety concern is one of the fastest ways to kill a deal.
Should I Get My Own Inspection Before I List the House?
Getting a pre-listing inspection is a seriously strategic move. Think of it as getting a cheat sheet for the final exam. You uncover any potential deal-breakers on your own terms, letting you handle repairs without the pressure of a buyer's deadline looming over you.
Here’s why it’s often a game-changer:
- No More Surprises: You find the problems first. This completely removes the shock factor for buyers and prevents them from getting spooked by a long, scary-looking report.
- You're in Control: You get to call the shots. You can shop around for contractors, get multiple quotes, and have the work done at a fair price instead of being forced into paying a premium during last-minute negotiations.
- Builds Instant Trust: Handing a buyer a clean pre-inspection report along with receipts for the repairs you've already made? That shows you're a transparent and proactive seller, making your home far more appealing.
This is an especially smart investment for older homes or if you have a gut feeling there might be a few skeletons in the closet (or crawlspace). It’s a small price to pay for a much smoother sale.
How Long Does the Inspection Take, and Should I Stick Around?
A standard home inspection usually takes somewhere between 2 to 4 hours, though it can vary depending on the home's size, age, and overall condition.
Now, for the big question: should you be there? The best advice I can give is to make yourself scarce.
Your absence gives the inspector and the buyer the space they need to talk openly and look at everything without feeling like they're being watched. It's the buyer's chance to ask every little question and really get to know the home with an expert by their side. It's a critical part of their due diligence.
Your job is to get the house ready and then head out for a coffee. Make sure all the utilities are on, pilot lights are lit, and there’s a clear path to the attic, basement, crawlspace, and electrical panel. After that, just let the professionals do their thing.