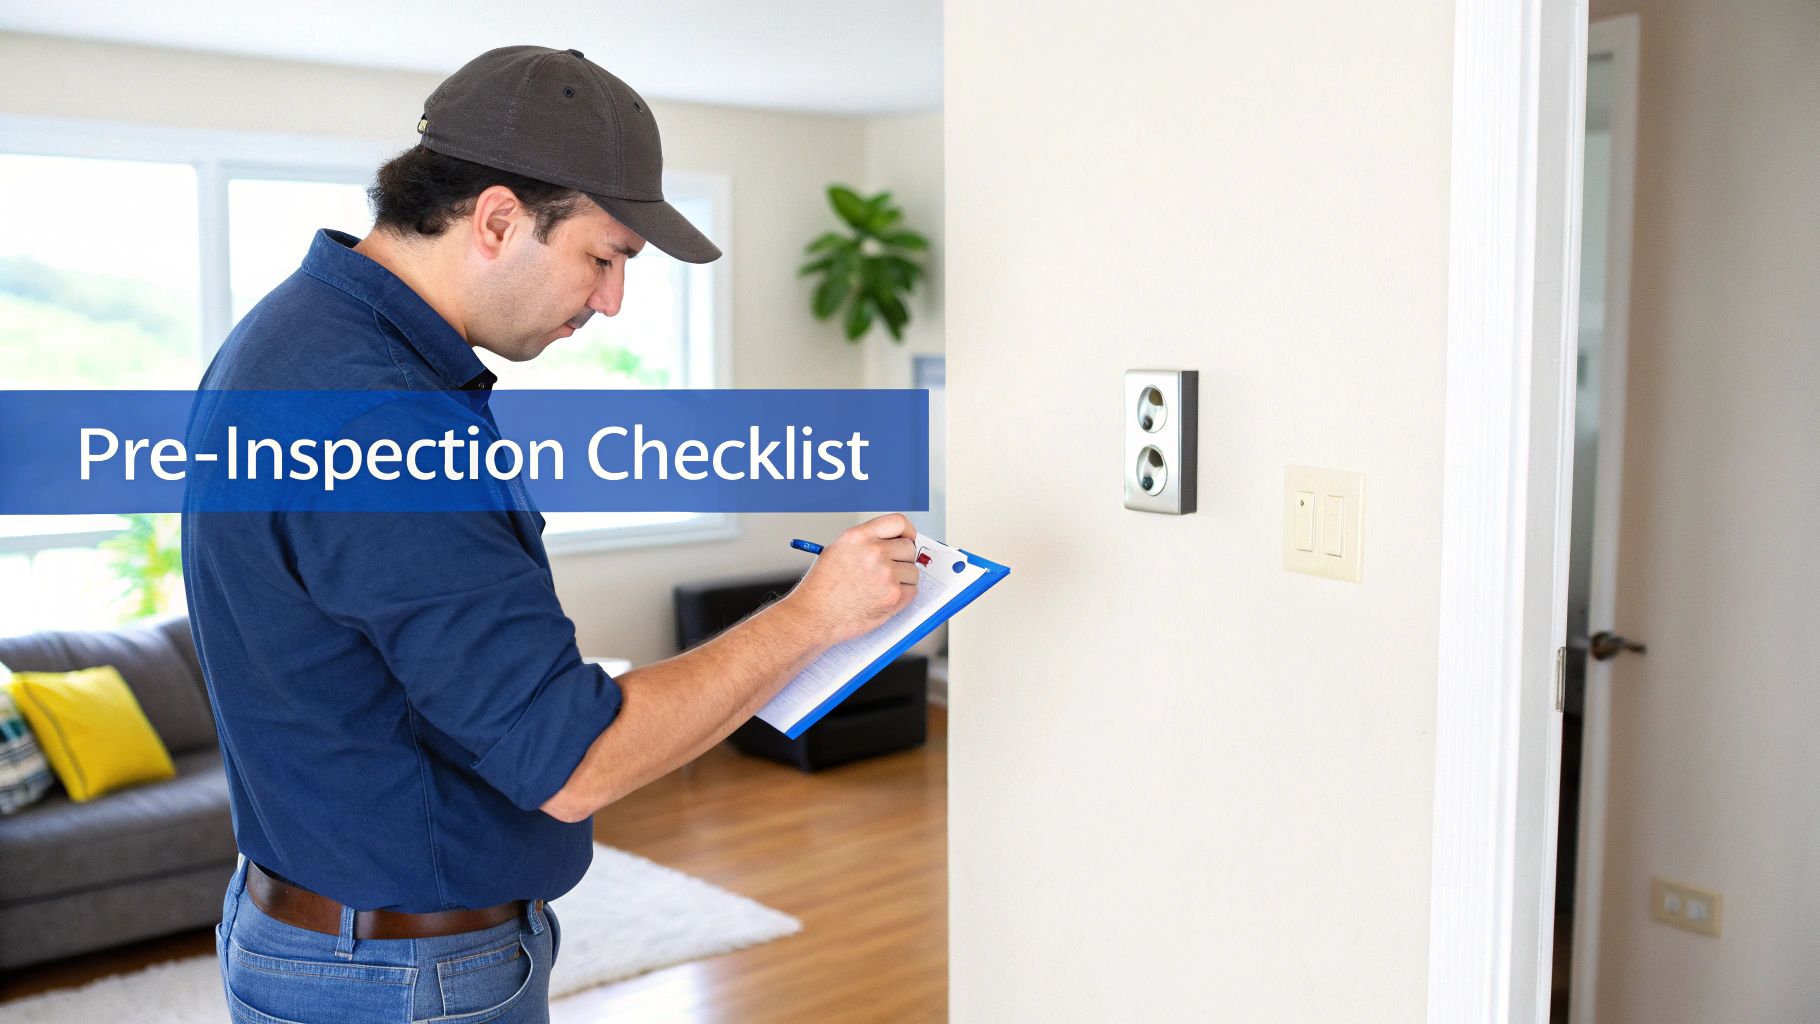
The smartest thing you can do before a home inspection is to walk through your own house with a critical eye. It's about finding and fixing all the little things that, when added up, can give an inspector the impression of a neglected property. We're talking about testing every light switch, running every faucet, and making sure doors don't stick. By handling these minor red flags yourself, you set the stage for a much smoother inspection.
Your Pre-Inspection Walkthrough Checklist
Long before a professional inspector arrives, you have a golden opportunity to see your home the way they will. This isn't about covering up serious problems. It’s about showing you’re a diligent homeowner and preventing a laundry list of small, easy fixes from cluttering up the final report.
Remember, an inspector's job is to find what’s wrong. A dozen minor issues can create a snowball effect, making them scrutinize the major systems much more closely.
A quick walkthrough helps you spot problems you’ve probably learned to ignore. That window that’s always been a little sticky? To you, it’s a quirk. To an inspector, it might suggest foundation issues. That door that never quite latches? It could be a sign of a shifting frame.
The Power of Small Fixes
Grab a notepad and go room by room, methodically checking the basics. This little exercise will give you a simple to-do list that you can likely knock out in an afternoon, but the payoff on inspection day is massive.
Here’s what to look for in each room:
- Electrical Outlets and Switches: Flip every switch and test every outlet (a cheap outlet tester is a great tool for this). A dead outlet might be an easy fix, but it gets noted as a potential electrical problem. Replace any cracked or broken outlet covers—it’s a fix that costs less than a dollar but instantly removes a visual sign of disrepair.
- Plumbing Fixtures: Turn on the water in every sink, shower, and tub. Check for good pressure and watch for slow drains, which can point to a clog. And don't forget the most important part: peek under every single sink. Look for active drips or old water stains, as these are immediate red flags for moisture issues.
- Doors and Windows: Open and close every single door, both interior and exterior. Do they latch properly? Do they stick or scrape the floor? Do the same for all windows. They need to open, close, and lock smoothly.
- Appliances: If they’re staying, they get tested. Run a quick rinse cycle on the dishwasher, fire up all the stove burners, and make sure the garbage disposal works.
A home inspection isn't a pass-or-fail exam. It’s an objective report on the home’s condition. But a report filled with minor things like burnt-out lightbulbs and slow drains can easily spook a buyer and make negotiations a nightmare.
Looking for Deeper Issues
While you’re handling the small stuff, keep an eye out for clues to bigger problems. Look for faint water stains on ceilings or around the base of a toilet—these often point to slow, hidden leaks that need a professional.
Also, be sure to test every smoke and carbon monoxide detector. An inspector will check these every single time for safety compliance, so make sure they’re working and have fresh batteries.
By putting in a few hours for a detailed self-inspection, you’re taking control of the narrative. You’re not just cleaning up; you're curating the story your home tells. For a more structured approach, a detailed seller home inspection checklist can be a lifesaver to ensure nothing gets missed. This simple step can turn a stressful inspection into a smooth validation of your home's quality.
Make Sure the Inspector Can Access Everything
Here's a simple truth about home inspections: the report is only as good as what the inspector can physically see and touch. If they can't get to a key area, it gets marked as "uninspectable." For a buyer, that’s a huge red flag that can cause frustrating delays and inject a dose of anxiety into the deal.
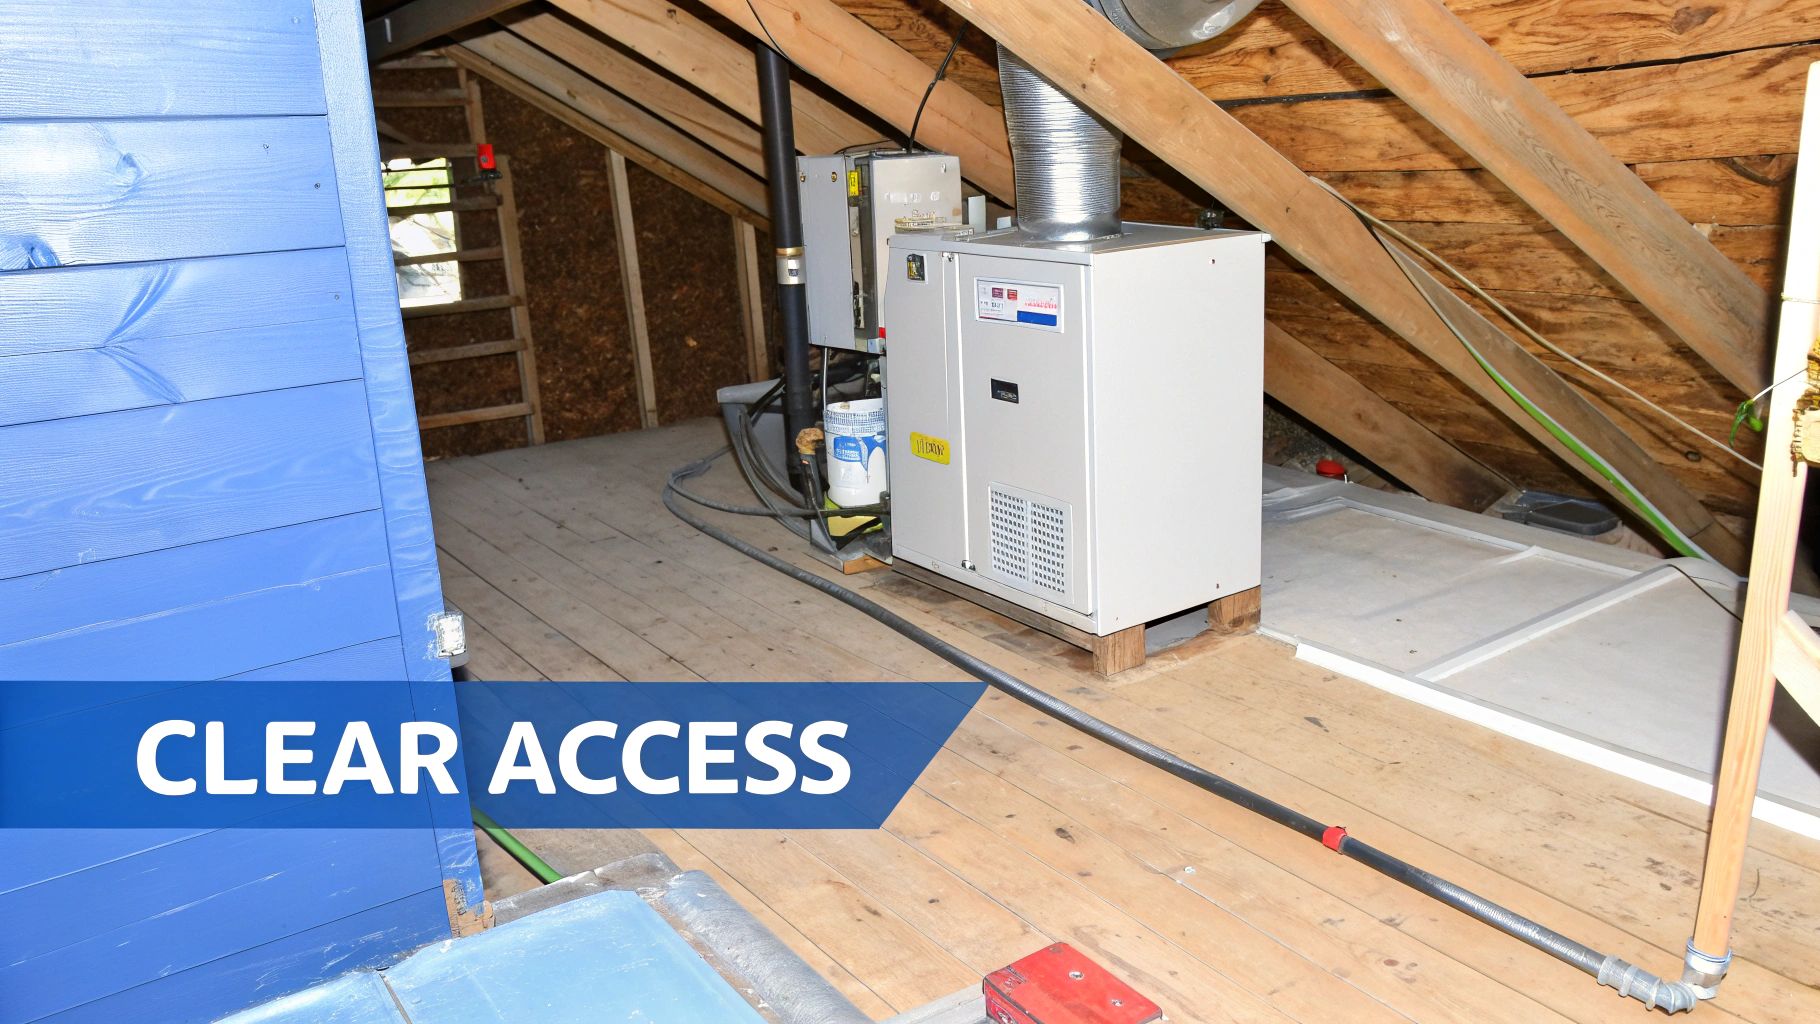
Your main job is to remove every single obstacle. This is about more than just tidying up; you need to think like an inspector and anticipate every system and space they need to evaluate. A blocked crawl space or an attic hatch buried under a mountain of holiday decorations means the inspector might have to come back, putting your closing timeline at risk.
I’ve seen it happen. A seller's garage was so packed with boxes that the inspector couldn't get near the electrical panel. The buyer got nervous, the closing was pushed back by a week, and the whole transaction was filled with unnecessary stress—all because of clutter.
Create Clear Pathways Inside and Out
The best approach is to be proactive and create clear, safe access points everywhere. Think of it as rolling out the red carpet. An organized, accessible home sends a message of transparency and responsible ownership, which goes a long way.
Here are the non-negotiable areas you need to clear before the inspector arrives:
- Your Home's Engine Room: Clear a three-foot radius around your furnace, water heater, and electrical panel. Inspectors need this elbow room to work safely, check connections, find serial numbers, and look for signs of wear and tear.
- Attics and Crawl Spaces: Move any boxes, furniture, or other clutter blocking attic hatches or crawl space entrances. And please, make sure those pull-down attic stairs are actually working and safe to use.
- The Great Outdoors: Don't forget to unlock all the gates to the backyard, sheds, and any detached garages. It's also a good idea to trim back overgrown bushes that are hugging the exterior walls, foundation vents, or the air conditioning unit.
An inaccessible area doesn't just get a pass; it gets noted in the report as an unknown. For a buyer, "unknown" often translates to "risk," which is the last thing you want to introduce during negotiations.
Don't Sweat the Small Stuff… Actually, Do
Inspectors also need to get into places you might not even think about. A classic one is the cabinet under every sink. Make sure that space is empty so they can get a good look at the plumbing and check for any past or present leaks. If you have a sump pump, make sure the cover isn't screwed down or blocked.
By providing total access, you’re helping the inspector do their job right the first time. It speeds up the entire process and, more importantly, builds confidence and goodwill with the buyer. Understanding the complete mold inspection process also really drives home why clear access to those hidden, damp-prone areas is so critical. A little prep work here will pay off big time.
Address Moisture Hotspots Before the Inspection
Water is a home's worst enemy. Nothing sends a potential buyer running faster—or brings a home inspection to a screeching halt—like signs of water damage. Even a slow, minor leak can lead to serious structural issues and create the perfect breeding ground for mold.

This is especially true for homes in coastal or humid areas, where the threat is constant. Proactively managing moisture isn't just a good idea; it's an essential part of getting your home ready for inspection.
A good home inspector is trained to spot the subtle clues of water intrusion that most homeowners walk past every day. That faint, brownish ring on the ceiling? The slightly musty smell in a closet? To an inspector, those aren't minor imperfections—they're bright red flags that demand a much deeper look.
Pinpointing Potential Problem Zones
Before the inspector shows up, it's time to play detective. Doing your own moisture hunt can save you from getting blindsided by the inspection report and gives you a chance to fix things on your own terms. A little bit of diligence now can prevent a lot of headaches later.
Here’s a practical checklist to get you started:
- Look Up, Look Down: Scan all ceilings and walls for discoloration, water stains, or peeling paint. Pay extra attention to areas under bathrooms and laundry rooms.
- Check Under the Sinks: Grab a flashlight and get a good look at the plumbing in your kitchen and bathrooms. You're searching for active drips, condensation, or old water stains on the cabinet floor.
- Test Bathroom Ventilation: Turn on your bathroom exhaust fans. Do they actually pull steam outside, or just blow it around the attic? Improper venting is one of the most common causes of attic mold we see.
- Eyeball Your Gutters: Make sure your gutters and downspouts are clear. If they're clogged with leaves and debris, rainwater can back up and seep into your foundation or behind the siding.
- Inspect Windows and Doors: Check the seals around all windows and exterior doors. Cracked or shrinking caulk is an open invitation for water to sneak in.
Undetected mold doesn't just derail a sale; it can tank your property’s value. Industry data shows that significant mold problems can slash a home's market price by as much as 28%. That’s a massive financial hit.
The Financial Wisdom of a Pre-Inspection Assessment
Choosing to skip a dedicated mold inspection before the main home inspection is a roll of the dice. Recent data shows a standalone mold inspection averages around $660, which is a smart investment to uncover issues early and avoid costly surprises during negotiations.
In places like Santa Barbara and Ventura Counties, the humid ocean air makes homes magnets for mold, especially in attics, crawl spaces, and HVAC systems. Some industry reports even suggest that around 70% of homes in humid climates have some level of mold. Being proactive isn't paranoid; it's just plain smart.
Bringing in a specialist like Pacific Mold Pros for a pre-inspection assessment gives you invaluable peace of mind. Our certified inspectors use tools like thermal imaging cameras and moisture meters to find hidden water intrusion that a general inspector might easily miss.
Addressing these problems upfront shows buyers you're transparent and prevents a moisture issue from becoming the main sticking point in your sale. Finding out about problems on your own terms is always better. Check out some of the professional moisture intrusion solutions that can protect your home's health and its value.
Organize Your Maintenance Records and Paperwork
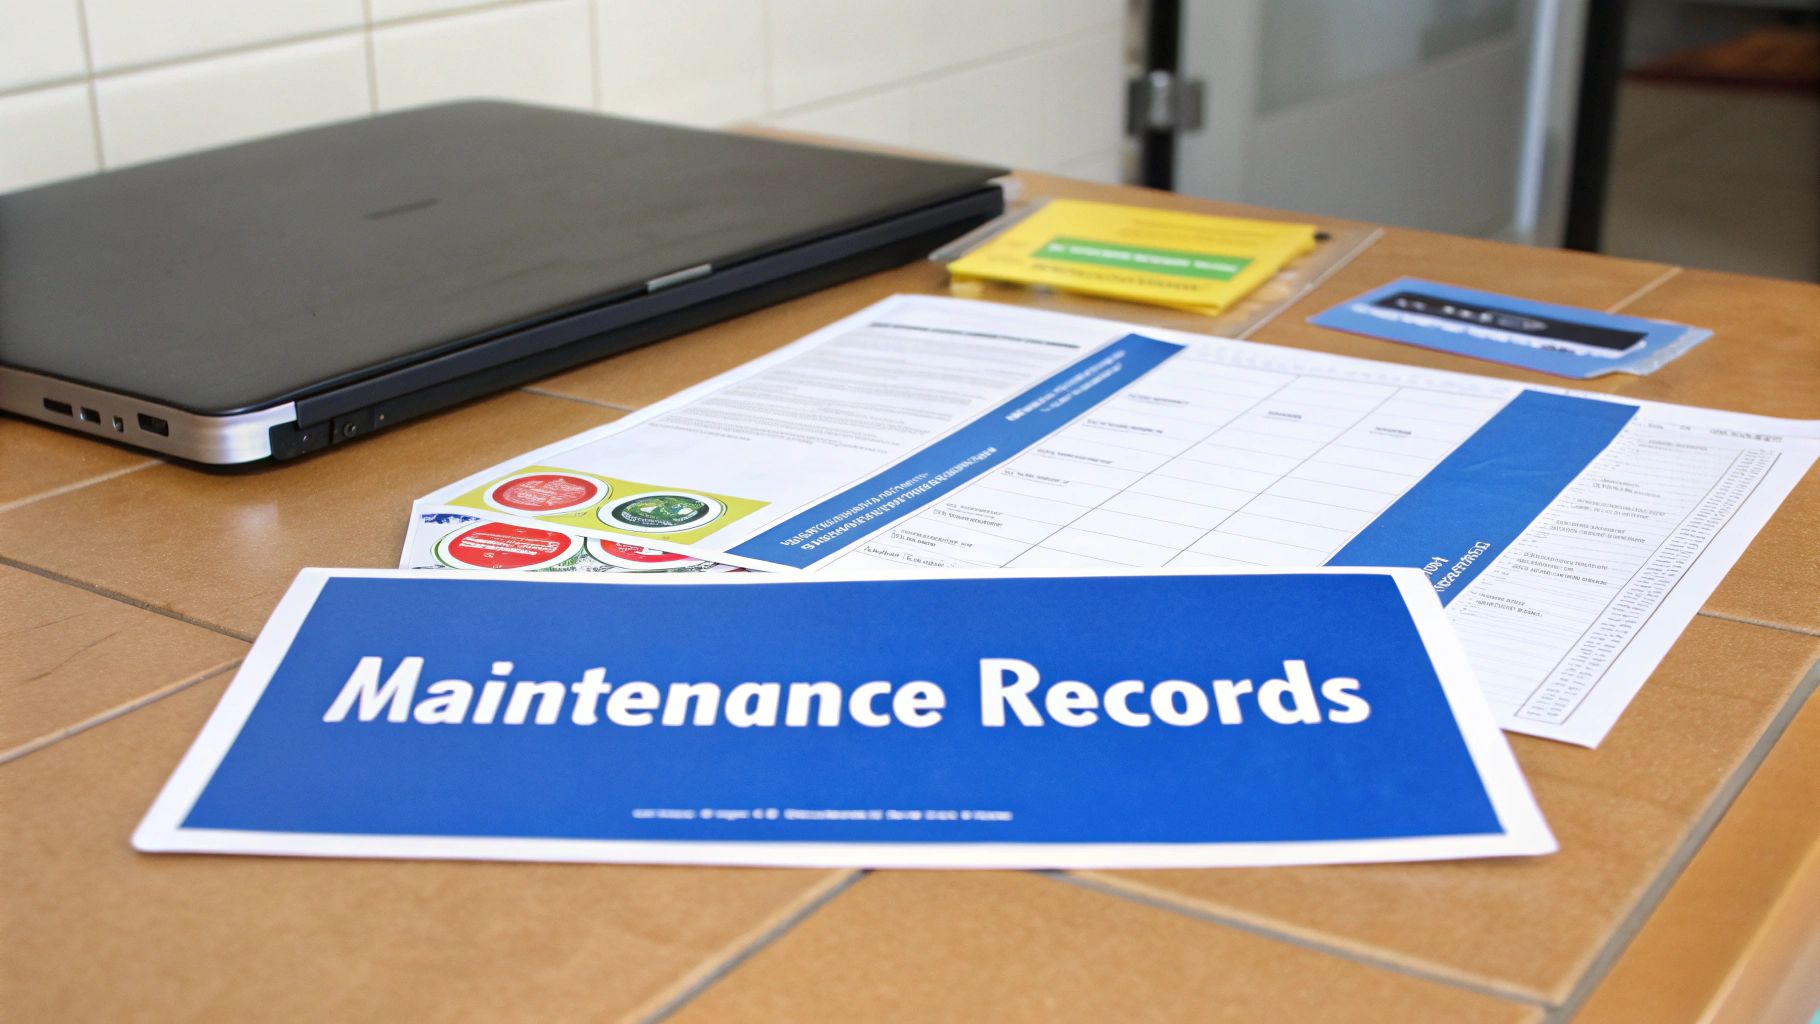
Of all the things you can do to prepare for an inspection, creating a folder of well-organized paperwork might be the most powerful. It’s more than just a collection of receipts; it’s your home’s professional resume, and it instantly builds confidence with both the inspector and the potential buyer.
Think about it from their perspective. When an inspector sees a clear history of upgrades and consistent servicing, it signals that the property hasn't been neglected. This kind of transparency can stop a minor issue from becoming a major red flag in the buyer's mind.
Instead of leaving them to guess about the age of the water heater or the quality of a past roof repair, you’re handing them clear, documented proof. It's a simple step that can make the whole process smoother and set a positive, trusting tone.
What to Gather for the Inspector
Your goal here is to create a simple, easy-to-scan binder or digital folder with the most important documents. This isn’t about burying the inspector in every receipt you’ve ever collected. It's about providing high-impact information that tells the story of your home’s care.
Try to anticipate the inspector's questions. For instance, knowing that annual HVAC servicing can cut the risk of failure by up to 50% makes those service invoices incredibly valuable. The same goes for records of major investments, like a new roof that should last 20-25 years. These documents provide tangible proof that you've maintained the home’s long-term health.
Having your documentation ready shows respect for the inspector’s time and the buyer’s due diligence. It’s a professional courtesy that reflects positively on you as a seller and can help negotiations go more smoothly.
Key Documents for Your Inspection Binder
Pulling this together doesn't need to be a huge project. Just focus on the items that add the most value and context. A little organization here goes a very long way in demonstrating pride of ownership and responsible maintenance.
Here’s a quick checklist of the essentials to include.
Essential Home Maintenance Documentation Checklist
| Document Type | What to Include | Why It's Important |
|---|---|---|
| Major Replacements | Warranties and receipts for a new roof, HVAC system, water heater, or major appliances. | Proves the age and quality of expensive systems, giving buyers peace of mind about future replacement costs. |
| Repair & Renovation | Invoices for significant repairs (e.g., foundation work, plumbing upgrades) and permits for any additions. | Demonstrates that work was done professionally and to code, addressing potential structural or safety concerns. |
| Annual Servicing | Records of yearly maintenance for the furnace, A/C unit, fireplace/chimney, or septic system. | Shows a commitment to preventative maintenance, reducing the likelihood of unexpected system failures. |
| Pest Control | Contracts or service reports from any pest control treatments, especially for termites or carpenter ants. | Addresses a common buyer fear head-on and shows that you have been proactive about protecting the home. |
Putting in this effort complements all the physical prep you've done. It paints a clear picture of a well-maintained home. And when it comes to specific concerns like moisture, pairing these records with a clean report from a pre-buying home inspection provides the ultimate proof of a healthy, solid property.
What to Expect on Inspection Day
Knowing what actually happens on inspection day can turn a nerve-wracking experience into a simple, straightforward process. A real home inspection isn’t just a quick walkthrough; it's a deep dive into the home’s condition, and it takes time. Let's walk through the timeline, costs, and general etiquette so you feel confident and prepared.
Most inspections last somewhere between two and four hours. Of course, the exact time depends heavily on the size and complexity of the home. A smaller house under 1,500 square feet might wrap up in about 2-2.5 hours, but a larger property over 2,500 square feet could easily stretch to 5 hours or more. The inspector needs to be thorough, checking everything from the foundation to the shingles on the roof.
Who Attends and What It Costs
Typically, you'll see the buyer, their real estate agent, and the inspector at the property. While sellers are allowed to be there, most agents will advise against it. It's best to give the buyer and inspector some space. This lets them talk openly and creates a much more comfortable, transparent atmosphere without the seller looking over their shoulder.
For buyers, budgeting for the inspection is a key step. Sellers should also understand these costs, as they can pop up during negotiations. The national average for a standard inspection lands around $343, but most people end up paying between $296 and $424. This fee covers the core systems—think HVAC, plumbing, and electrical—but doesn't include specialized services. You can get a good breakdown of the real costs of home inspections on Amerisave.com.
A critical takeaway for sellers is that add-on services are becoming the norm, not the exception. In moisture-prone areas like Santa Barbara County, a specialized mold inspection is a smart investment for a buyer, averaging around $660. This makes a pre-sale assessment from a company like Pacific Mold Pros a savvy defensive move for sellers.
Seller Etiquette for a Smooth Process
On inspection day, your main job is to make the inspector's job as easy as possible. Before you head out, double-check that all utilities are on. The water, gas, and electricity are absolutely essential for testing the home's systems. It’s also a nice touch to set the thermostat to a comfortable temperature.
The inspector is going to be testing pretty much everything they can get their hands on, taking tons of notes, and snapping photos for their report. They'll run appliances, turn on faucets, flush toilets, and test outlets. By giving them full access and then stepping away, you're showing that you have nothing to hide and are confident in your home’s condition. This simple act of courtesy really helps set a positive tone for the whole transaction.
Answering Your Biggest Home Inspection Questions
Even if you’ve done all your homework, the home inspection can feel a little mysterious. Whether you're buying or selling, knowing what to expect turns anxiety into confidence. Let's walk through the questions we hear all the time.
What Does a Standard Home Inspection Actually Cover?
Think of a standard home inspection as a general check-up for a house. It's a non-invasive, visual examination of all the major systems—not a pass-or-fail test. The goal is to get an objective snapshot of the property's condition on that specific day.
An inspector is going to look at key areas like:
- Structural Components: The foundation, framing, and anything holding the house up.
- The Exterior: Siding, windows, doors, the roof, and how water drains away from the property.
- Core Systems: HVAC, plumbing, and electrical systems.
- Key Spaces: The attic, any visible insulation, and the basement or crawl space.
The inspector's job is to spot significant defects, potential safety hazards, and systems that are on their last legs. But here’s what’s really important to know: a general inspection isn't designed to find everything. Things like mold, radon, asbestos, or pests require a specialist. You can learn more about why that is in our detailed guide on how home inspections check for mold.
What Happens if the Inspector Finds Problems?
First off, don't panic. Finding issues is completely normal—no home is perfect, not even a brand-new one. When the inspection report comes back with a list of problems, the buyer usually has a few paths forward, depending on their contract. They might ask the seller to handle certain repairs, request a credit to cover the cost of doing it themselves, or, if the problems are serious enough, they might decide to walk away from the deal.
The inspection report is fundamentally a negotiation tool. It gives the buyer the information they need to make a smart decision and gives both sides a clear, factual basis for any talks about price or repairs.
Should a Seller Bother with a Pre-Listing Inspection?
Getting an inspection before you list your home is one of the smartest strategic moves a seller can make. It puts you in the driver's seat. You get to uncover any potential deal-breakers on your own time and budget, without the pressure of a buyer's deadline hanging over your head.
This proactive approach means you can calmly research contractors, get a few different quotes, and manage the repairs without the stress. When you can hand potential buyers a clean inspection report—or a detailed list of everything you've already fixed—it builds a huge amount of trust. It helps justify your asking price, cuts down on the painful back-and-forth negotiations, and almost always leads to a faster, smoother sale.