Preparing for a home inspection isn't just about a quick tidy-up. It’s about giving an inspector full, safe access to all the major systems in the house and taking care of minor issues beforehand. The goal is to clear pathways to the attic, crawlspace, and utilities, test every fixture, and pull together any relevant repair paperwork. A well-prepared home sends a clear signal of good maintenance, which helps the entire inspection go that much smoother.
Your Guide to a Stress-Free Home Inspection
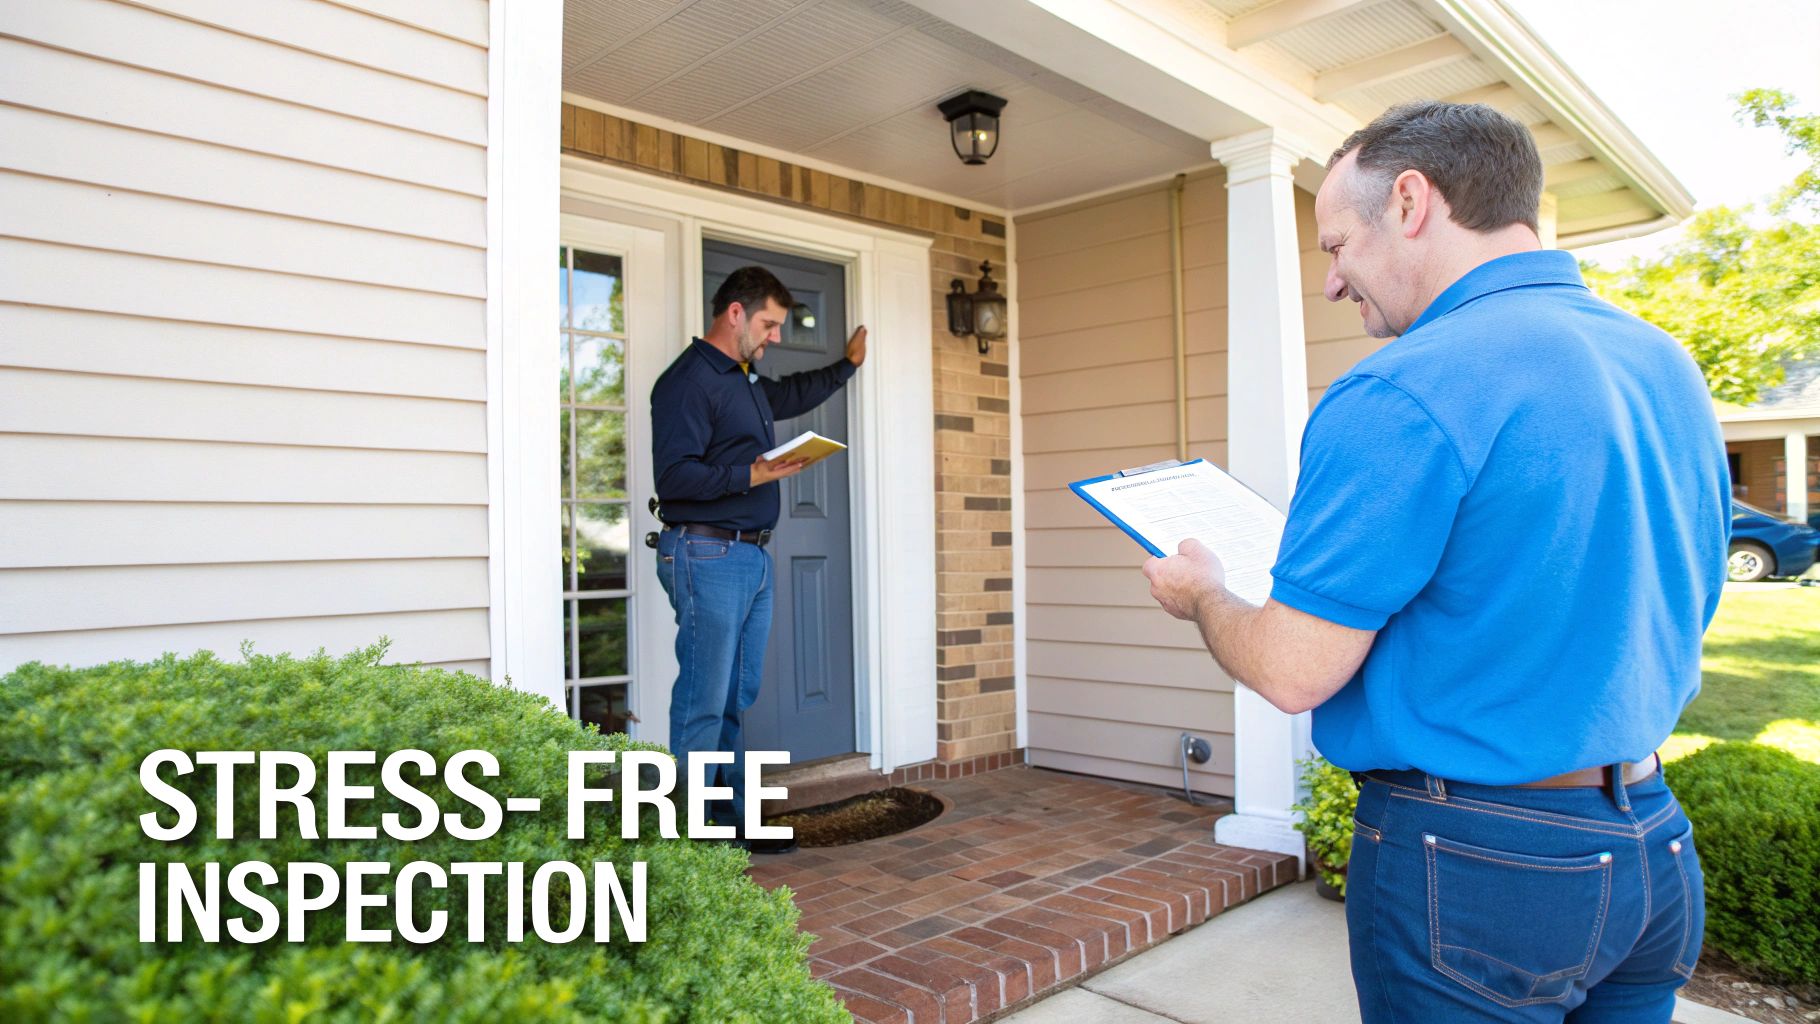
A home inspection is a huge milestone for both buyers and sellers, but it doesn't have to be a source of anxiety. This guide is here to demystify the process, explaining what inspectors really look for and why smart preparation is your best bet. Think of it as a professional check-up on the property's health, usually happening right after a purchase agreement is signed but before the deal closes.
This isn't just about making the place look nice; it's about proactively handling potential red flags to avoid any last-minute negotiations or delays that could throw a wrench in the works.
Understanding the Inspector's Role
The inspector, who is hired by the buyer, is there to be an objective third party. Their job is to identify potential problems by evaluating the home's structure, systems, and key features. When a home is prepped and ready for them, they can work efficiently, providing a clear picture of the property’s condition and building confidence for everyone involved in the transaction.
Inspectors have a long checklist, but they often focus on a few key areas:
- Structural Integrity: They'll be looking at the foundation, basement, and framing for any signs of water damage or shifting.
- Major Systems: The condition and age of the roof, plumbing, electrical, and HVAC systems are always under the microscope.
- Safety Concerns: They'll check the function of smoke detectors, look for proper electrical grounding, and keep a sharp eye out for moisture issues. You can dive deeper into what inspectors look for in our detailed guide on the subject.
The goal of preparation isn’t to hide problems. It’s to demonstrate transparency and a history of good maintenance. An accessible, well-kept home sets a positive tone right from the start and can make minor issues seem far less significant.
The Financial Side of Inspections
For buyers, the inspection is a standard—and expected—part of any real estate deal. Nationally, a standard inspection for a 2,000-square-foot home typically lands somewhere between $343 and $400.
Of course, costs can vary quite a bit by region. High-cost areas like Hartford, Connecticut, might see averages around $489, while markets like Detroit are closer to $294. For homeowners here in coastal areas like Santa Barbara, managing moisture is a particularly important factor, a theme we'll explore in more detail. For more insights on inspection costs, Amerisave.com has some great regional breakdowns.
The Seller’s Long-Term Inspection Prep Plan
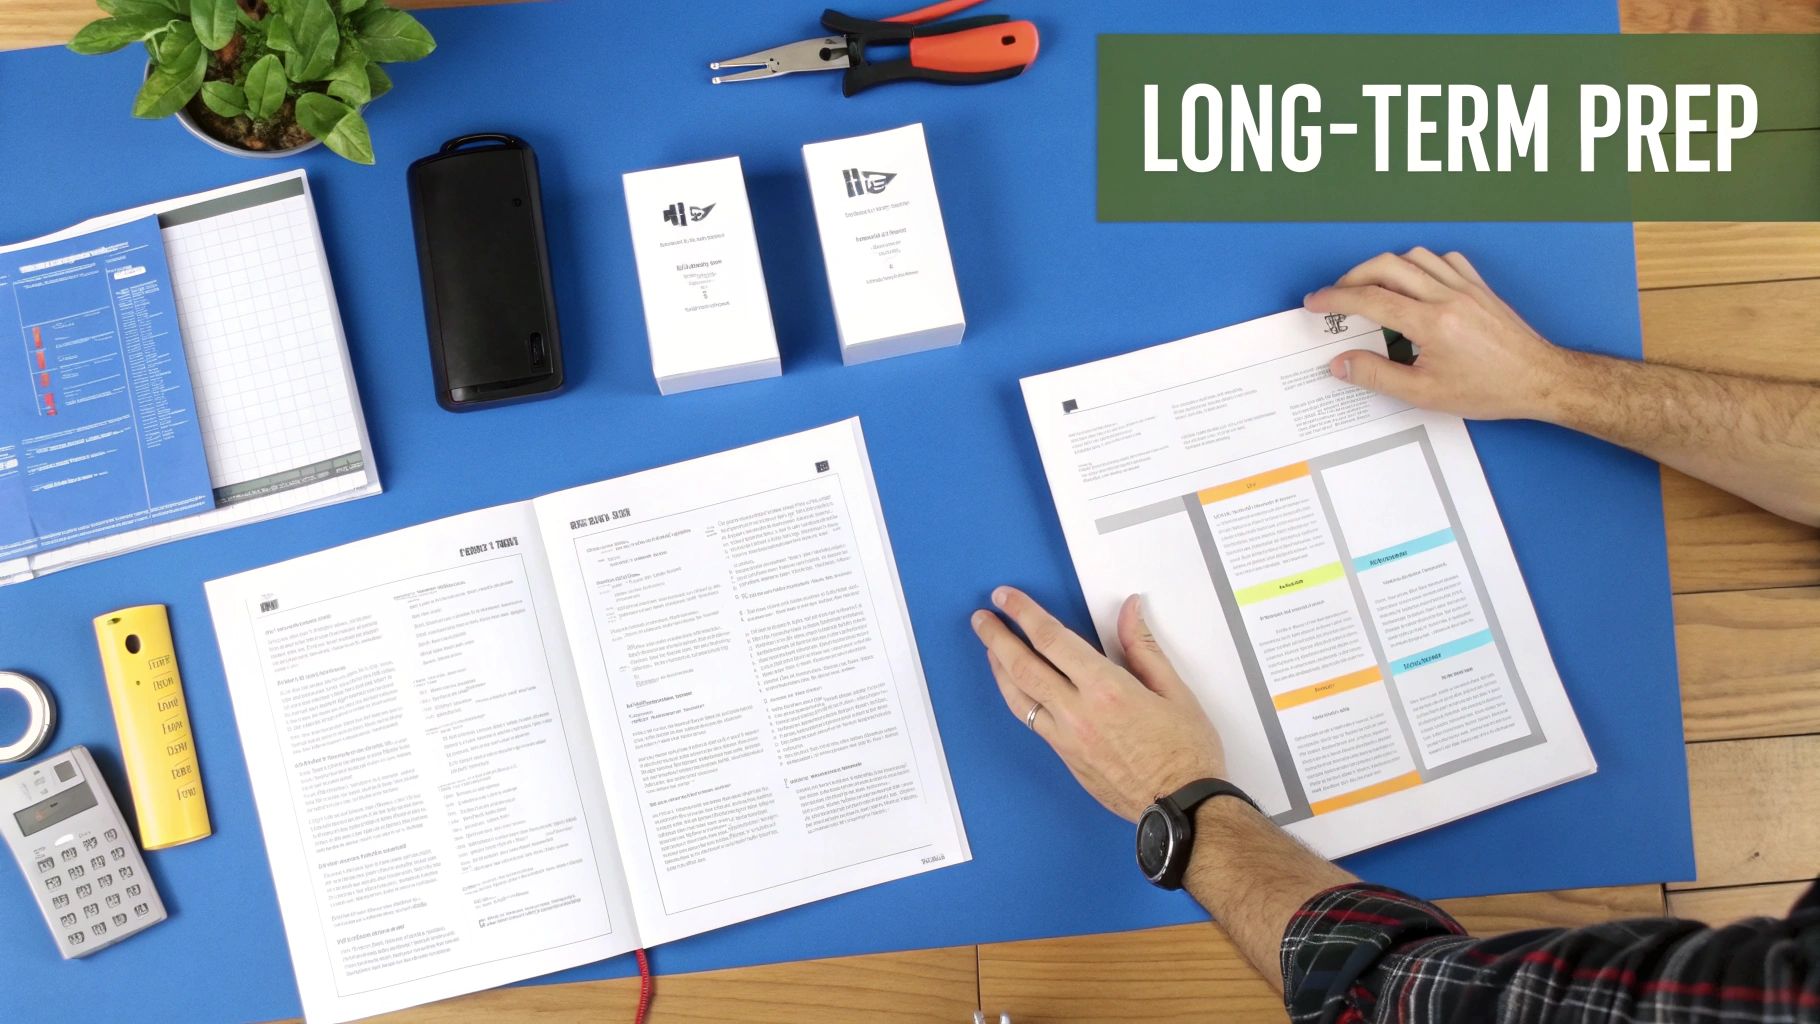
Giving yourself a month to prepare for a home inspection is one of the smartest moves you can make as a seller. This isn't about a frantic, last-minute cleanup. It's a strategic game plan that lets you get ahead of the systems and structural components that inspectors focus on.
Think of this period as a dress rehearsal for the real thing. It gives you the breathing room to find and fix issues on your own terms, turning potential deal-breakers into minor discussion points before the buyer's inspector even sets foot on your property.
Tackle Systems and Minor Repairs
Home inspectors are trained to see the story behind small problems. That slow drain in the guest bathroom isn't just an inconvenience; it could hint at a blockage deep in your plumbing. A flickering light might be a dying bulb, or it could point to a more significant electrical issue waiting to be found.
Your goal here is to knock out these little red flags before they can grow into bigger ones. Set aside a weekend and walk through the house room by room. Be methodical.
- Test Every Fixture: Turn on every faucet to check for drips and good water pressure. Run the water in every sink, shower, and tub to make sure they drain smoothly without gurgling or backing up.
- Check Your Detectors: Seriously, test every single smoke and carbon monoxide detector. Pop in fresh batteries where you need to—inspectors will note non-functional safety devices, and it’s such an easy fix.
- Get Your HVAC Serviced: Now is the perfect time to schedule a routine maintenance check for your heating and cooling system. Having a recent service receipt is a fantastic piece of paper to hand over, as it shows you're a responsible homeowner.
A classic mistake we see is sellers only fixing the symptom. Painting over a water stain on the ceiling is a perfect example. The real prep work means finding the source of the leak, fixing it properly, then replacing the damaged tile.
This kind of attention to detail shows you've cared for the property. It’s a proactive approach that builds trust and sets a positive tone for the whole inspection process.
Gather Your Documentation
A neatly organized folder of paperwork is one of your most powerful tools. It tells the story of your home’s maintenance history and can answer an inspector's questions before they're even asked. For a more exhaustive list, check out our complete seller home inspection checklist to ensure you've covered all your bases.
Pull together any relevant documents and get them into a single folder. Make sure you include:
- Appliance Warranties: Find the manuals and warranties for the stove, dishwasher, water heater, and any other major appliances you're leaving behind.
- Receipts for Major Work: This is a big one. Proof of a new roof, a recently replaced water heater, or an upgraded electrical panel can put a buyer’s mind at ease in a huge way.
- Past Inspection or Remediation Reports: If you’ve ever had to deal with pests, mold, or other issues, be transparent. Provide the reports and receipts showing you hired professionals to fix it. This is especially critical in coastal communities like Santa Barbara and Ventura County, where moisture is always a background character in a home's story.
This collection of paperwork tells a story of a well-maintained home. It helps frame the inspection not as a hunt for hidden flaws, but as a simple confirmation of the property's solid condition. By tackling these steps a month out, you’re setting yourself up for a much smoother, more successful sale.
Tackling Moisture in Your Home’s Hot Spots
Moisture is the number one enemy of a smooth home inspection. Here in Santa Barbara and Ventura County, our coastal marine layer makes it a constant battle—and it’s one that every inspector is trained to spot. Getting a handle on moisture isn't just about appearances; it’s about protecting the property's value and the health of its next occupants.
Before the inspector even pulls into the driveway, you should be checking the three most common problem zones: the attic, the crawlspace, and the HVAC system. Unchecked moisture in these areas can quickly lead to wood rot, ruined insulation, and mold growth, all of which are major red flags on any inspection report.
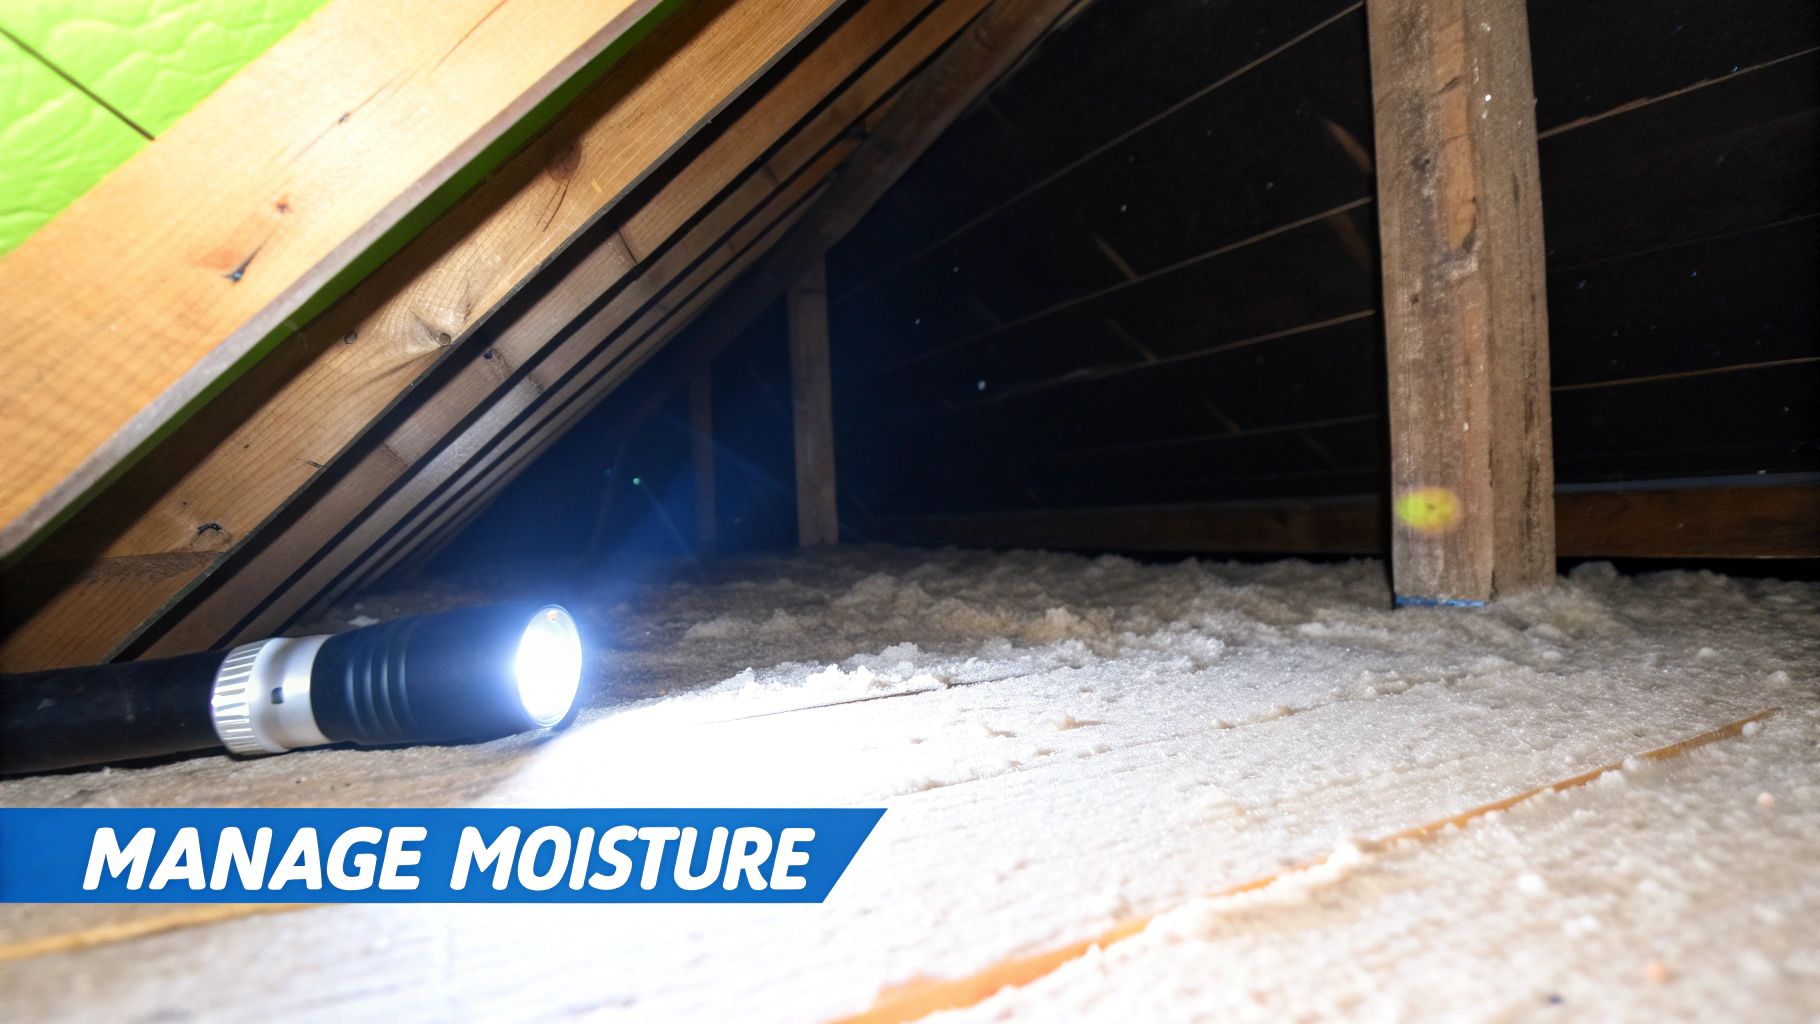
Peeking into Your Attic and Crawlspace
For most homeowners, the attic and crawlspace are "out of sight, out of mind." But for a home inspector, they’re the first place they’ll look for trouble. Grab a good flashlight and play detective for an hour—you’re looking for any sign of water intrusion, past or present.
Start with a simple visual check. Look for dark stains on the underside of the roof sheathing, especially around vents or where roof planes meet. Pay close attention to any wood that feels damp or spongy, as that’s a dead giveaway for rot.
Ventilation is another huge piece of the puzzle. Good airflow is what keeps these spaces dry.
- Blocked Vents: Make sure soffit vents and attic fans aren't clogged with debris, insulation, or old storage boxes. Poor ventilation traps warm, moist air, creating the perfect greenhouse for mold.
- Musty Odors: Trust your nose. A persistent earthy or musty smell is a powerful sign of hidden moisture or mildew, even if you can't see a single drop of water.
- Condensation: Look for "sweating" on pipes, ductwork, or framing. This points directly to a humidity problem that needs to be solved.
Evaluating Your HVAC System
Think of your HVAC system as the lungs of your home. If it has moisture problems, it’s just circulating mold spores everywhere. You can bet the inspector will be taking a close look at the unit and everything connected to it.
The main culprit is almost always the condensate drain line. This little pipe is supposed to carry condensation away from the unit, but it clogs easily with dust and algae. When it does, water backs up into the drain pan and eventually overflows, causing serious water damage.
A water-stained ceiling or wall near your indoor air handler is almost always traced back to a clogged HVAC condensate line. This is a tell-tale sign of deferred maintenance that inspectors will note immediately.
Check the drain pan under your indoor unit for any standing water and make sure the drain line is clear. A quick look at the ductwork for rust or moisture can also reveal leaks or poor insulation. If you do find signs of moisture getting in, it's critical to know what to do next. You can learn more by exploring our detailed guide on effective moisture intrusion solutions.
Quick Fix vs. Calling a Professional
Knowing when to clean something yourself versus when to call in a professional is key. A small, isolated spot of surface mildew on a non-porous surface is one thing, but bigger problems demand an expert eye. With the home inspection market growing, buyers and insurers are becoming much more stringent, especially about mold and moisture assessments. You can find more insights on these home inspection market trends over at ahit.com.
Not sure which category your issue falls into? Here’s a quick guide to help you decide when a DIY approach is okay and when it's time to call us.
DIY Fix vs Professional Mold Inspection
| Symptom or Issue | Potential DIY Action | When to Call a Professional |
|---|---|---|
| A small patch of surface mildew (less than 10 sq. ft.) on tile, grout, or another non-porous surface. | Clean the area with an appropriate household cleaner and ensure the area is thoroughly dried and ventilated afterward. | If the growth returns quickly or the area is larger than a 3×3 foot patch. |
| Musty odor in a room that goes away after you open windows and run a dehumidifier for a day. | This often points to a simple humidity issue. Continue using the dehumidifier and improve ventilation in the area. | When a persistent musty odor won't go away, even after cleaning and airing out the space. This usually means hidden mold growth. |
| Visible signs of old water stains (discoloration but dry to the touch) on drywall or wood. | Monitor the area during the next rainstorm to ensure the leak that caused it has been fixed. If it stays dry, you can repaint. | If you see discoloration or mold on porous materials like drywall, insulation, or carpeting that feels damp or is actively growing. |
| A minor plumbing drip under a sink that you've caught early and repaired. | Dry the cabinet thoroughly, monitor for any smells, and ensure the area remains completely dry. | After a major water event like a flood, burst pipe, or significant roof leak. A pro can assess the full extent of hidden damage. |
Getting on top of moisture in these critical zones is one of the smartest things you can do to prepare for an inspection. By identifying these hotspots and understanding when to call for help, you present a healthier, more valuable property that’s ready for its new owners.
Your Final Preparations for Inspection Day
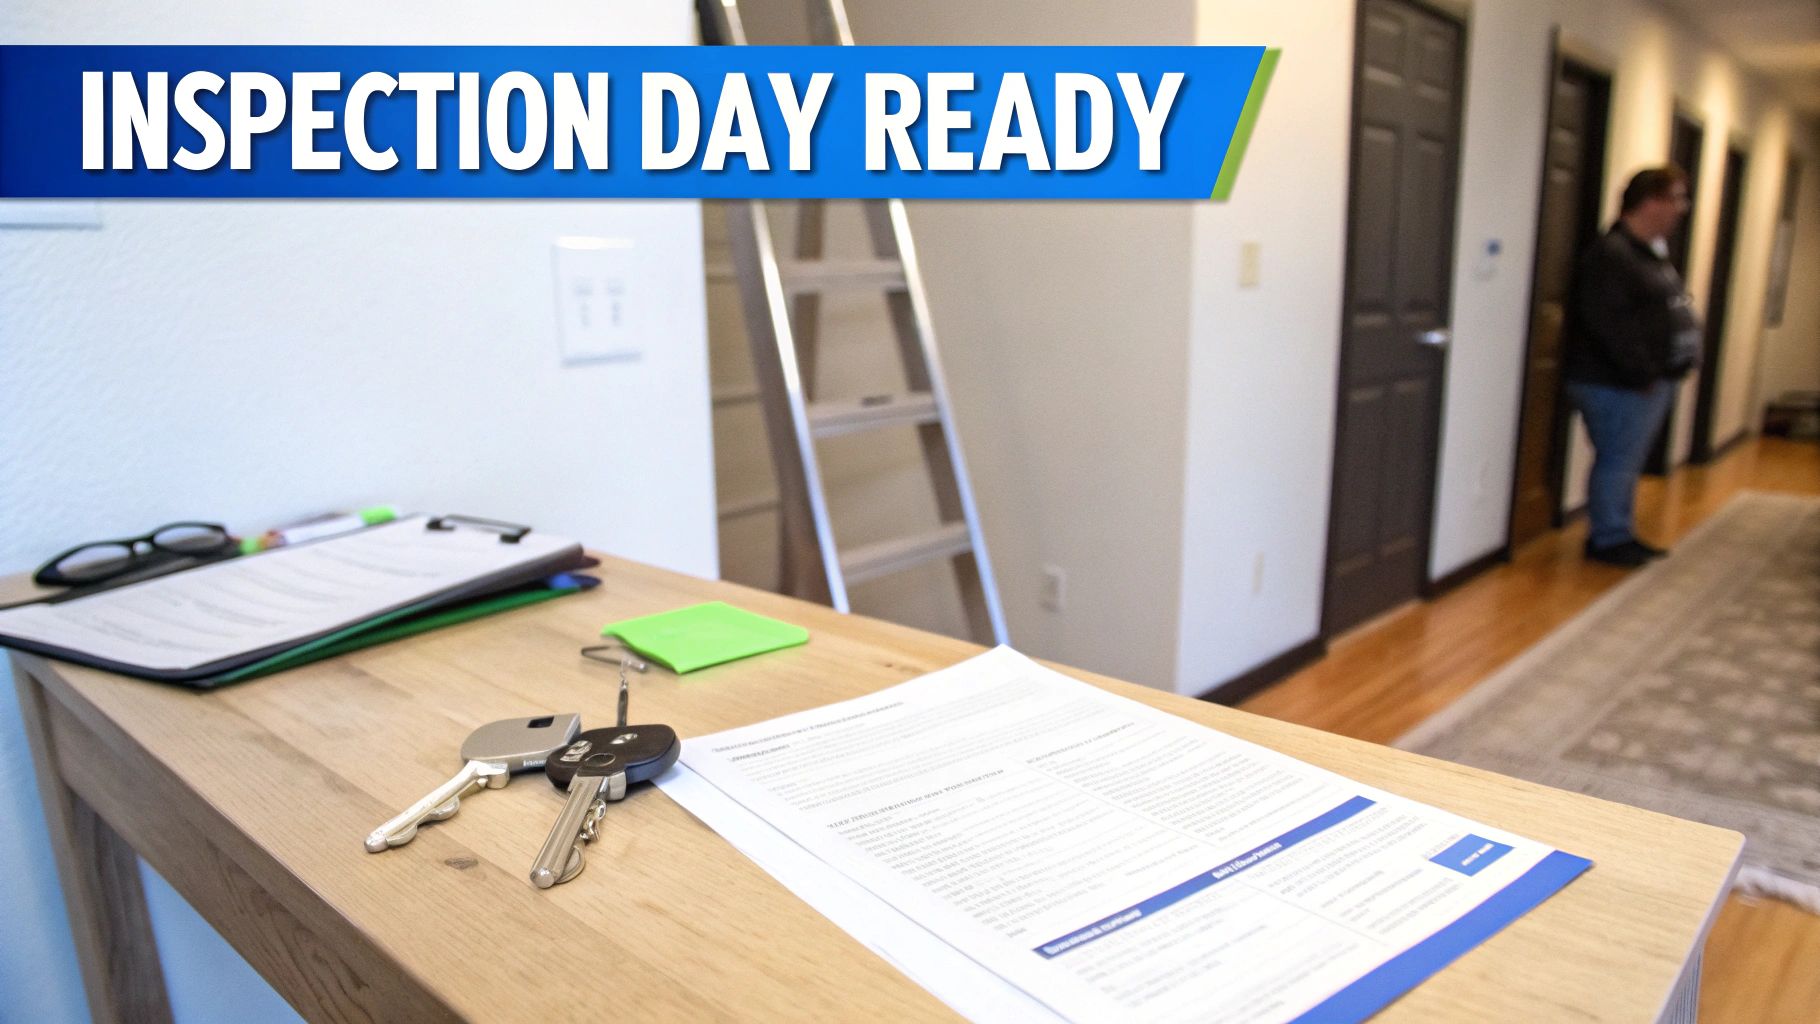
With the inspection just a day or two away, it's time to shift from big repairs to the final touches. This is all about making the inspector's job as smooth as possible, which always reflects well on your home's upkeep.
Think of it like setting the stage for a performance. A clean, accessible, and fully functional home sends a powerful message about your pride of ownership. It removes any small, unnecessary roadblocks so the inspector can focus on the big picture.
The Final 24-Hour Checklist
In the last 24 to 48 hours, a quick walk-through can help you catch those minor issues that are easy to fix but might look like neglect if left unchecked. These little details really shape the overall impression.
- Swap out burnt-out bulbs. An inspector has to test every light switch. A dead bulb forces them to wonder if it's the bulb or a bigger wiring issue.
- Change the furnace filter. A fresh, clean filter is an instant signal of regular maintenance. A dirty, clogged one suggests the system might have been neglected.
- Test smoke and CO detectors. Just like with the lights, make sure every safety device is working perfectly. Pop in fresh batteries if you have any doubts.
The goal is to eliminate any "what if" questions for the inspector. A simple fix like a new light bulb prevents a note in the report that says, "Light fixture in hallway non-operational; cause unknown."
Clearing pathways is just as crucial. The inspector needs clear, unblocked access to all the critical systems. That means moving any boxes, furniture, or clutter away from the electrical panel, water heater, and furnace. And while you're at it, make sure the areas under every sink are empty so they can get a good look for any leaks.
Creating Seamless Access
On inspection day, you want everything to be effortless for the inspector. If they have to struggle to get into parts of your home, they might get frustrated or even suspect that certain areas are being hidden on purpose.
First, double-check that all utilities—water, gas, and electricity—are on and running. The inspector can't test appliances, outlets, or plumbing if everything is shut off.
Next, gather up all the necessary keys (for sheds, electrical boxes) and any remotes (for ceiling fans, garage doors). Leave them all in one obvious, central spot, like the kitchen counter.
Finally, think about those exterior and hard-to-reach areas:
- Unlock everything. This includes gates to the yard, utility closets, and any sheds on the property.
- Clear access points. Make sure there's a safe, clear path to the attic hatch and the crawlspace entrance.
- Secure your pets. For their safety and the inspector's, it’s best to have pets crated or taken out of the home for the inspection.
These straightforward steps can make a huge difference in the outcome. For more tips on what helps you get a favorable report, check out our guide on how to pass your home inspection.
How Buyers Can Maximize the Home Inspection
For a home buyer, the inspection isn't just a box to check—it's your single best chance to look behind the curtain. It’s the moment you get to move past the fresh paint and perfect staging to understand the real-deal condition of what could be your biggest investment.
Sellers get the house ready for the inspector, but you, the buyer, need to get yourself ready. Being an active, informed participant turns the inspection from a passive event into a hands-on learning experience. This is your opportunity to get an unbiased, expert opinion on everything from the foundation to the roof before you sign on the dotted line.
Choosing the Right Inspector
First things first: you need to find a qualified inspector, not just any inspector. This is especially true in coastal communities like Santa Barbara and Ventura, where you need someone with specific, local experience. They’ll know exactly what to look for—the subtle signs of moisture intrusion that our marine climate is famous for and the unique quirks that come with the older homes in our area.
Ask for their credentials, read every review, and don't be shy about asking if they’ve inspected homes just like the one you’re hoping to buy. This decision is far too important to leave to chance.
Be There and Ask Smart Questions
You don’t have to shadow the inspector into every tight crawlspace, but you absolutely should be there for the final walkthrough and summary. It's one thing to see a photo of a cracked pipe in a report; it's another thing entirely to see it in person while the expert explains what it actually means for you.
Come prepared with a list of smart questions that go beyond a simple, "So, is it bad?"
- "What’s the expected lifespan left on this roof/water heater/HVAC?"
- "Is this a serious safety concern, or is it more of a typical homeowner maintenance item?"
- "What would be the ballpark cost or effort to fix this?"
- "Can you physically show me where the main water shut-off valve is?"
Think of the inspector's report as your future homeownership roadmap. The details you pick up on inspection day will help you prioritize repairs and budget for maintenance for years to come.
This whole process is getting more and more detailed. Today, buyers are rightly focused on health and safety factors like indoor air quality and energy efficiency—things that weren't top-of-mind a decade ago. It’s interesting to see how the future of the home inspection industry is changing to keep up.
The final report can look intimidating, often running 50 pages or more. Your job is to sit down with your real estate agent and sort through it all, separating minor cosmetic flaws from the significant defects that really matter. By making the most of your inspection, you can negotiate with confidence, plan for future expenses, and buy a home you know is safe and sound. For more guidance, check out our essential home inspection tips for buyers.
Common Home Inspection Questions Answered
Even with the most careful preparation, there are always a few questions that pop up for both buyers and sellers during the home inspection process. Getting a handle on these common queries ahead of time can help everyone keep their cool and ensure the transaction stays on track.
What Issues Can Cause a Home to Fail an Inspection?
First things first, a home doesn't technically "pass" or "fail" an inspection. Think of the report more like a detailed physical for the house—it’s an objective assessment of its current condition, designed to give the buyer a clear picture.
That said, some findings are immediate red flags for buyers and, more importantly, their lenders. These are the deal-breakers. We're talking about major structural issues like foundation cracks, a roof that's on its last legs, dangerously outdated electrical systems, significant plumbing leaks, or any clear signs of active mold.
Here in coastal communities like Santa Barbara and Ventura, evidence of ongoing moisture intrusion in a crawlspace or attic is a huge one. It’s a serious concern that can bring a deal to a screeching halt if it’s not dealt with properly.
Do I Have to Fix Everything on the Inspection Report?
Absolutely not. You're not obligated to tackle every single item on that list. The report is a powerful negotiating tool, not a mandatory to-do list from the buyer.
Most sellers will focus on addressing the big stuff: health and safety hazards or critical system failures. These are usually the non-negotiable items for a buyer or their lender. Minor cosmetic fixes? Those are typically left for the new owner to handle after they've moved in and can make the place their own.
The best approach is to sit down with your real estate agent and go through the report together. You can then decide which repairs are essential to save the deal, what you might offer as a credit instead, and which requests you can reasonably say "no" to.
Should I Be Present During the Home Inspection?
This really depends on which side of the table you're on. The roles of the buyer and seller are completely different during an inspection.
- For Buyers: Yes, you should definitely be there! It's incredibly valuable to be present, at least for the inspector's final walkthrough and summary. It’s your chance to see any potential issues with your own eyes and ask questions right then and there.
- For Sellers: It's almost always better to make yourself scarce. Leaving the property gives the inspector and the buyer the freedom they need to do a thorough job and discuss what they're seeing openly, without feeling like they're being watched. Your real estate agent can stick around to represent you and field any questions that come up.