To keep mold at bay, you really have to focus on three things: controlling moisture, ensuring you have good ventilation, and doing regular, consistent home maintenance. Think of these as the three pillars that hold up a healthy, mold-free coastal home. They're the foundation for keeping your property dry and protecting you from the constant threat of mold.
Here’s a quick look at the core strategies we're about to dive into. Understanding these pillars is the first step toward creating a home where mold simply can't get a foothold.
The Three Pillars of Mold Prevention
| Prevention Pillar | Primary Goal | Key Action Example |
|---|---|---|
| Aggressive Moisture Control | Stop water from getting in and staying in. | Installing a dehumidifier to keep indoor humidity between 30-50%. |
| Smart Ventilation | Keep fresh air moving to dry things out. | Using bathroom and kitchen exhaust fans during and after showers/cooking. |
| Consistent Home Inspections | Find and fix small problems before they grow. | Regularly checking under sinks and in attics for leaks or damp spots. |
By tackling all three, you move from reacting to problems to actively preventing them, which is exactly where you want to be.
Why Coastal Homes Are Prime Real Estate for Mold
Living in Santa Barbara or Ventura is a dream, but that beautiful, misty coastline that gives us those incredible sunsets also creates the perfect storm for mold. Our homes here are uniquely vulnerable. We're constantly dealing with high humidity, salt-heavy air, and that persistent fog—especially during "May Gray" and "June Gloom."

This isn't just some abstract warning; it's a local reality. That musty smell in a guest room closet? The condensation that sticks around on your windows long after the marine layer burns off? Those are the early warning signs. Mold doesn't need much to get started—just a little moisture and an organic surface like drywall or wood, and it can take hold within just 24 to 48 hours.
The Unique Coastal Challenge
The salt in our coastal air is hygroscopic, which is a fancy way of saying it attracts and holds onto water molecules. This process actually accelerates how quickly building materials like stucco and wood absorb moisture, keeping them damp far longer than they would be in a drier, inland climate. Combine that with less sunlight and cooler temps from the marine layer, and you’ve got a recipe for persistent dampness.
This constant moisture isn’t just a nuisance; it has real health implications. The Centers for Disease Control and Prevention (CDC) has pointed out that mold exposure can worsen about half of all asthma cases. And with the American Housing Survey revealing that roughly 1 in 5 homes in the U.S. has mold issues from unchecked moisture, those of us on the coast have to be extra vigilant.
A Three-Pronged Prevention Strategy
You can't just fix one thing and expect mold to disappear for good. It takes a proactive, multi-faceted approach. To be effective, you need to focus your energy on these three core areas:
- Aggressive Moisture Control: This is about actively hunting down and eliminating water sources. That means everything from fixing a tiny drip under the sink to running dehumidifiers to maintain that ideal indoor humidity level (between 30-50%).
- Smart Ventilation: Stagnant, damp air is mold’s best friend. Improving airflow is crucial. Use your exhaust fans, open the windows when it’s dry outside, and make sure your HVAC system is well-maintained to circulate fresh air and pull moisture out of the house.
- Consistent Home Inspections: You have to be your home's first line of defense. Make it a habit to check problem areas like attics, crawl spaces, and behind appliances. Catching issues early is what saves you from major headaches down the road. If you ever feel overwhelmed or aren't sure what you're looking at, getting professional mold testing in Santa Barbara, CA can give you real clarity and peace of mind.
By understanding why our homes are so susceptible, we can move from a reactive to a proactive mindset. It’s about creating an environment where mold simply can’t get a foothold, protecting both your property's value and your family's health.
Winning the War Against Indoor Moisture
Mold needs one thing above all else to thrive: moisture. Without a water source, those dormant spores floating around in the air can't take root and start to colonize. This is where your battle plan begins—by becoming a moisture detective in your own home and cutting off the supply lines that mold desperately needs.
Forget vague advice. Let's get tactical. We're going to pinpoint the specific, often hidden, sources of moisture that give mold a foothold. Learning to spot these issues early is the absolute key to preventing a small problem from turning into a major headache.
Mastering Your Indoor Humidity Levels
Humidity is just a fancy word for the invisible water vapor in the air. Living here in coastal California, it's a constant battle. When it's damp outside, you can bet it's trying to get damp inside, too. For a healthy, mold-resistant home, you want to keep your indoor relative humidity between 30% and 50%.
Once that number climbs above 60%, you’re essentially rolling out the welcome mat for mold. At that point, surfaces like drywall, wood, and even fabrics become a perfect breeding ground. You can easily keep an eye on your home's levels with an inexpensive digital hygrometer from any hardware store.
Pro Tip: Don't just stick one hygrometer on the living room wall and call it a day. Place them in a few key areas—the main living space, a bathroom, and your basement or crawl space. You'll get a much clearer picture of your home's humidity profile, since levels can vary dramatically from room to room.
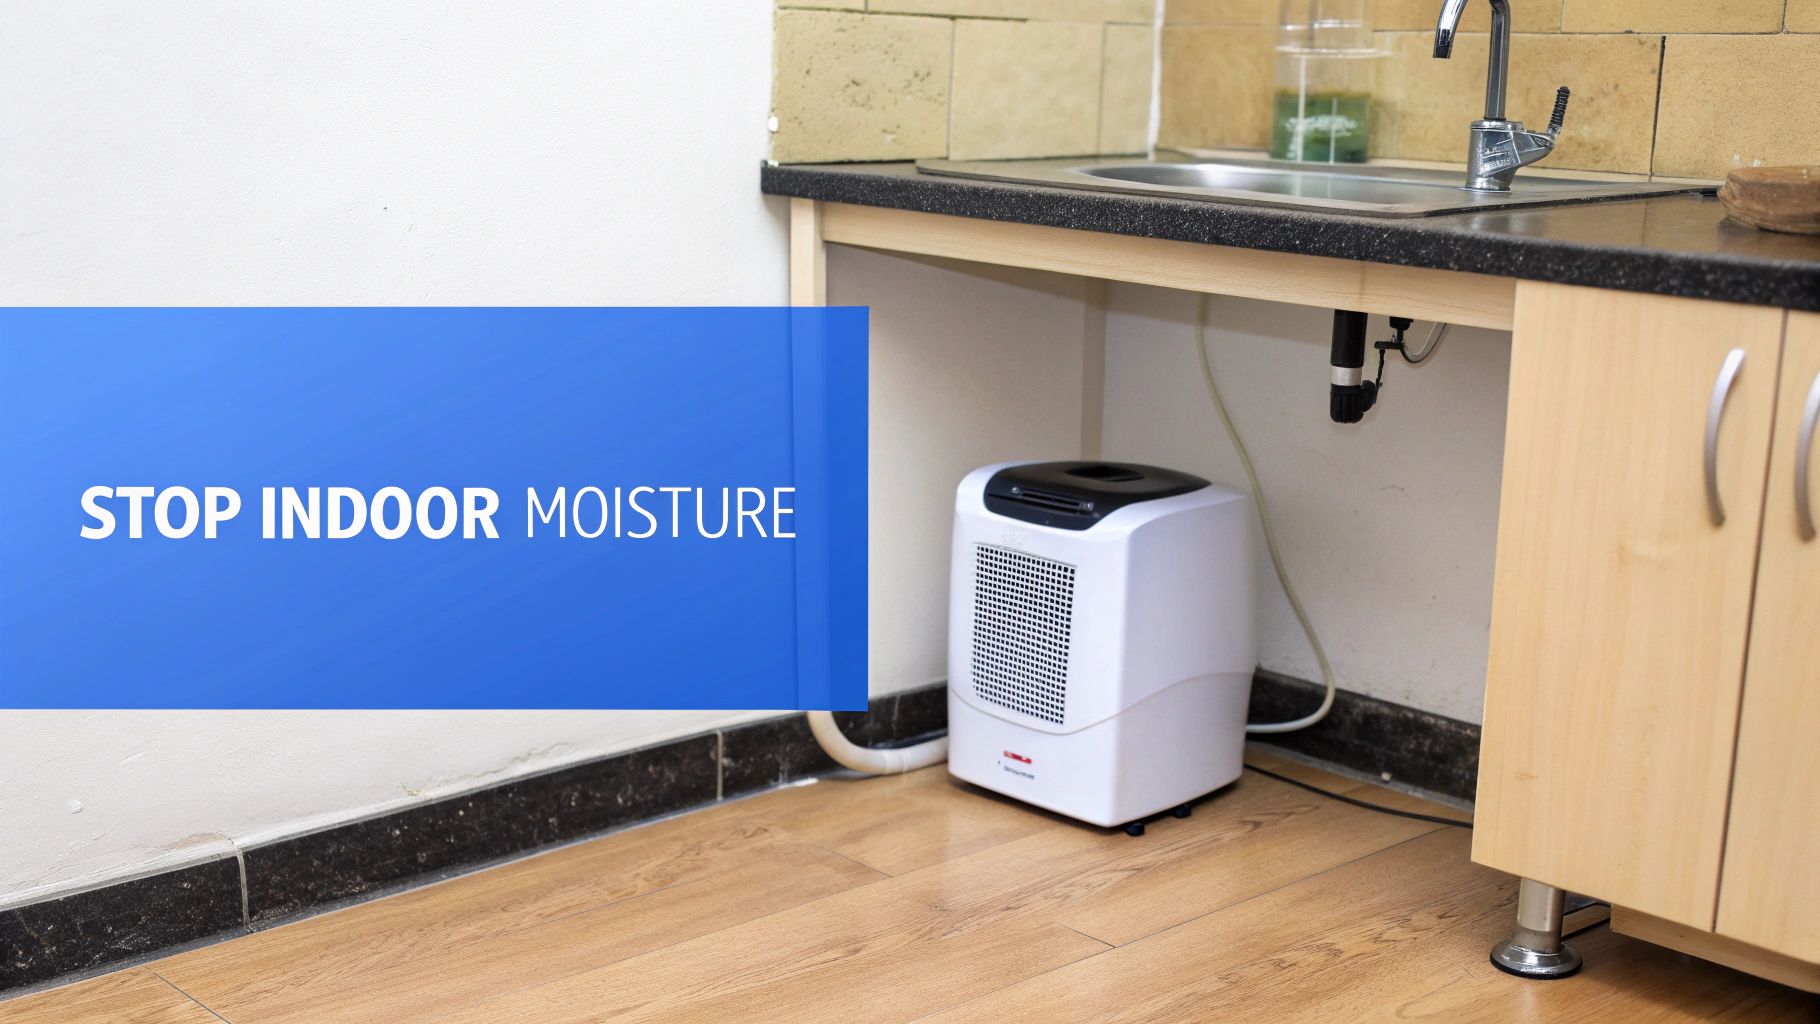
If you find your humidity is consistently high, a dehumidifier is your best friend. They work by literally pulling moisture right out of the air. For seamless, set-it-and-forget-it control, a whole-house unit tied into your HVAC system is fantastic. Otherwise, portable units work wonders in notoriously damp spots like basements, laundry rooms, or bathrooms with poor ventilation. For a deeper dive, our guide offers more strategies for effective humidity control in homes.
Hunting Down Hidden Leaks and Drips
While high humidity is a slow-burn problem, a direct water leak is like pouring gasoline on a fire. Even a slow, tiny drip can saturate building materials over time, creating a hidden mold factory behind a wall or under a cabinet.
Get in the habit of regularly checking these common trouble spots:
- Under Sinks: Look at the P-trap, supply lines, and faucet connections in every kitchen and bathroom. You're looking for active drips, old water stains, or warped cabinet floors.
- Around Toilets: Check the base of the toilet for any moisture and give the water supply line and shut-off valve a quick inspection for slow leaks.
- Appliance Connections: The water lines for your refrigerator's ice maker, dishwasher, and washing machine are notorious failure points. Once a year, it's worth the effort to pull them out and inspect the hoses and connections.
- Window and Door Frames: After a good rain, check for any moisture seeping in around window sills and door thresholds. Worn-out or cracked caulking is the usual suspect here.
When you find a water issue, you have to act fast. It’s not negotiable. Research shows that addressing water damage within the first 24-48 hours can prevent over 90% of potential mold outbreaks. This is huge, especially when you consider that construction flaws, like poor drainage, are responsible for up to 40% of all mold problems. It just shows how easily water can find its way in.
Managing Everyday Moisture Sources
Your daily routines also contribute a surprising amount of moisture to your indoor air. Things like cooking, showering, and even breathing release water vapor. The trick isn't to stop living—it's to manage this moisture proactively so it doesn't build up.
Practical Daily Habits:
- Run Your Bathroom Fan: This is a big one. Always use the exhaust fan during a shower and let it run for at least 30 minutes afterward. You want to vent all that steam completely outside, not just into the attic.
- Use Kitchen Vents: When you're cooking, especially boiling water for pasta, flip on the range hood. It’s designed to pull steam and moisture right out of your kitchen.
- Wipe Down Surfaces: After a shower, take 30 seconds to squeegee the glass doors and tile walls. Wipe up spills or condensation on counters and floors immediately.
- Dry Clothes Properly: Make sure your clothes dryer vents directly outdoors and that the vent line is clean and clear. Avoid the temptation to hang wet clothes to dry inside, as all that moisture just goes straight into your air.
By combining these simple inspections with smart daily habits, you create an environment that is actively hostile to mold. You stop being a passive victim and start taking control, turning your home from a potential breeding ground into a dry, healthy space.
Improving Airflow to Make Your Home Inhospitable to Mold
Moisture control is the foundation of any solid mold prevention strategy, but it’s only half the battle. Mold spores thrive in stagnant, humid air, finding safe harbor in quiet corners where they can settle and grow undisturbed.
To truly make your home a hostile environment for mold, you have to get the air moving.

Think of good ventilation as a constant reset button for your indoor environment. It flushes out the moisture-heavy air from daily life—cooking, showering, breathing—and swaps it with fresher, drier air from outside. Without this simple exchange, humidity builds, and you’re left with the perfect conditions for a mold bloom.
Harnessing Your Home’s Built-In Ventilation
Every home has tools designed to move air, but they’re often forgotten or misused. Your kitchen and bathroom exhaust fans are your first line of defense against the intense bursts of humidity that come with cooking and showering.
It’s absolutely critical that these fans vent directly to the outdoors. Some older homes or apartments have fans that just recirculate air through a filter or, even worse, dump it into the attic. That does nothing to remove moisture; it just shifts the problem to another part of your house.
- Bathroom Fan Best Practices: Make it a non-negotiable habit. Run the fan during every single shower and keep it going for at least 30 minutes after. This small action can dramatically lower humidity levels.
- Kitchen Exhaust Use: Boiling water for pasta or simmering a sauce? Always turn on your range hood. It’s designed specifically to capture that steam before it condenses on your walls and ceilings.
Proper ventilation is a key prevention tactic, especially since mold can travel through vents and HVAC systems. Considering that an estimated 1 in 5 U.S. homes has a mold issue, simple upgrades make a huge difference. For instance, consistently using exhaust fans in bathrooms can drop relative humidity from 80% to 50% in just an hour.
Making Your HVAC System a Mold-Fighting Ally
Your home’s heating, ventilation, and air conditioning (HVAC) system is arguably your most powerful tool for controlling airflow and humidity. When it's properly maintained, it circulates air throughout the entire house, filtering out particulates and helping to dry out damp pockets along the way.
The secret lies in the filter. Not all filters are created equal. You’ll want to look at its MERV (Minimum Efficiency Reporting Value) rating, which tells you how effective it is at trapping airborne particles.
- MERV 1-4: Basic filters that only catch large particles like dust and pollen.
- MERV 5-8: Good for most homes, capturing dust mites and some mold spores.
- MERV 9-12: Excellent for homes where air quality is a priority, trapping even smaller spores and pet dander.
- MERV 13+: Hospital-grade filtration, often used where health concerns are a major factor.
For most of us here in coastal California, a filter in the MERV 8-11 range strikes a great balance between effective filtration and not overworking your HVAC system. A higher MERV rating can sometimes restrict airflow too much, so always check your system’s manual for its maximum recommendation. And don't forget to change it every 1-3 months.
A clean, high-quality filter not only helps prevent mold growth but also extends the life of your HVAC unit. A clogged filter makes the system work harder, driving up energy bills and risking mechanical failure.
Eliminating Dead Air Zones
Even with great mechanical ventilation, pockets of stagnant air can form in certain spots around your home. These "dead zones" are prime real estate for mold. Fortunately, you can eliminate them with a few simple, strategic adjustments.
Try pulling your furniture an inch or two away from exterior walls. This small gap is often enough to allow air to circulate behind large pieces like couches, dressers, and headboards, which stops condensation and mold from forming.
Also, take a look inside your closets. When they're overstuffed, air can't move, trapping moisture against the walls. Consider leaving closet doors slightly ajar, especially in rooms that tend to feel damp, to encourage a little more air exchange. Taking these simple steps is a huge part of improving indoor air quality and keeping your home healthy.
Building Your Home's First Line of Defense Outside

The best way to stop mold from growing inside your home is to stop water from ever getting in. It’s that simple. Think of your home’s exterior as its armor. When that armor has chinks, gaps, or weak spots, moisture will find a way through, especially during our coastal rainy seasons.
Fortifying this first line of defense is one of the smartest moves a homeowner can make. By focusing on your roof, gutters, foundation, and even your landscaping, you create a tough barrier that makes your home a much harder target for moisture and the mold that always follows.
Start at the Top with Your Roof and Gutters
Your roof is the big umbrella protecting everything below it. Even a tiny leak can lead to serious water damage inside your attic and walls, often going unnoticed until mold has already put down roots. This is why regular inspections are non-negotiable.
At least twice a year—once before the winter rains hit and again in the spring—grab a pair of binoculars and safely inspect your roof from the ground. You’re just looking for anything that seems out of place.
- Damaged Shingles: Keep an eye out for shingles that are cracked, curling at the edges, or missing altogether. These are wide-open doors for rainwater.
- Flashing Integrity: Check the metal flashing around chimneys, vents, and skylights. The seals here are common failure points where water loves to seep in as they degrade over time.
- Moss or Algae Growth: While it’s pretty common in our damp climate, heavy growth can trap moisture against your roof, causing it to wear out faster.
Just as critical are your gutters. If they’re clogged with leaves and debris, rainwater has nowhere to go. It will spill over the sides, run down your siding, pool around your foundation, and can even back up under the eaves and into your attic.
A Proactive Approach: Honestly, cleaning your gutters is one of the most high-impact chores you can do. We see it all the time—clogged gutters are a top cause of foundation water issues and siding damage, both of which are major invitations for mold.
Secure the Foundation and Walls
Water is persistent; it will exploit any crack or gap it can find in your home's foundation and exterior walls. Take a slow walk around the perimeter of your house and look closely at the foundation. If you see any cracks, seal them up with a proper concrete patch or sealant.
Pay extra attention to where different materials meet—like where siding butts up against a brick chimney or where pipes and wires enter the house. These spots need to be sealed tight with a high-quality exterior caulk to stop water from wicking its way into your wall cavities. Even a small gap can let in a surprising amount of moisture. Tackling these entry points is a huge step, and for a deeper dive, you can explore common moisture intrusion solutions that we use in the field.
Use Landscaping to Your Advantage
Believe it or not, your yard can either help protect your home or create a moisture nightmare. The goal is simple: get all water to flow away from your foundation, not toward it. This is all about proper grading.
The ground around your home should have a gentle slope away from the foundation walls. The gold standard is a drop of about six inches over the first ten feet. This simple slope ensures rainwater moves away from the house naturally instead of sitting against the foundation, where it can build up pressure and find its way into your crawl space or basement.
Managing your irrigation is also key, especially in Santa Barbara and Ventura where we’re all conscious of our water use.
- Sprinkler Placement: Make sure your sprinkler heads aren't blasting water directly onto your siding or foundation. A little adjustment can make a big difference.
- Garden Beds: Avoid piling mulch or soil high up against your home's siding. It’s a classic mistake that traps moisture right against the structure and can even give pests a bridge inside.
By working through these exterior elements one by one, you make it incredibly difficult for moisture to breach your home’s defenses. This outside-in strategy is the foundation of effective, long-term mold prevention.
Your Seasonal Mold Prevention Playbook
Let’s be honest, keeping up with mold prevention can feel like a never-ending chore. The trick is to stop thinking of it as one massive project and start treating it like a manageable, year-round habit. The best way I've found to do that is by breaking the tasks down by season, syncing them up with our unique coastal California climate.
Instead of getting overwhelmed trying to do everything at once, you just focus on what matters right now. This simple playbook will keep you organized and ahead of the game, making sure a tiny moisture issue never gets the chance to spiral into a full-blown mold problem.
Fall: Time to Prep for the Rainy Season
As the air gets a little cooler and we start thinking about the winter rains, it's time to shift your focus to the outside of your home. This is your window of opportunity to fortify your building's exterior, sealing it up tight before the first big storm rolls in from the Pacific.
A little bit of prep work in the fall can save you from a massive water intrusion headache later.
- Clean Your Gutters and Downspouts: Get all those accumulated leaves, pine needles, and gunk out of there. Once they're clear, run some water through to make sure your downspouts are flowing freely and directing water at least five to ten feet away from your foundation. This is non-negotiable.
- Inspect Your Roof and Windows: You don’t need to be a roofer to do a quick visual check. Look for any obviously damaged or missing shingles. Then, take a close look at the caulking around your windows and doors. If you see cracks or gaps, it’s time to scrape out the old stuff and apply fresh exterior caulk.
Winter: All About Moisture Management
Winter is our wet season, so your attention needs to pivot to the indoors. We're keeping the windows shut, the heaters are running, and all that creates a perfect storm for spiking indoor humidity and condensation. This is the season for active moisture management.
The goal in winter isn't just about keeping the rain out; it's about managing the invisible moisture that builds up inside. Your two best friends during these months are consistent ventilation and a reliable humidity gauge.
Your main job is to keep the indoor air moving and dry. Get into the habit of running bathroom and kitchen exhaust fans every single time you shower or cook. For rooms that feel persistently damp or have that "off" smell, don't hesitate to run a dehumidifier. Keep a close eye on your indoor humidity levels—you want to keep them below 50%.
Spring: Clean Up and Assess the Damage
Once the rains finally back off and the sun makes a welcome return, it’s time to see how your home held up. Spring is for deep cleaning and getting into those forgotten, out-of-the-way places to check for any new signs of moisture damage or growth.
Think of it as a post-winter wellness check for your house.
- Check the Attic and Crawl Space: Grab a flashlight and safely take a peek in your attic. You're looking for tell-tale signs of a roof leak, like water stains on the insulation or wood beams. Do the same for your crawl space—check for damp ground, condensation on pipes, or any musty odors.
- Schedule an HVAC Tune-Up: This is the perfect time to have a professional come out for an HVAC tune-up. Ask them to specifically clean the coils and check the drain pans to ensure your system isn’t harboring mold before you crank up the A/C for summer.
Summer: The Humidity Patrol
While we think of summer as our dry season, it throws a unique curveball at us: "May Gray" and "June Gloom." That persistent coastal fog can drive outdoor humidity way up, and that damp air has a knack for creeping inside. During these months, your job is to be on humidity patrol.
Keep using those dehumidifiers whenever the house feels sticky. And when you get a clear, sunny afternoon, throw open the windows for a few hours to flush out all that stagnant, damp air. Summer is also the ideal time to tackle any exterior painting or sealing projects you might have noticed back in the spring.
To make this even easier, here’s a simple schedule you can follow year after year.
Year-Round Mold Prevention Maintenance Schedule
This checklist breaks down the essential mold prevention tasks by season, giving you a clear, actionable plan for keeping your coastal California home dry and healthy all year long.
| Season | Key Focus Area | Action Items |
|---|---|---|
| Fall | Exterior Fortification | ☐ Clear gutters and downspouts. ☐ Ensure water drains 5-10 ft. from foundation. ☐ Inspect roof for damage. ☐ Check and re-caulk window/door seals. |
| Winter | Indoor Moisture Control | ☐ Run exhaust fans during showers/cooking. ☐ Use dehumidifiers in damp areas. ☐ Monitor indoor humidity, keeping it below 50%. |
| Spring | Post-Rainy Season Checkup | ☐ Inspect attic and crawl space for leaks/dampness. ☐ Schedule a professional HVAC tune-up. ☐ Deep clean closets, basements, and storage areas. |
| Summer | Humidity Management | ☐ Use dehumidifiers during foggy "June Gloom" periods. ☐ Open windows on dry, sunny days to ventilate. ☐ Complete any needed exterior sealing projects. |
By turning these steps into a seasonal routine, you move from reacting to moisture problems to proactively preventing them. It’s the most effective way to protect both your property and your peace of mind.
Knowing When to Call in a Mold Professional
While being proactive is the best way to keep mold at bay, sometimes it pops up despite our best efforts. The trick is knowing the difference between a minor spot you can handle yourself and a serious issue that demands an expert. Making the right call protects your property and, more importantly, your family’s health.
For small, isolated patches of surface mold—think a few spots on your bathroom tile grout—a DIY approach is usually fine. As a rule of thumb, if the affected area is less than 10 square feet (roughly a 3×3 foot patch) and isn't connected to a bigger water damage problem, you can probably clean it safely yourself with the right precautions.
However, some situations are immediate red flags. These are not problems you should try to tackle on your own.
Red Flags That Signal It's Time for a Pro
Certain signs strongly suggest the mold problem is more widespread or complex than what you can see on the surface. Trying to clean these issues yourself can disturb the spores, spreading them throughout your home and making the problem much, much worse.
You should always call an expert if you run into any of these scenarios:
- A Persistent Musty Odor: If you smell that classic damp, earthy odor but can't pinpoint the source, that's a huge indicator of hidden mold. It could be growing behind walls, under flooring, or deep inside your HVAC system.
- Large-Scale Growth: Any patch of mold larger than 10 square feet is simply too big for a DIY cleanup. This level of contamination requires professional containment procedures to stop it from spreading everywhere.
- Mold After Major Water Damage: If you’ve had a burst pipe, a major appliance leak, or any kind of flooding, it's smart to get a professional assessment. Water soaks deep into building materials, creating a widespread breeding ground that isn't always visible.
- Suspected HVAC Contamination: See mold on your air vents? Smell a musty odor the second the AC or heater kicks on? Do not run the system. This is a job for certified professionals who can safely clean everything without blowing spores into every room of your house.
Tackling a large or hidden mold issue without proper training and equipment can turn a contained problem into a whole-house contamination event. Professionals use specialized containment and air filtration to ensure the problem is isolated and removed completely.
Finding the Right Expert in Santa Barbara and Ventura
When you need help, look for a certified and insured mold inspector. A reputable company will focus on investigation and testing first—not jump straight to selling you on expensive remediation.
A proper assessment should always include a detailed visual inspection, moisture mapping with specialized meters, and collecting air or surface samples that get sent to a third-party lab for analysis.
This scientific approach is the only way to truly understand the full scope of the issue. If you're facing any of these red flags, a professional evaluation is the crucial first step. You can learn more about what a comprehensive evaluation involves by reviewing professional mold inspection services. It’s all about getting accurate data so you can make an informed decision.
Common Mold Questions We Hear in Santa Barbara
Even with the best game plan, questions about mold always come up. There's a lot of misinformation out there, so let's cut through the noise and tackle some of the most common concerns we hear from homeowners in Santa Barbara and Ventura counties. Getting the right answers makes all the difference.
"Can't I Just Paint Over a Small Mold Spot?"
We get this one a lot. It seems like such an easy fix, right? Unfortunately, it’s a shortcut that will come back to bite you. Slapping a coat of paint over a moldy patch might hide the ugly stain for a little while, but it does absolutely nothing to fix the actual problem.
The live mold is still there, trapped right underneath that fresh paint. And since the original moisture issue that fed the mold is also still there, the fungus will just keep eating. Before you know it, the mold will chew right through the new paint, causing it to bubble, peel, and look even worse than before. You must get rid of the mold and fix the leak first.
Think of it this way: painting over mold is like putting a bandage on an infected wound without cleaning it. You're just hiding the problem while it gets much, much worse underneath.
"Are Mold-Resistant Materials Actually Mold-Proof?"
Products like mold-resistant drywall and paint are great tools in your prevention toolkit, especially for damp spots like bathrooms or laundry rooms. But there’s a key difference between “resistant” and “proof.” These materials are designed to make it harder for mold to grow on them, but they can't perform miracles if the conditions are bad enough.
Over time, surfaces collect dust, soap scum, and other bits of organic debris. If that surface stays wet, mold can happily grow on that layer of grime, even if it can't dig into the drywall itself. So while these materials give you an edge, they're no substitute for good old-fashioned moisture control.
"Does Running My Air Conditioner Help Prevent Mold?"
Absolutely. Your AC is one of your best friends in the fight against mold, and not just because it keeps you cool. A huge part of its job is pulling moisture out of the air. As it sucks in warm, humid air, that moisture condenses on the cold evaporator coils and gets whisked away through a drain line. The result is lower indoor humidity.
But here’s the critical catch: a neglected AC unit can turn from a mold-fighter into a mold-spreader. The drain pan, coils, and ductwork can become a breeding ground for mold if they aren't cleaned and maintained. Sticking to a schedule of regular filter changes and getting a professional tune-up every year is non-negotiable. It ensures your system is working for you, not against you.