That faint, musty odor you catch when you walk into a room? Or those little discolored spots you’ve noticed in the corner? Don't just write them off as your house settling in. More often than not, these are the first subtle warnings of a brewing mold problem.
Catching it early means looking for visual cues—think small black or green spots—and trusting your nose when something smells off, especially in damp areas. Once you've spotted it, the next move is always to track down and fix the source of the moisture.
Recognizing the First Signs of Mold on Your Walls
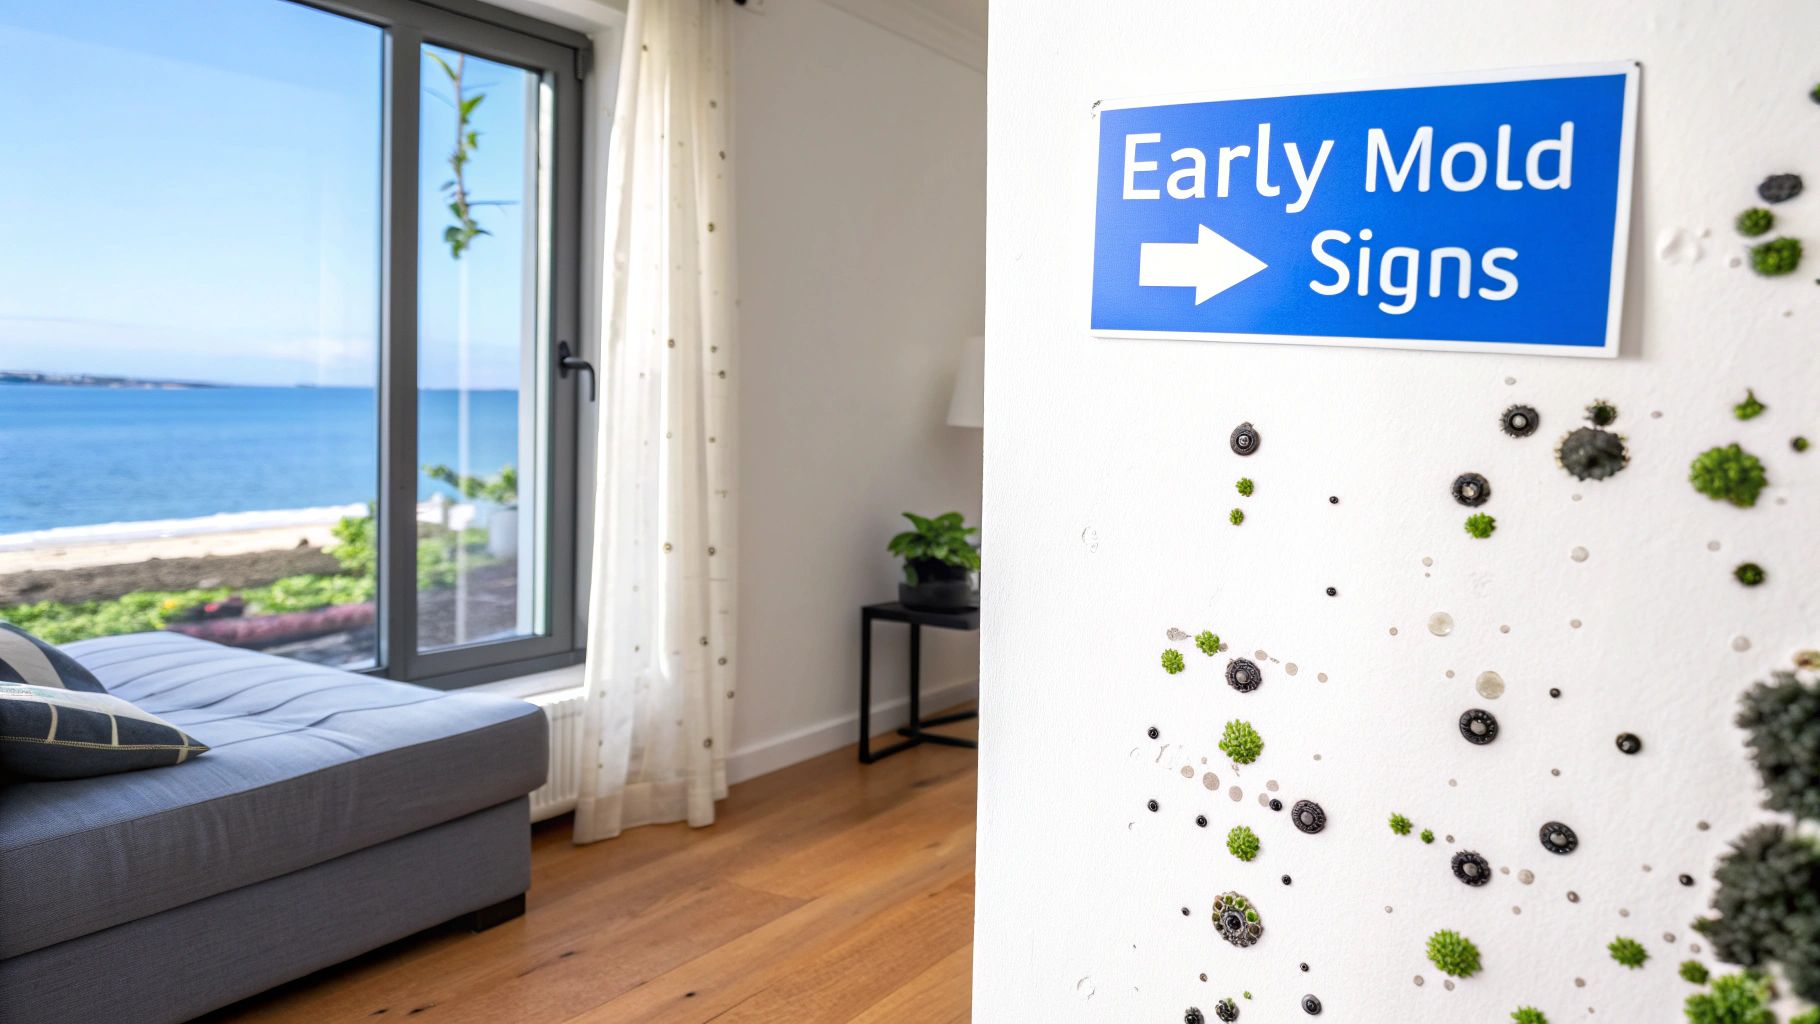
Before you can even think about cleanup, you have to know exactly what you’re looking for. Mold doesn't always show up as big, scary black patches. The initial signs are usually far more subtle and easy to ignore, particularly in the humid coastal air we get here in Southern California.
It’s a scenario we see all the time: a homeowner discovers dark patches creeping up their walls after a particularly rainy season. It’s definitely mold, and it's more common than you might think. A huge study, the European Community Respiratory Health Survey (ECRHS) II, found that 28% of homes had water damage and 25% had visible mold. Those numbers are a wake-up call, showing just how quickly a simple moisture problem can turn your walls into a breeding ground for fungi.
This is especially true for us in Santa Barbara and Ventura Counties. Why are walls such a prime target? Most modern homes—about 90% in the U.S.—are built with drywall, which acts like a sponge for moisture. Once it gets soaked, mold can start colonizing in as little as 24-48 hours. You can read more about the study's findings over at the Global Indoor Health Network's website.
Common Hotspots for Wall Mold
Some areas of your home are just naturally more inviting to mold because of poor ventilation or high moisture levels. You'll want to keep a close eye on these specific spots:
- Around Window Frames: Condensation is a constant issue here. The temperature difference between inside and outside creates a damp surface that mold loves.
- Behind Furniture: That big couch or dresser pushed right up against the wall? It's trapping moisture and cutting off airflow, creating the perfect dark, damp microclimate for mold to thrive.
- In Corners of Rooms: Air tends to get stagnant in corners, especially where two exterior walls meet. This can lead to cooler surface temperatures and, you guessed it, condensation.
- Basements and Bathrooms: These are the usual suspects. They're naturally high-humidity zones where steam and dampness are an everyday battle.
Mold vs Mildew A Quick Comparison
It's really easy to confuse mold with its less aggressive cousin, mildew. Knowing the difference is key, because it dictates what you need to do next.
A quick way to tell them apart is that mildew is typically a surface-level fungus you can just wipe away, while mold has deeper roots and has likely penetrated into the material itself.
| Characteristic | Mildew | Mold |
|---|---|---|
| Appearance | Powdery or downy texture | Fuzzy or slimy texture |
| Color | Typically gray, white, or light yellow | Often green, black, red, or blue |
| Location | Grows on the surface of materials | Penetrates deep into materials |
| Smell | Mild, musty odor | Strong, earthy, or pungent odor |
| Removal | Can often be cleaned with household products | May require professional remediation |
Getting a handle on the differences can save you a lot of guesswork. For a more complete breakdown, check out our guide covering the common signs of mold in your home.
Mildew is often a precursor to mold. If you see powdery grey or white spots, it’s a warning sign that the conditions are right for more serious fungal growth. Address it immediately to prevent a bigger problem.
Paying attention to these early warnings is absolutely critical. Spotting a small patch of discoloration or catching that faint musty scent can be the difference between a simple cleanup and a much larger, more complex remediation project down the road.
Assembling Your Mold Removal Toolkit and Safety Gear
Before you even think about touching that moldy wall, let's talk about safety. This is the single most important step. When you disturb a mold colony—even a tiny one—you’re sending thousands of microscopic spores into the air. If you aren't properly protected, you're breathing all that junk in.
Think of it like a surgeon prepping for an operation. You need to create a sterile, contained environment. The goal here is simple: contain the mold and keep yourself completely safe from it.
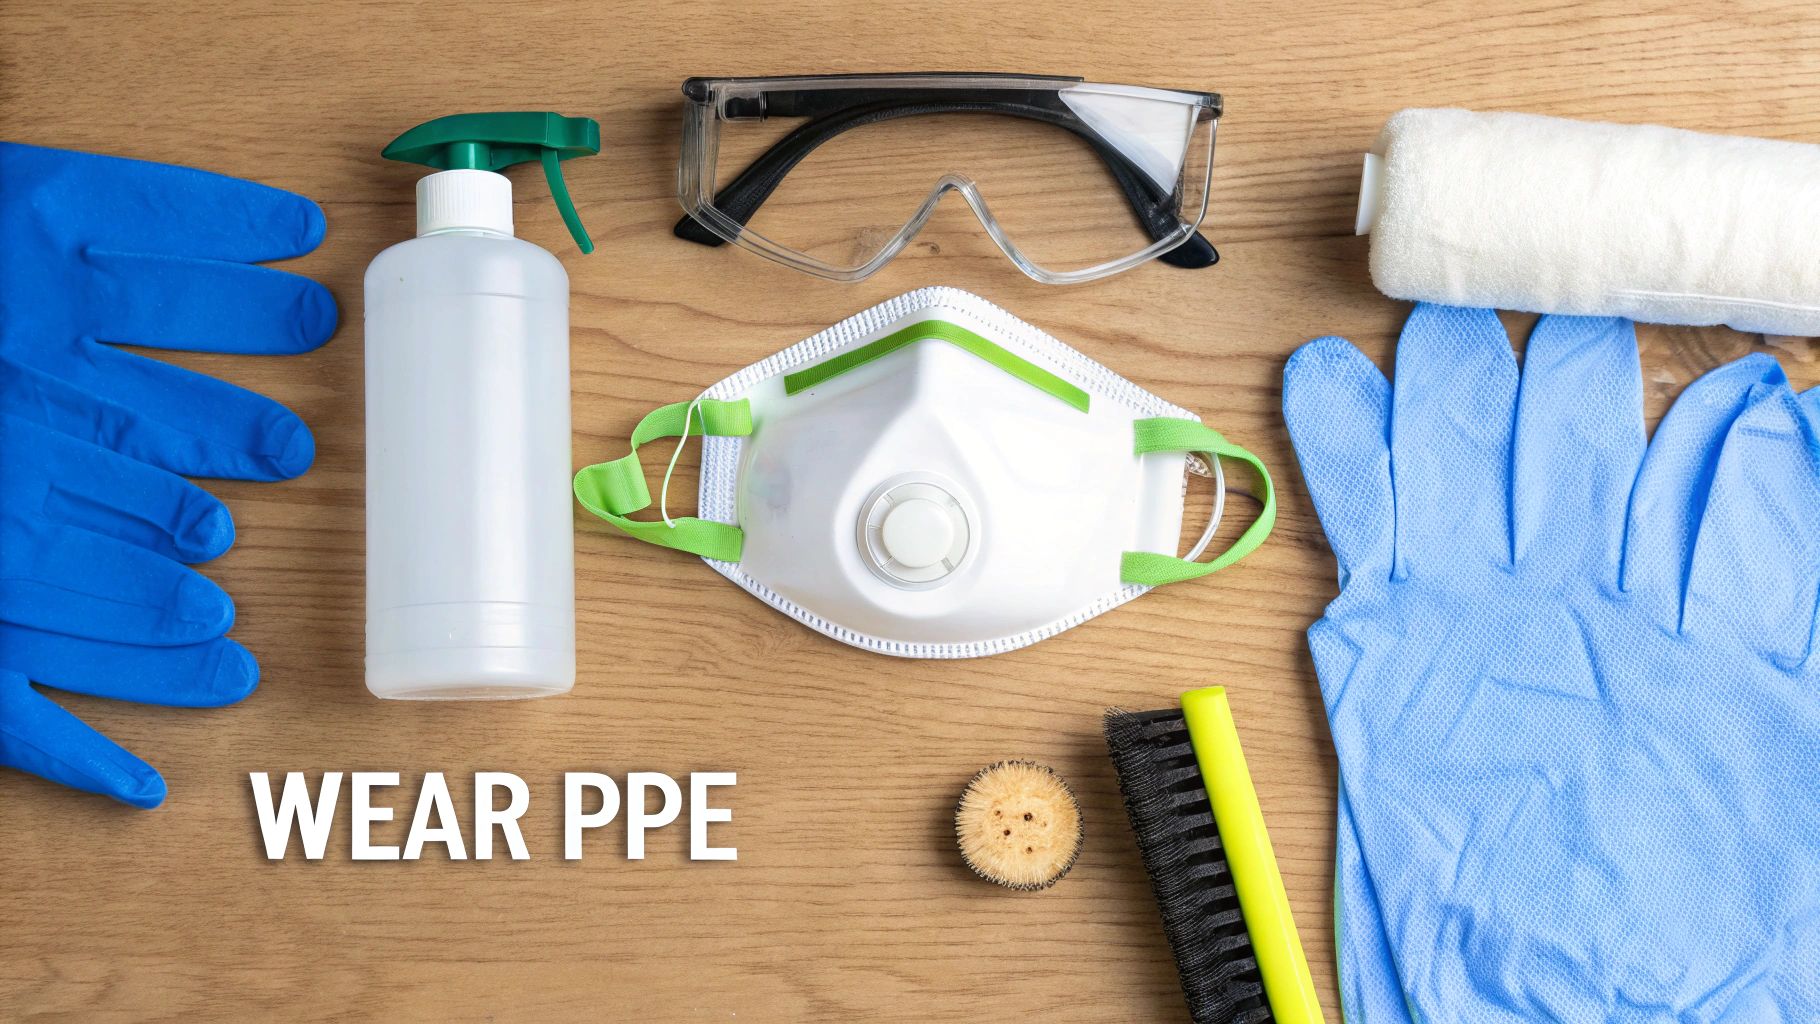
Your Non-Negotiable Safety Gear
Personal Protective Equipment (PPE) isn't just a suggestion; it's an absolute must. Trust me, you do not want to tackle mold removal without it. Each piece of gear has a critical job to do.
- N95 Respirator Mask: A simple dust mask is not going to work. Mold spores are tiny and will pass right through it. An N95 respirator is designed to filter out at least 95% of airborne particles, which is exactly what you need.
- Non-Vented Safety Goggles: Spores can just as easily get into your eyes and cause serious irritation. Non-vented goggles are key because they create a complete seal around your eyes. No gaps, no entry points.
- Long Rubber Gloves: Look for gloves that go up to your forearms. This isn't just to protect you from touching the mold itself, but also from the harsh cleaning solutions you’ll be using on the walls.
Never underestimate what you're up against. A single square inch of mold can contain over one million spores. The moment you touch it, they go airborne and can contaminate the rest of your home if you haven't set up your work zone correctly.
Essential Tools for the Cleanup
Okay, once you have your safety gear on lock, it's time to gather your tools. Having everything you need within arm's reach from the start will make the whole process go faster and more smoothly.
Here's your basic cleanup arsenal:
- Scrub brushes (a stiff one for stubborn spots, a soft one for more delicate surfaces)
- A few empty spray bottles for your cleaning mixtures
- Plenty of clean rags or microfiber cloths
- A bucket for mixing solutions
- Heavy-duty trash bags for bagging up all the contaminated materials safely
Setting Up a Containment Zone
If you want to do this like the pros, you have to isolate the work area. This is a crucial step to prevent those airborne spores from taking a tour of your house.
Grab some plastic sheeting and painter's tape to seal off doorways. You’ll also want to cover any nearby furniture or flooring. This creates a sealed-off zone, keeping the contamination contained to one room. It's especially important for any patch larger than a couple of square feet.
If you're looking at the wall and feeling unsure about how far the growth spreads or what you're dealing with, using one of the best mold test kits for your home can give you some much-needed insight before you start scrubbing. Knowing what you’re up against is half the battle.
A Practical Guide to Cleaning Mold from Your Walls
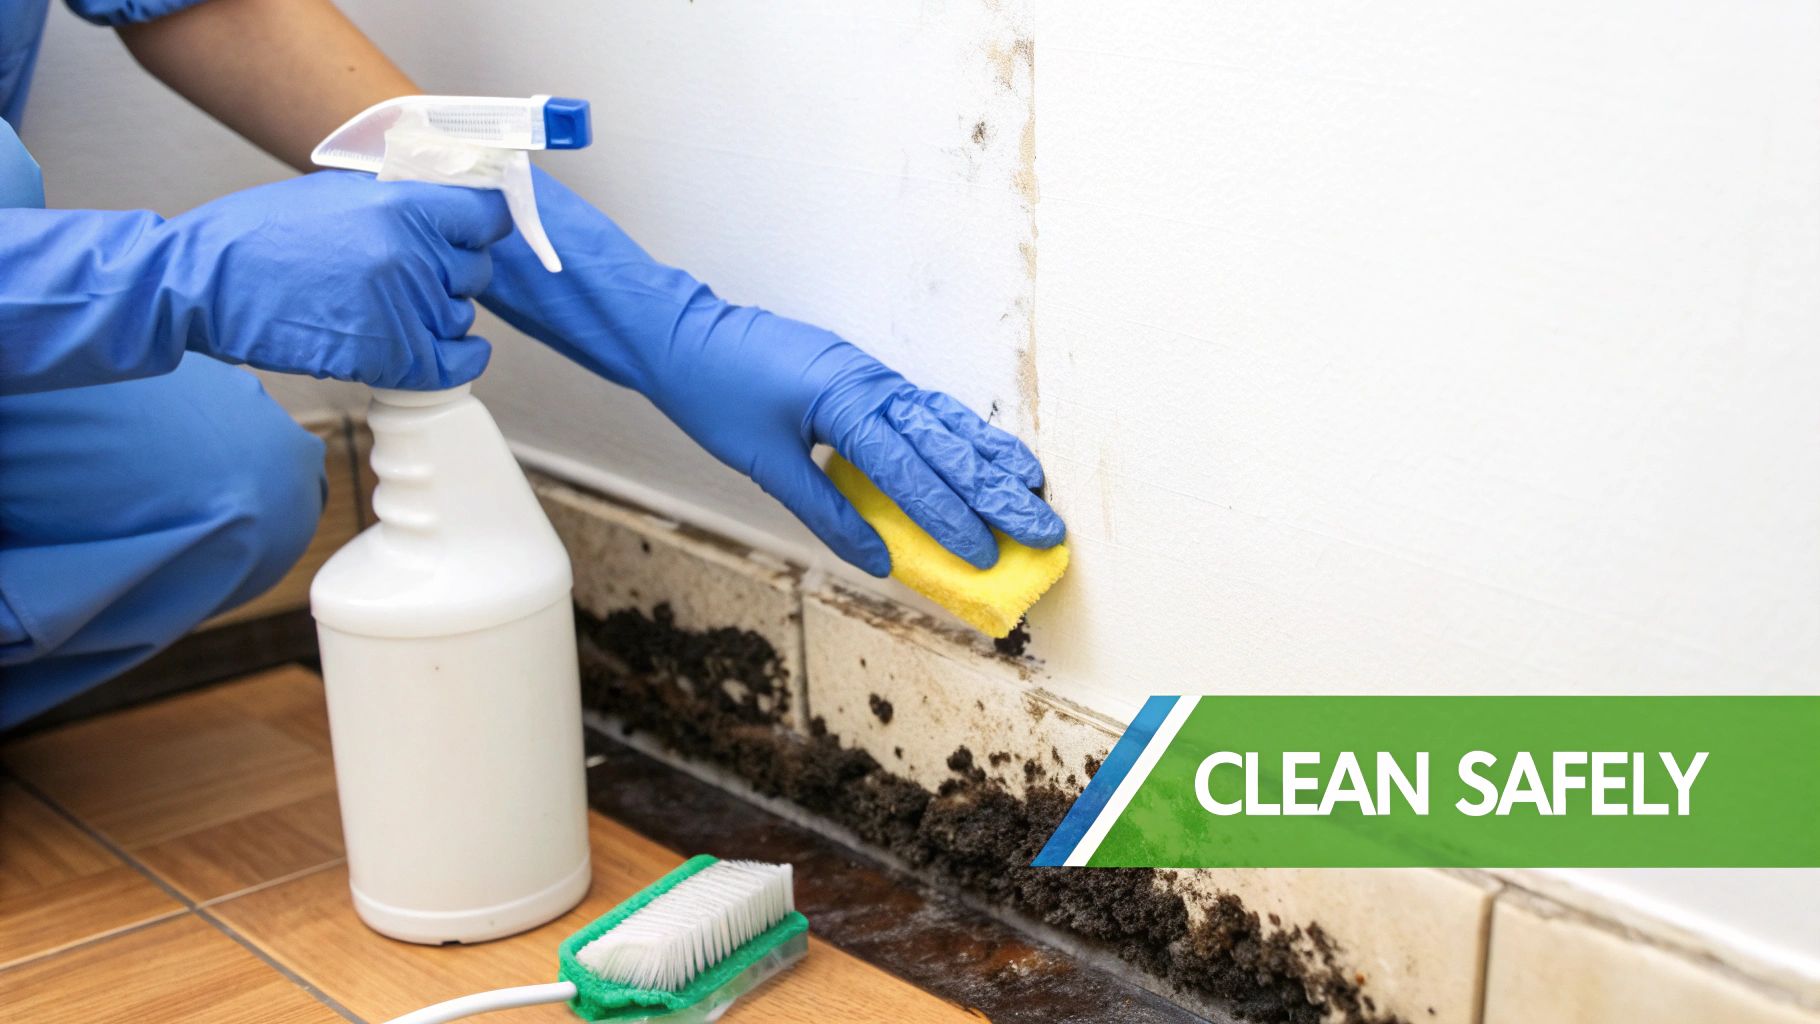
Alright, you've got your safety gear on and the area is sealed off. Now it’s time to actually deal with the mold. The real trick here is matching your cleaning method to the wall itself. What works wonders on a sealed, painted wall could be useless—or even damaging—on porous drywall.
Just a quick heads-up: these DIY methods are strictly for small, contained patches of mold, meaning less than 10 square feet. Anything bigger than that is a job for the pros. Trying to tackle a large infestation yourself can spread contaminants everywhere and rarely solves the underlying problem.
Tackling Mold on Non-Porous Surfaces
Non-porous walls are your best-case scenario. Think walls with a good coat of semi-gloss or satin paint. The mold is just sitting on the surface because the paint acts as a barrier, stopping the roots from digging deep into the drywall material.
For these surfaces, you don't need anything fancy. In fact, one of the best tools is probably already in your pantry.
Plain old white vinegar is a fantastic choice. It’s a mild acid that can kill over 80% of mold species, making it surprisingly effective.
- Prep Your Solution: Grab a spray bottle and fill it with undiluted white vinegar. Don't water it down—you need its full strength to get the job done.
- Apply and Wait: Spray the vinegar directly onto the mold until the area is completely saturated. Let it sit for at least an hour. This gives the acid time to work its magic and kill the mold.
- Scrub and Rinse: After an hour has passed, use a soft-bristled brush or sponge to scrub the area down. Once the mold is gone, wipe the surface clean with a damp cloth, then dry it thoroughly with a fresh towel. Making sure it's bone dry is critical to keep the mold from coming right back.
Another solid option for non-porous walls is a hydrogen peroxide solution. Just make sure you're using a 3% concentration. The process is the same: spray, wait, scrub, and dry. It's a great bleach-free alternative that acts as both a fungicide and a whitening agent.
Crucial Safety Warning: Never, ever mix cleaning products, especially bleach with ammonia or vinegar. This combination creates toxic chlorine gas, which is incredibly dangerous if you breathe it in. Stick to one solution at a time.
Cleaning Mold from Porous Walls
Now for the tricky part: porous surfaces like unpainted drywall or walls with a flat paint finish. Here, the mold can send its "roots" (called hyphae) deep into the material itself, which means simply cleaning the surface won't cut it.
If you find that the drywall feels soft, is crumbling, or looks badly damaged, stop right there. That section needs to be professionally cut out and replaced.
For very minor surface mold on porous materials, a baking soda solution can sometimes help. It’s abrasive enough to scrub away the visible growth and it helps absorb moisture, which is a nice bonus.
- First, mix about one-quarter tablespoon of baking soda into a cup of water inside a spray bottle. Shake it until it's dissolved.
- Next, spray the solution on the mold and use a scrub brush to physically remove the growth from the wall.
- Then, lightly rinse the area by wiping it with a clean, damp cloth to get rid of any leftover mold and baking soda residue.
- Finally, give the area one last light spray with the solution and just let it air dry. This leaves behind a thin layer that can help stop mold from growing back in that spot.
Before you grab that spray bottle, it’s worth thinking about what the pros know. According to EPA guidelines, scrubbing mold the wrong way can release spores into the air, potentially contaminating 70% more square footage within just a few weeks. That’s a small problem turning into a huge one.
Here in Southern California, that risk is real. Our team at Pacific Mold Pros has seen it all. In places like Santa Barbara, we use visual assessments and lab-tested samples to trace moisture with about 95% accuracy. We’ve also seen pre-sale home inspections in Carpinteria where mold was found in 16.5% of damp homes, which can tank a property's sale price.
Here's a quick look at some common DIY solutions and where they work best.
Effective DIY Mold Cleaning Solutions
| Solution | Mixing Ratio | Best For | Safety Note |
|---|---|---|---|
| White Vinegar | Undiluted | Non-porous surfaces like painted or tiled walls. Kills over 80% of mold species. | Never mix with bleach. The smell can be strong, so ensure good ventilation. |
| Hydrogen Peroxide | 3% Concentration | Non-porous surfaces. Good bleach alternative; acts as a fungicide and whitener. | Store in a dark bottle as light degrades it. Keep away from eyes and skin. |
| Baking Soda | 1/4 tbsp per cup of water | Light surface mold on porous surfaces like drywall. Abrasive and absorbs moisture. | A mild option, but less effective on deep-rooted mold. |
| Soap and Water | Mild detergent in water | Very light, fresh mold on non-porous surfaces. Good for initial surface cleaning. | Doesn't kill mold roots, so it's not a standalone solution for stubborn growth. |
While these solutions can be helpful for minor issues, they aren't a cure-all for a persistent mold problem.
Ultimately, if you've cleaned a spot only to see the mold return, or if you have a nagging suspicion the issue is deeper than what you can see, that’s your cue to stop. It points to a bigger moisture problem that surface cleaning will never solve. This is especially true after any kind of water event. Knowing how to check for mold after water damage is your first line of defense in catching a problem before it gets out of control.
Knowing When to Call a Mold Remediation Professional
Tackling a small patch of surface mold can feel like a winnable DIY battle. But here’s some hard-earned wisdom: the most critical part of any mold cleanup is knowing your own limits. Some situations are simply too complex, too big, or too hazardous to handle yourself.
Recognizing these red flags isn't about admitting defeat. It's about protecting your home and your family's health by bringing in a certified expert who does this every single day.
The most straightforward rule comes from the EPA. If you're looking at a mold patch bigger than 10 square feet—that's roughly a 3×3 foot area—it's time to call in the pros. An infestation that large almost always signals a significant, hidden moisture problem that a bottle of cleaner and a sponge just won't fix.
Red Flags That Demand a Professional
Beyond just the size of the mold you can see, other clear signs tell you you're out of your depth. Pay close attention to these warning signs, because they often point to a much more serious issue lurking just out of sight.
- The Mold Keeps Coming Back: Did you scrub a moldy spot clean, only to see it creep back a few weeks later? You're not alone, but you're only treating the symptom. This frustrating cycle is a classic sign of a persistent moisture source—maybe a slow pipe leak behind the drywall or poor ventilation in a bathroom. A professional has the tools to diagnose and help fix the root cause.
- A Persistent Musty Smell: You know that distinct, earthy smell of mold, but you can't find the source anywhere? This is a massive red flag. It strongly suggests hidden mold growing behind your walls, under the floorboards, or even deep inside your HVAC system. Professionals use specialized gear like thermal cameras and moisture meters to pinpoint these hidden colonies without having to tear your house apart guessing.
- Health Symptoms Are a Concern: If anyone in your home has asthma, allergies, or a compromised immune system, attempting a DIY mold removal is a serious gamble. The moment you disturb mold colonies, you release a cloud of spores into the air, which can trigger severe reactions in sensitive individuals. It's just not worth the risk.
A professional approach is crucial for getting it right the first time. Studies show that DIY fixes only resolve about 50% of mold infestations permanently. In contrast, certified professionals achieve over a 90% success rate by using specialized equipment like HEPA vacuums and registered antimicrobial treatments.
A pro doesn't just clean the mold; they trace the problem back to its origin. Professional moisture mapping, for example, often uncovers hidden water issues inside walls, attics, and HVAC systems—in fact, 25% of what homeowners think is a simple wall issue is actually hiding in those areas. This is critical, as spores from wall mold can elevate asthma risks by 40% in homes with high humidity.
Ultimately, it’s critical to understand the difference between simple mold removal and full-scale remediation. You can learn more about what separates a quick surface cleanup from a comprehensive, professional solution by reading our guide on mold removal vs remediation.
When in doubt, calling a certified inspector is always the safest and most effective choice.
Long-Term Strategies to Keep Your Walls Mold-Free
Getting rid of the mold you can see is a great first step, but the real win is making sure it never comes back. The battle isn't over once the wall is clean; it’s about shifting your mindset from reaction to prevention.
To do that, you have to make your home an inhospitable place for mold. That means taking away the three things it absolutely needs to thrive: moisture, stagnant air, and something to eat (like your drywall). Let's break down how to manage these.
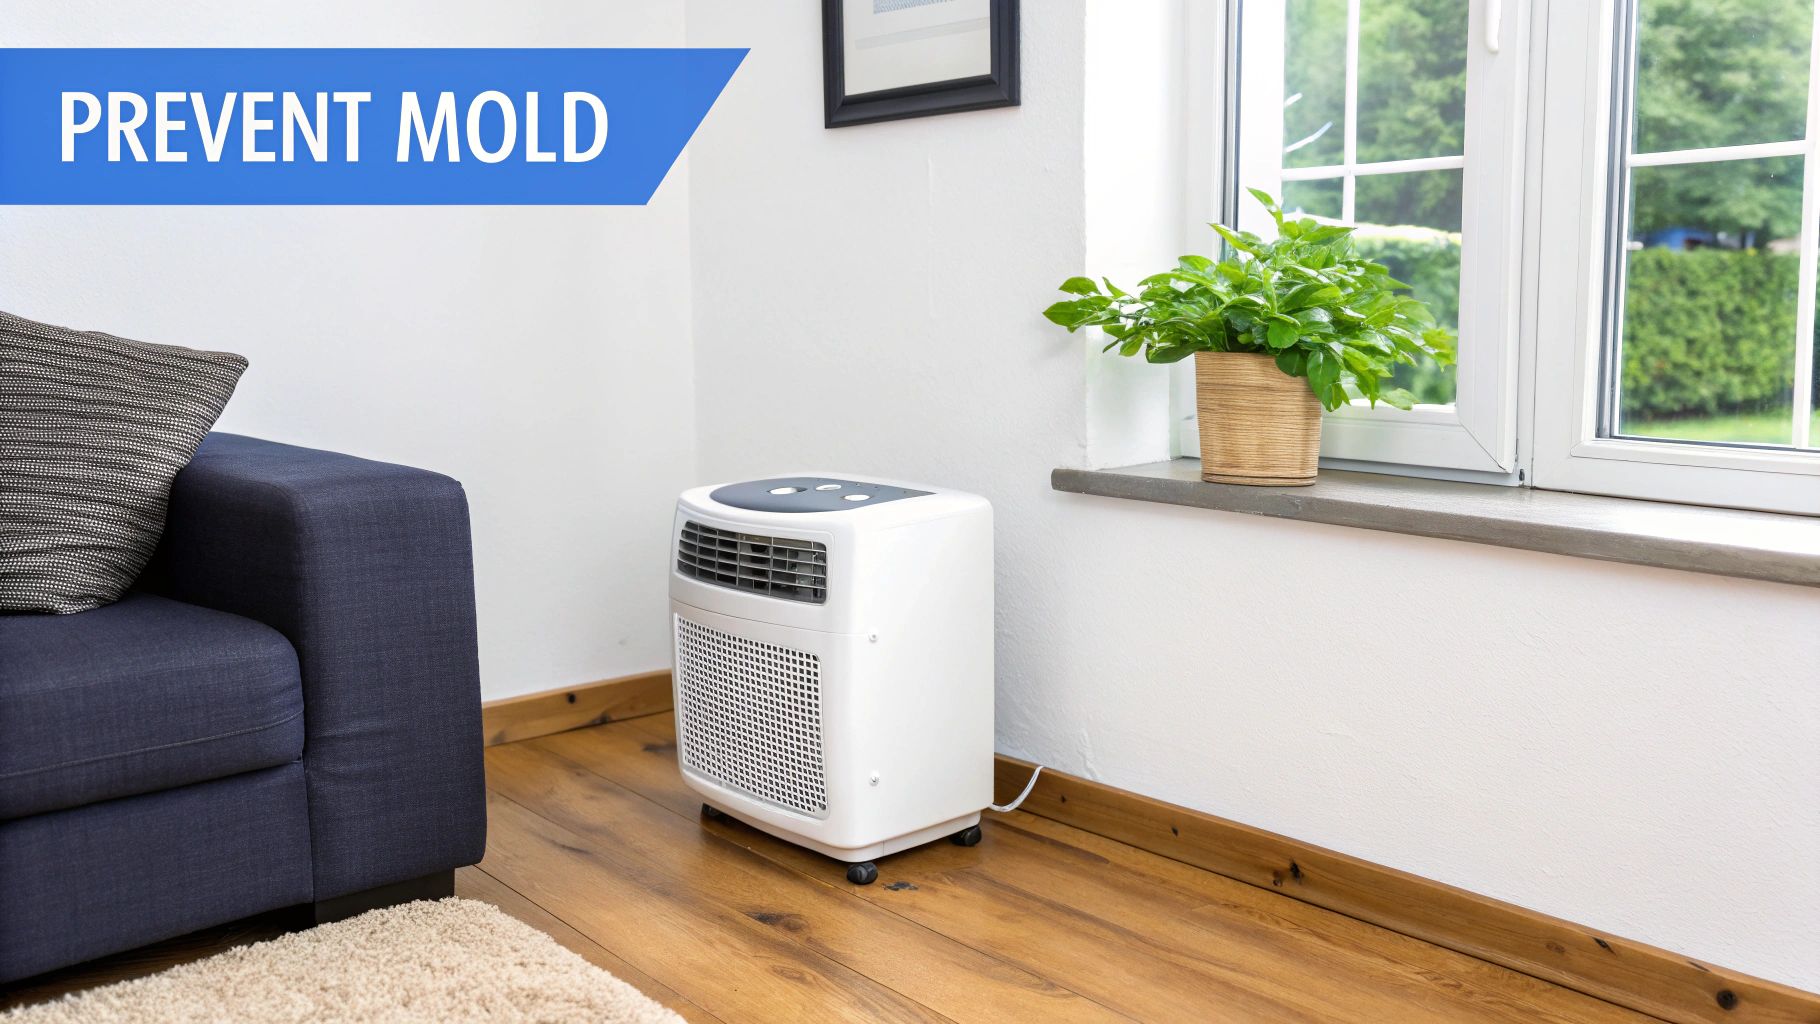
Control Your Indoor Humidity Levels
Mold loves humidity, and here in coastal Southern California, we have plenty of it. When the air inside your home gets too damp, condensation starts forming on cooler surfaces—think windows, pipes, and exterior walls. That’s an open invitation for mold.
Your target is to keep your home's relative humidity consistently below 50%.
A good dehumidifier is your best friend here, especially in basements, laundry rooms, or poorly ventilated bathrooms. And don't forget your exhaust fans. Running the fan during a shower and for 15-20 minutes afterward makes a huge difference in pulling that steam out of the air before it settles.
Keeping humidity in check is non-negotiable for mold prevention. An inexpensive hygrometer can help you monitor indoor levels, giving you real-time data to know when to run a dehumidifier or open a window.
Living on the coast presents unique challenges. For a deeper look at keeping things dry, check out our complete guide to humidity control in homes.
Improve Airflow and Ventilation
Stagnant, humid air is a welcome mat for mold spores. If the air isn't moving, those spores have all the time in the world to land and start growing. The good news is that improving airflow is often easy.
A simple trick is to pull your big furniture—couches, bookcases, dressers—a few inches away from the walls. This creates a small air gap that prevents moisture from getting trapped behind them.
Also, get into the habit of opening windows and doors for a little while each day. Even a few minutes of cross-breeze can flush out stale, damp air and bring in fresh, drier air, lowering the moisture levels inside.
Manage Moisture Sources Proactively
Beyond general humidity, you have to be vigilant about direct water sources. It's shocking how fast a small leak or spill can escalate. Saturated drywall can become a mold colony in less than 48 hours.
- Promptly Dry Spills: Don't let water sit. Whether it’s a spilled drink or a pet accident near the wall, clean it up immediately and dry the area thoroughly.
- Address Condensation: On cool mornings, you might see condensation on your windowsills. Wipe it down before it has a chance to drip down and soak into the wall below.
- Consider Mold-Resistant Products: When it's time to repaint, especially in a bathroom or kitchen, spend a little extra on a quality mold-resistant primer and paint. They contain antimicrobial agents that stop mold from growing on the paint surface, adding a fantastic layer of long-term defense.
Common Questions About Wall Mold Removal
Even with a solid plan, questions always pop up when you're tackling mold on your walls. Getting the right answers can be the difference between a one-and-done cleanup and a problem that keeps coming back. Here are a few of the most common questions we hear from homeowners just like you.
Can I Just Paint Over Mold on My Walls?
It’s tempting, I get it. A quick coat of paint and the problem disappears. But you should never paint over mold.
Think of it like putting a small bandage on a serious injury—it hides the mess but does absolutely nothing to fix the underlying issue. The mold is still very much alive under that fresh coat of paint, happily munching away at your drywall in the dark, damp environment you’ve just created for it.
Eventually, the paint will start to peel, bubble, or crack as the mold colony continues to grow. Worse, it will keep releasing spores into your home, which means your air quality is still compromised. The only real solution is to remove the mold completely, clean and dry the area, and fix whatever caused the moisture in the first place. Only then should you even think about picking up a paintbrush.
Painting over mold isn't a fix; it's a costly delay. The mold will continue to thrive, damaging your wall's structure and your home's air quality.
Is the Black Mold on My Wall Definitely Toxic?
That's the million-dollar question, isn't it? The term "toxic black mold" is usually thrown around to describe a specific species called Stachybotrys chartarum, which can produce mycotoxins. But the truth is, many different types of mold can appear black or dark green.
You simply can’t identify a mold species by looking at it. It takes professional lab testing to know for sure what you're dealing with.
But here’s what’s more important: regardless of the color or the specific name, all visible mold should be treated as a potential health risk. Any type of mold can trigger allergies, worsen asthma, or cause other respiratory problems, especially for sensitive people. The safest and most practical approach is to focus on getting rid of it quickly and safely, not getting hung up on its exact identity.
How Can I Tell If Mold Is Behind My Walls?
Sometimes, the biggest mold problems are the ones you can't even see. Hidden mold is incredibly common, especially after a sneaky leak or in homes with ongoing humidity issues.
There are a few tell-tale signs that point to a hidden mold colony:
- That Persistent Musty Smell: If a room constantly has an earthy or damp odor but you can't find any visible mold, trust your nose. It’s one of the best mold detectors you have. That smell is a huge red flag that something is growing behind the scenes.
- Weird Wall Discoloration or Damage: Keep an eye out for faint, yellowish stains on the drywall. You might also notice paint that's bubbling, peeling, or cracking for no obvious reason. If you press on the wall, it might even feel soft or spongy.
- Warped or Swollen Drywall: Moisture trapped behind the wall can cause the drywall to swell, bow, or warp.
If you suspect mold is hiding in your walls, resist the urge to start tearing things apart yourself. A professional inspector can use tools like moisture meters and thermal imaging cameras to pinpoint the source without causing a bigger mess. They can tell you exactly where the problem is so you can address it effectively.