That musty smell you noticed or that tiny water stain on the ceiling? They're often the first clues. So, what's really causing condensation in your attic?
At its core, it’s a simple clash between warm, moisture-packed air and a cold surface. Think about a glass of iced tea on a hot day—how it "sweats" as droplets form on the outside. Your attic is doing the exact same thing, just on a much bigger and more destructive scale.
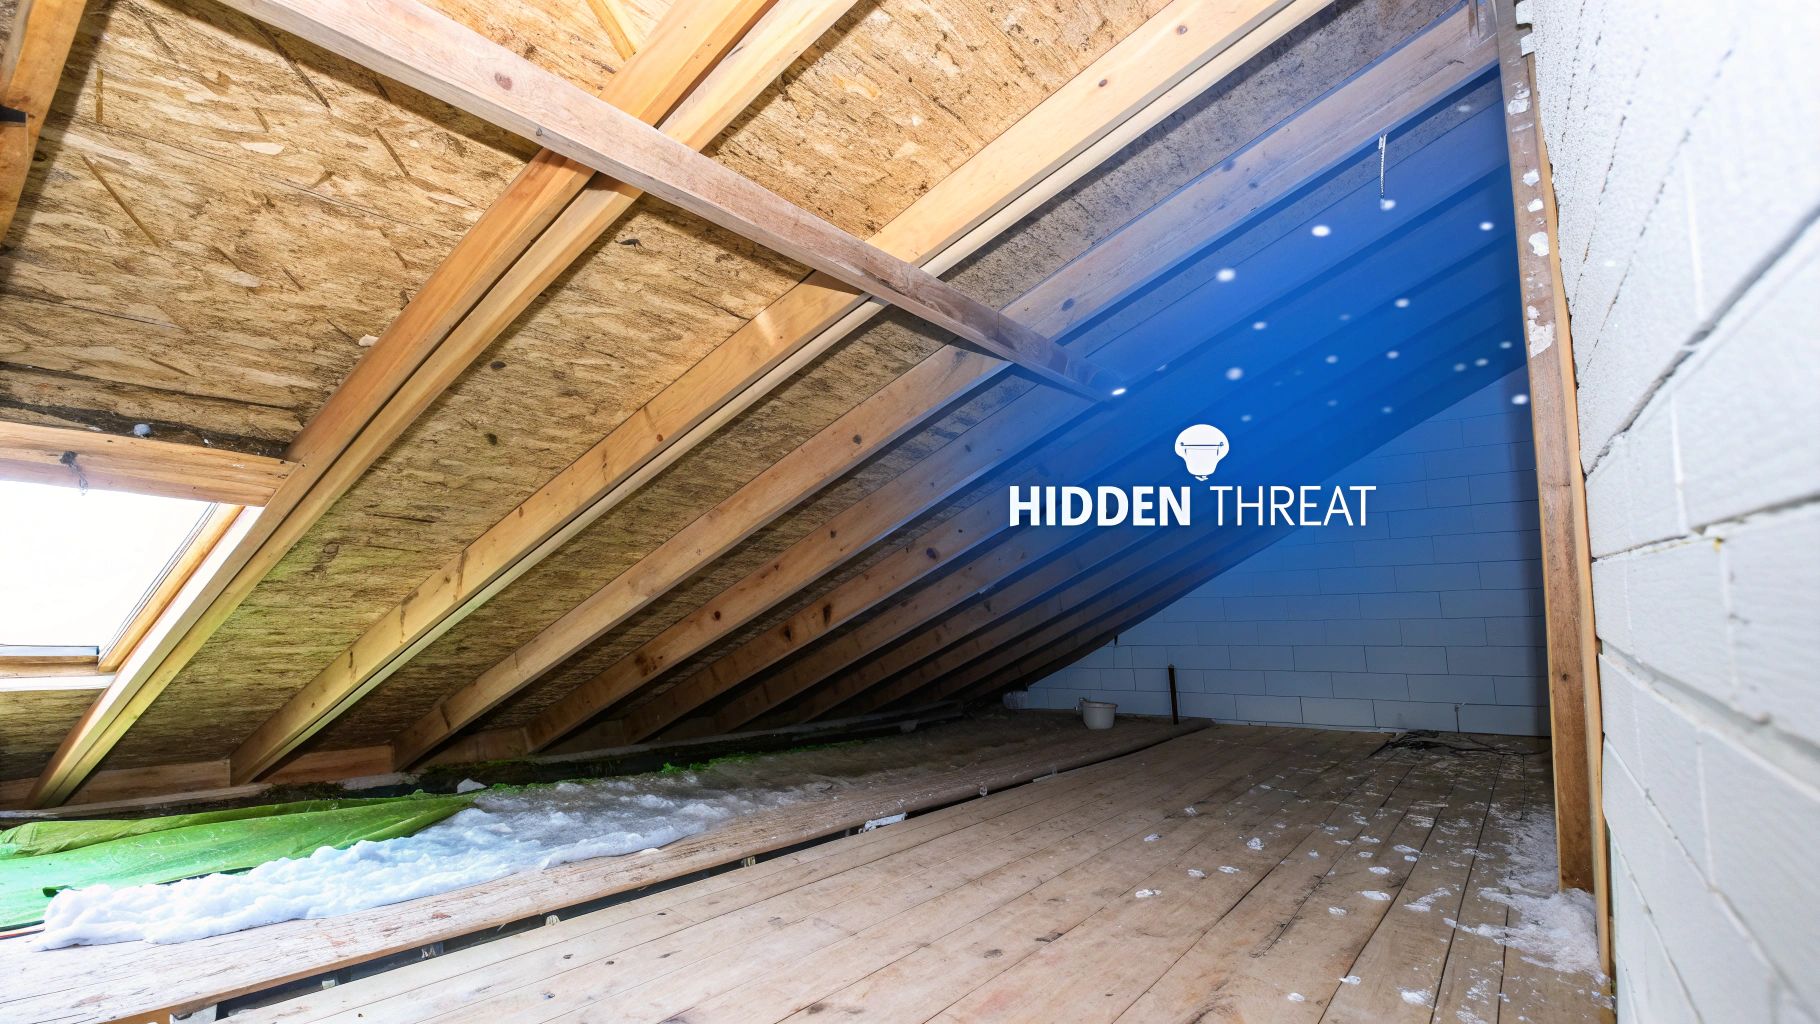
The Hidden Threat: Why Your Attic Is Sweating
That sweating glass perfectly illustrates a crucial concept called the dew point. It's the exact temperature where the air gets so saturated it can’t hold any more moisture, forcing that water vapor to turn back into liquid.
During the cooler months here on the coast, the warm, humid air from your living space—think showers, cooking, and even just breathing—rises into the attic. When it hits the cold underside of your roof sheathing, that surface is often below the dew point. The result? Condensation.
This process quietly transforms your attic from a dry, protective buffer into a damp, hazardous zone. Ignoring what seems like minor "attic sweat" can kick off a cascade of serious problems, threatening both your home's structure and your family's health.
The Dangers of Unchecked Condensation
Persistent moisture is an open invitation for trouble. The consequences are far more severe than just a few drips of water.
- Destructive Mold Growth: Dark, damp attics filled with organic materials like wood and paper-backed insulation are a paradise for mold. Once it takes hold, mold can spread through your home, wrecking your air quality. You can learn more about the potential health effects of household mold in our detailed guide.
- Structural Wood Rot: Constant moisture soaks into wooden rafters, trusses, and the roof sheathing itself. Over time, this leads to wood rot, which weakens the entire framework of your roof and can lead to incredibly expensive, complicated repairs.
- Compromised Insulation: Wet insulation is useless insulation. When materials like fiberglass or cellulose get damp, they compress and lose their thermal resistance (their R-value). This makes your HVAC system work overtime, driving your energy bills through the roof.
Your attic is designed to be a dry, well-ventilated space that acts as your home's first line of defense. When it starts holding moisture, it’s not just a minor issue—it's a sign that a fundamental part of your home's protective system is failing.
Understanding the root causes of attic condensation is the first step toward preventing these costly outcomes. This guide will walk you through how to identify moisture sources, spot the warning signs, and implement real solutions for a dry, healthy home.
How Humid Air Sneaks into Your Attic
The biggest culprit behind attic condensation is often the very air you're breathing inside your home. Everyday life—showering, boiling pasta, running the laundry, even just breathing—pumps a surprising amount of moisture into the air. In fact, an average family of four can generate two to four gallons of water vapor per day.
Physics takes it from there. This warm, moisture-heavy air is naturally buoyant, so it wants to rise. Think of it like smoke heading up a chimney; this process is called the stack effect. As this humid air travels upward through your house, it pushes relentlessly against your ceiling, searching for any possible escape route into the attic.
The Myth of a Sealed Ceiling
It’s easy to assume your ceiling is a solid, impenetrable barrier between your living space and the attic. The reality? It’s often more like a slice of Swiss cheese, riddled with small openings that create a direct pathway for humid air.
These gaps and cracks are the superhighways for moisture, and they're usually hidden in plain sight.
- Around light fixtures: Recessed can lights are notorious for leaving gaps that allow a ton of air to pass through.
- Plumbing and wiring penetrations: The holes drilled for pipes and electrical wires are almost never perfectly sealed.
- Attic access hatches: A poorly sealed attic door or hatch is like leaving a massive window wide open for air to pour through.
- Wall and ceiling joints: Even the tiny gaps where interior walls meet the ceiling can act as an easy escape route for air.
A bunch of these small, seemingly harmless leaks can add up, creating the equivalent of leaving a window cracked open all winter long. You’re essentially feeding a constant stream of warm, damp air directly into your cold attic.
Your Home’s Protective Air Barrier
To really get why these leaks are such a big deal, think of your ceiling as your home’s air barrier. Its entire job is to create a complete seal, separating the warm, conditioned air in your living space from the cold, raw air in the attic. When that barrier is compromised, it fails at its most critical task.
During the cooler months, this problem gets even worse. The pressure difference between your warm house and the cold outdoors intensifies the upward air movement. Warm indoor air is actively forced through those ceiling gaps into the much colder attic, where it instantly hits surfaces that are below the dew point—like the underside of your roof sheathing. That’s the moment condensation is born.
This isn’t just a theory; research from the Building America Solution Center confirms air leakage is a primary driver of moisture problems in attics. Warm air’s natural tendency to rise gets the process started, but things like wind or an unbalanced ventilation system can amplify the pressure, forcing even more humid air where it doesn’t belong.
One of the single biggest culprits for air leakage is an unsealed attic hatch. Simply adding a weatherstripping seal around the hatch can make a huge difference in stopping warm, humid air from flooding your attic.
Ultimately, preventing attic condensation comes down to controlling where your home's moisture goes. If your indoor humidity is high and your air barrier is leaky, you’ve created the perfect storm for moisture damage right over your head. The first step is always managing moisture at the source, and you can get started by checking out our guide on effective humidity control in homes.
When Your Own Home’s Systems Turn Against You
While humid air sneaking up from your living space is a huge factor in attic condensation, sometimes the problem is much closer to home. In fact, the very systems designed to keep your house running smoothly—ventilation, exhaust fans, and HVAC—can become the source of your moisture nightmare.
When these systems are installed poorly or simply break down, they can pump gallons of water vapor right where you don't want it. It's an often-overlooked issue, but a critical one.
Let’s break down the two most common culprits: failed ventilation and misdirected exhaust. Understanding how these systems can go wrong is the key to figuring out what's really happening up there.
The Problem of Trapped Air and Failed Ventilation
Proper attic ventilation is all about airflow. Think of it like cracking a window in a steamy bathroom—it gives all that humid air an easy escape route. Soffit vents under the eaves are designed to pull in cool, dry air, while ridge or gable vents up top push out the warm, moist air. Simple, right?
But this delicate balance is surprisingly easy to disrupt.
- Blocked Soffit Vents: Insulation often gets shoved into the eaves during installation, completely blocking the intake vents. No fresh air coming in means your attic becomes a stagnant, dead-air zone.
- Insufficient Exhaust Vents: Your home might have plenty of intake vents but not nearly enough exhaust vents at the roof’s peak. This creates a bottleneck, trapping rising heat and moisture with nowhere to go.
- Broken Attic Fans: Powered attic fans are great when they work. But if the motor dies or the thermostat gives out, that critical part of your ventilation system shuts down completely.
When any of these components fail, the result is always the same. Moist air rises from your home, gets trapped against the cold roof sheathing, and condenses. It then drips down, soaking your insulation and the wooden frame of your house.
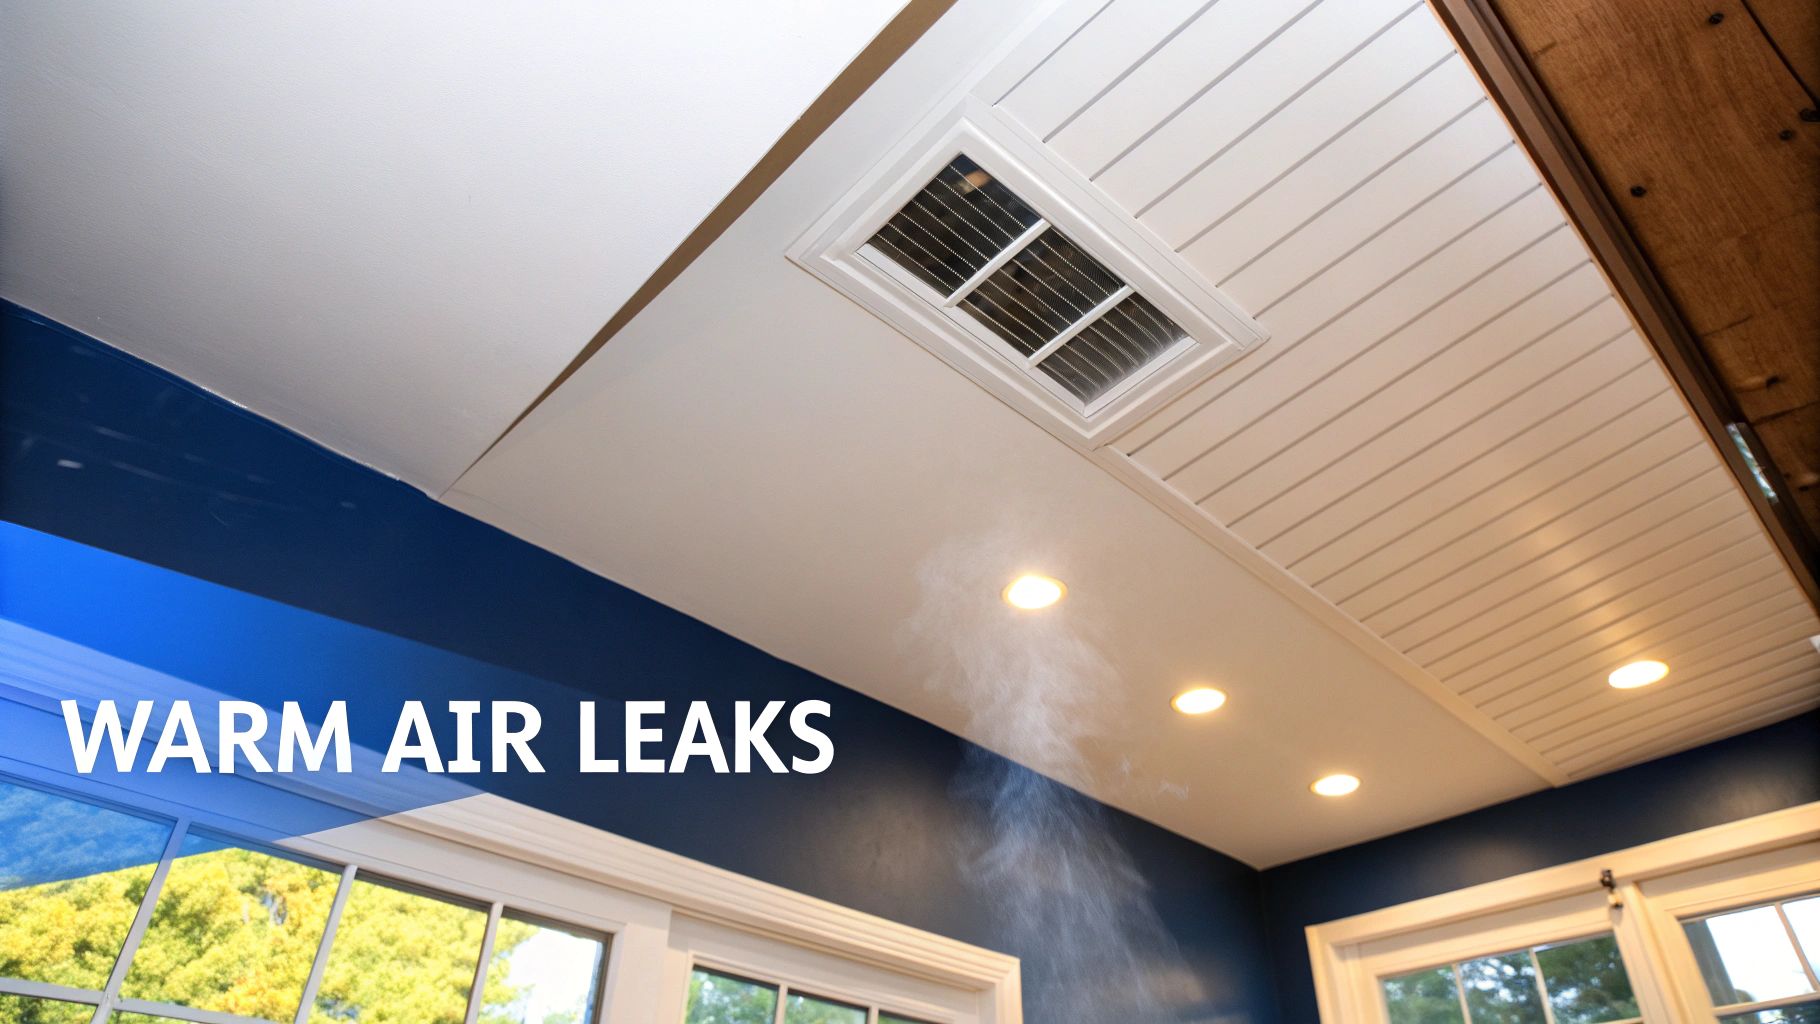
When Exhaust Vents Become Moisture Pumps
This next one is a huge—and shockingly common—issue: improperly routed exhaust fans. Your bathroom fans and clothes dryer are built to blast huge amounts of hot, humid air out of your home. When installed correctly, they vent that air straight outside through a dedicated duct.
Unfortunately, it’s a frequent shortcut for installers to just terminate those vents right inside the attic. This is a catastrophic mistake.
Venting a bathroom fan into the attic is like aiming a firehose of steam directly at the underside of your cold roof. A single hot shower can release over a pint of water vapor, which will condense almost instantly in a cool attic space.
A dryer vent terminating in an attic is even worse. It pumps out fine, flammable lint particles along with all that moisture. This doesn't just create a severe condensation problem; it poses a very real fire hazard.
This is one of the easiest issues to spot and one of the most important to fix. A quick peek in your attic can tell you if your exhaust ducts run all the way through the roof or if they stop short, dumping moisture right where it can do the most damage.
Leaky HVAC Ducts and Our Coastal Climate
If your HVAC system or ductwork runs through the attic, there’s another hidden moisture source to watch out for. Leaky ducts can contribute to condensation in a less obvious but equally damaging way, especially in coastal climates like Santa Barbara and Ventura.
When cold, conditioned air escapes from poorly sealed ducts, it chills the outer surface of the ductwork. In a humid attic, these cold spots act like magnets for moisture, causing condensation to form directly on them.
This is a big deal in our hot, humid climate where attic dew points are high. Research from the Air Infiltration and Ventilation Centre confirms that cold air leaking from ducts creates surfaces that attract condensation. One study of 160 homes found that, on average, supply duct leakage was 5% of the total HVAC airflow.
For homeowners in Santa Barbara, where average humidity often hovers around 70-80%, this is a critical concern. If you’re thinking about buying a property in the area, be sure to review these crucial home inspection tips for buyers to learn how to spot potential issues like this early on.
The Unique Challenge of Coastal Climates
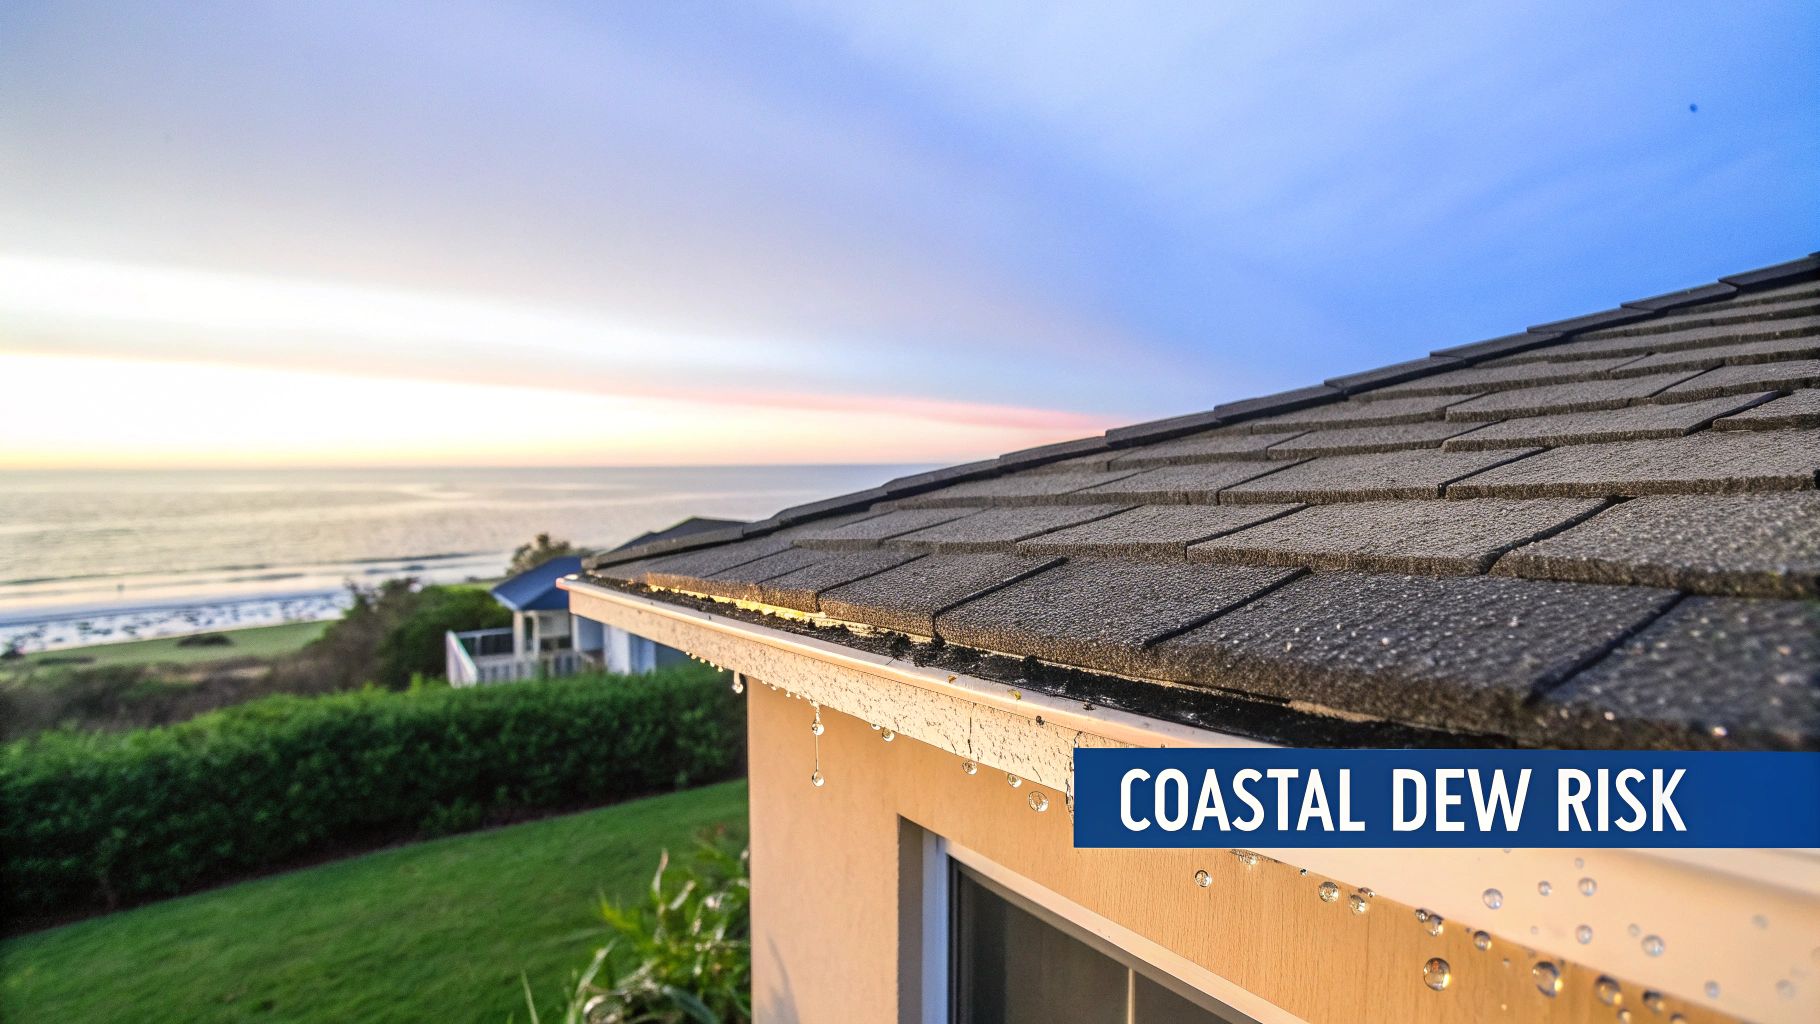
If you live in a coastal community like Santa Barbara or Ventura, you know the climate has its own set of rules. When it comes to attic condensation, what’s happening inside your house is only half the story. There's a powerful force at play right outside your door—one that can create attic moisture even if you’ve done everything right.
This phenomenon is called night sky radiation. Think about why your car's windshield is often soaked with dew on a clear morning, even when it hasn't rained. Your roof does the exact same thing.
Throughout the night, your roof beams its stored heat out into the cold, clear sky. This process is surprisingly efficient, causing the roof's surface to become much colder than the air around it.
When Fog Meets a Cold Roof
In a humid coastal area defined by its marine layer and frequent fog, that super-cooled roof surface becomes a magnet for moisture. As the damp, foggy air drifts over your home, the sheathing's temperature can easily drop below the dew point.
When that happens, moisture from the outside air condenses directly onto the underside of your roof sheathing. This is a critical point because it shows that attic moisture isn’t always an internal problem. Your attic can be perfectly sealed and ventilated, yet still "sweat" from these external climate conditions.
This is especially common during our region's foggy mornings. Roof sheathing temperatures can plummet to 40-50°F, while the dew point of the humid air is closer to 55°F. The moment that damp air touches the colder surface, condensation is inevitable.
For coastal homes, the attic becomes a battleground between indoor moisture trying to get out and outdoor moisture trying to get in. Night sky radiation means your attic can develop condensation issues even if you've done everything right inside your home.
The Science Behind Coastal Condensation
This isn't just a local quirk; it's a well-documented issue in marine climates. Research on wood-frame attics has confirmed that even with perfect ventilation and no leaks, roof sheathing temperatures can drop dramatically overnight from this radiative cooling. This process can accumulate enough moisture to keep the relative humidity inside the attic at 90-96%—the perfect breeding ground for mold.
This unique challenge makes it even more vital to understand every potential moisture source. While controlling indoor humidity is essential, coastal residents have to be aware of what the ocean air is doing, too. Getting a handle on these issues is the first step in learning how to prevent mold growth in our unique environment.
How to Spot and Diagnose Hidden Attic Damage
Knowing what causes attic condensation is one thing, but finding the damage it leaves behind is the real challenge. Condensation is a stealthy problem that loves to work out of sight, so you need to become a bit of a moisture detective in your own home. The good news? The evidence is always there if you know where to look.
Your investigation can actually start right in your living space. The most obvious clues often appear on the ceilings of your top floor, directly below the attic. Keep an eye out for yellowish or brownish water stains, paint that’s starting to peel or bubble, or drywall that looks a little saggy.
A persistent musty odor that you can't trace anywhere else is another huge red flag that moisture is brewing overhead.
Your Visual Inspection Checklist
To find direct evidence of condensation, you’ll need to safely get into your attic. Once you're up there, grab a good flashlight and start looking for the more subtle signs that professionals are trained to spot. These clues tell a story about where moisture is forming and how bad the problem has gotten.
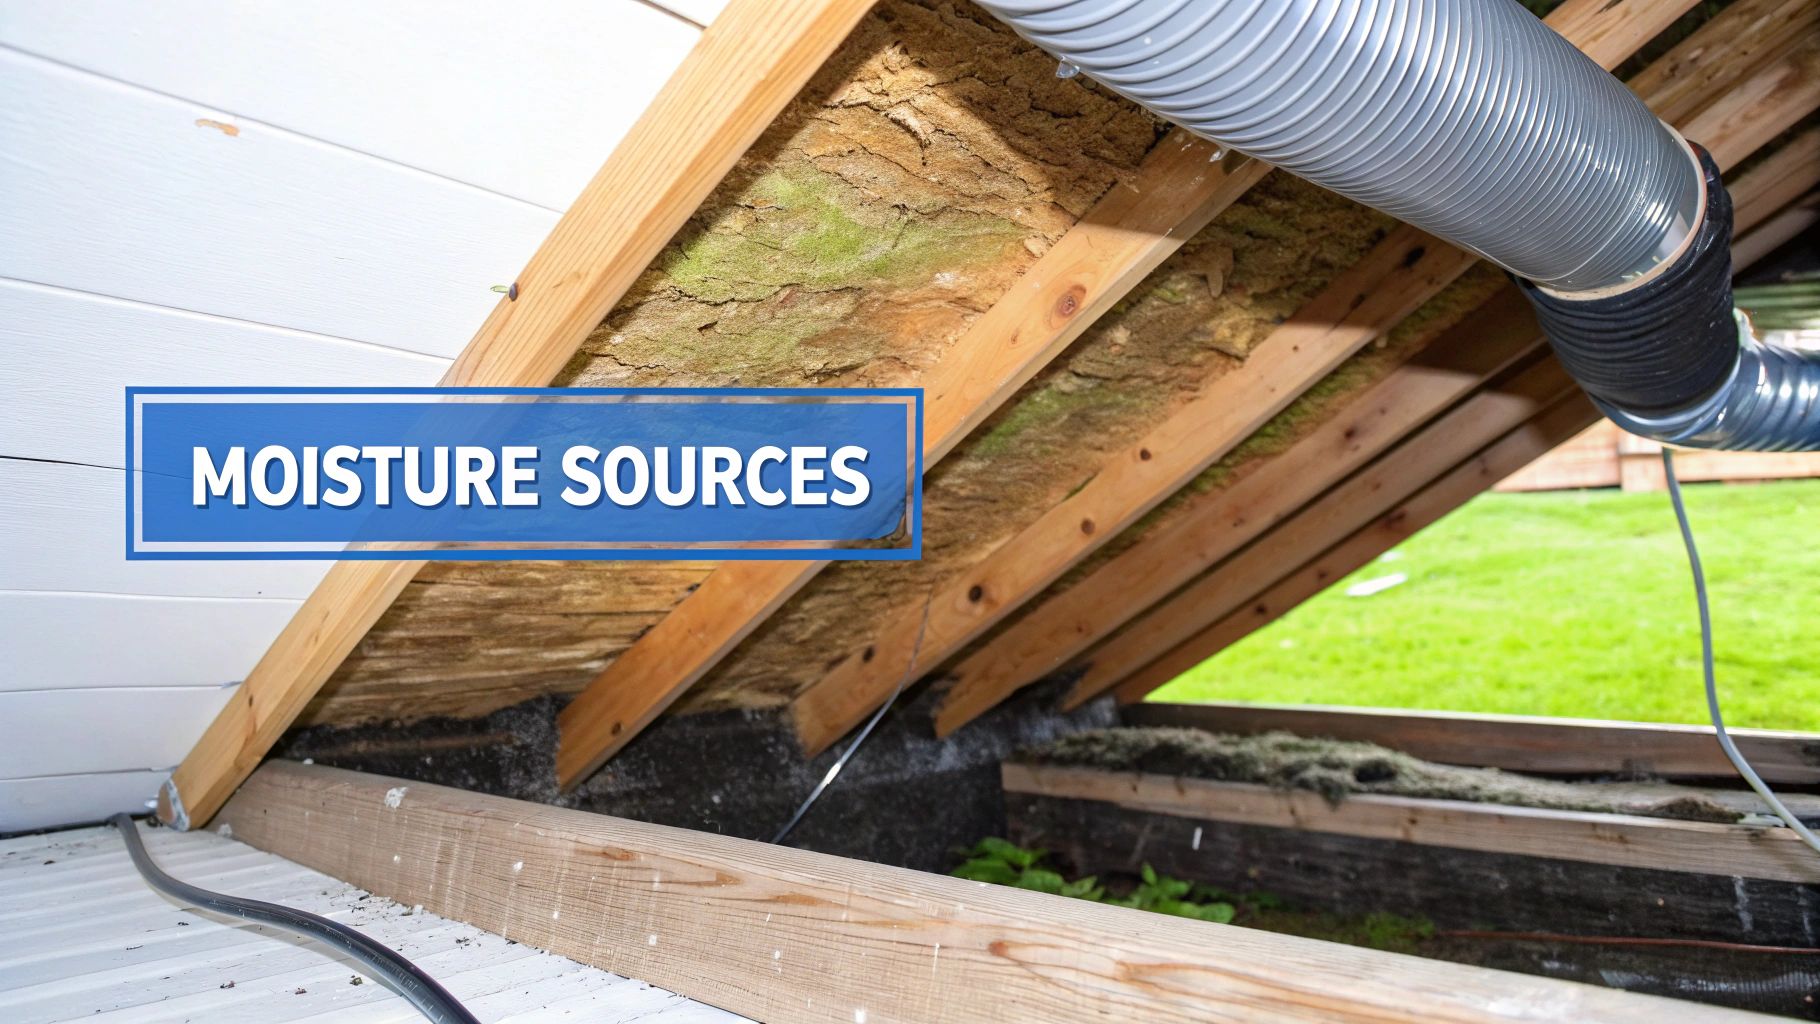
- Dark Stains on Wood: Check the underside of the roof sheathing (the plywood) and the rafters. Dark, blackish stains are a dead giveaway that the wood has been repeatedly soaked and is a prime spot for mold to take hold.
- Rusted Nail Heads: Look at the tips of the nails poking through the roof sheathing. If they're covered in rust, it’s a telltale sign that condensation has been forming on these cold metal points and dripping down onto your insulation.
- Matted or Damp Insulation: Insulation is supposed to be fluffy and dry. If it looks compressed, clumpy, or feels damp to the touch, it has lost its insulating power and is now just holding moisture right up against your ceiling joists.
Professional Diagnostic Tools
While a visual check is a great start, a true diagnosis often requires specialized equipment to uncover what’s really going on behind the scenes. Certified inspectors use advanced tools to move beyond guesswork, pinpointing the exact source and extent of the moisture. This scientific approach is the only way to create a remediation plan that actually works.
A professional inspection isn't just about finding mold; it's about finding the reason for the mold. Without diagnosing the root cause—be it an air leak, a ventilation failure, or a misdirected fan—any cleanup effort is just a temporary fix.
It's helpful to see what a homeowner can reasonably check versus what a professional brings to the table.
DIY Checks vs Professional Attic Diagnostics
| Inspection Method | DIY Homeowner Check | Pacific Mold Pros Professional Assessment |
|---|---|---|
| Visual Inspection | Look for obvious stains, rust, and matted insulation with a flashlight. | Trained eye identifies subtle patterns of moisture, air movement, and early-stage microbial growth. |
| Moisture Mapping | Touch insulation to feel for dampness. | Use professional-grade moisture meters to map hidden moisture levels in wood and drywall, tracing it to the source. |
| Thermal Imaging | Notice cold drafts or feel cold spots on the ceiling. | Use an infrared camera to "see" temperature differences, instantly revealing missing insulation, air leaks, and active condensation zones. |
| Sampling | Can use a DIY test kit, but results are often unreliable and lack context. | Collect targeted air and surface samples for accredited lab analysis to identify mold types and spore concentrations. |
This comparison shows how professional tools provide the data needed for a definitive diagnosis, taking all the guesswork out of the equation. Three key technologies give us the full picture:
- Moisture Mapping: Inspectors use professional-grade moisture meters to take readings across wood, drywall, and insulation. This creates a "map" of moisture content, revealing hidden damp spots invisible to the naked eye and tracking the water back to its origin.
- Thermal Imaging: An infrared camera is an inspector's best friend. It detects temperature differences on surfaces, making it easy to spot missing insulation, find hidden air leaks from your living space, and identify cold spots where condensation is actively forming. Learning more about our infrared thermography inspection services shows just how powerful this tool is for finding hidden problems.
- Air and Surface Sampling: When mold is suspected, we may collect samples from the air or directly from stained surfaces. These are sent to an accredited lab for analysis to identify the type and concentration of mold spores, confirming the severity of the contamination and guiding the remediation strategy.
Your Action Plan for a Dry and Healthy Attic
Alright, you understand what’s causing the condensation. Now it's time to roll up your sleeves. Kicking moisture out of your attic for good often starts with a few simple fixes you can probably handle yourself this weekend. These small steps can make a huge difference by cutting off the most common moisture sources at the pass.
Think of it as first aid for your attic. Before you bring in a specialist, a quick look around can reveal some glaringly obvious problems that are feeding your condensation issues. By tackling this low-hanging fruit, you can immediately start to dry things out and see if a simple solution is all it takes.
Easy DIY Fixes to Get You Started
You don’t need to be a contractor to spot and solve some of the biggest culprits. All you need is a flashlight and a ladder to check for these common offenders.
- Confirm Exhaust Vents Actually Go Outside: This is a big one. Check your bathroom fans and dryer vent. Do those flexible ducts just end in the middle of your attic, or do they run all the way through the roof or an exterior wall? If they stop short, they’re pumping gallons of moisture right where you don’t want it. This is priority number one.
- Clear Your Soffit Vents: Take a look at the eaves, right where your roof meets the walls. Insulation often gets stuffed into these corners, completely blocking the soffit vents designed to pull in cool, dry air. Gently pull any insulation back so there’s a clear channel for air to flow.
- Seal Obvious Air Leaks: The biggest air highways are usually easy to spot. Grab some caulk or weatherstripping and create an airtight seal around your attic hatch or pull-down stairs. While you’re at it, use a fire-rated caulk to seal any visible gaps around plumbing pipes, electrical wires, or light fixtures punching through the ceiling.
A poorly sealed attic hatch is like leaving a window wide open all winter. The stack effect will just keep pushing warm, moist air from your living space directly into the cold attic, creating a non-stop condensation machine.
When to Call in a Professional
While these DIY fixes are a fantastic starting point, some situations really demand an expert eye. Trying to tackle complex issues on your own can be a waste of time or, even worse, make the problem bigger. Calling a certified inspector isn't giving up; it’s making a smart investment in getting it right the first time.
You should bring in a pro if you run into any of these scenarios:
- Widespread or Visible Mold: If you see significant dark staining or fuzzy growth on the wood, it’s time to stop. A professional needs to figure out how far it has spread and what type of mold you’re dealing with.
- Saturated or Damaged Insulation: Found large areas where your insulation is wet, compressed, or ruined? A specialist needs to find the source of that much moisture before you even think about replacing it.
- Complex Ventilation or HVAC Issues: If your attic has a tricky roofline, just doesn't seem to have enough vents, or is a jungle of HVAC ductwork, a professional can use tools like thermal imaging to pinpoint exactly where the system is failing.
A professional assessment gives you a clear, unbiased roadmap. Here at Pacific Mold Pros, our only goal is to provide an accurate diagnosis that saves you time, money, and headaches down the road. By identifying the true cause of the condensation, we make sure you invest in the right repair, protecting your Santa Barbara or Ventura home and your peace of mind.
Common Questions About Attic Condensation
If you still have questions, you're not alone. Homeowners often run into the same handful of confusing situations when it comes to attic moisture. Let’s clear up some of the most common ones we hear.
Can Attic Condensation Happen in the Summer?
Yes, it absolutely can, especially here in coastal areas like Santa Barbara and Ventura. Summer condensation usually points to one culprit: your HVAC system.
When cold air from your AC leaks out of poorly sealed supply ducts in a hot attic, the outside of the ductwork gets chilled. If it gets cold enough, it can cause the warm, humid attic air to condense right on the ducts—they'll literally start to "sweat." This is why properly sealed and insulated ductwork is critical all year, not just in winter.
Is a Little Frost in the Attic Normal in Winter?
While a tiny bit of frost on the nail heads might not seem like a big deal, it’s never normal. Think of it as a flashing red light warning you that warm, moist air is escaping from your living space below and hitting the cold surfaces in your attic.
That frost is just frozen condensation. As soon as the sun hits the roof and the attic warms up, it melts and drips directly onto your insulation and the wooden structure of your home. This constant wetting and drying cycle is the perfect recipe for mold and wood rot. Any frost, no matter how small, means it's time to find and seal the air leak.
Will Adding More Insulation Fix My Condensation Problem?
No. In fact, this is one of the most common mistakes we see, and it almost always makes the problem much worse. Insulation is great at slowing down heat transfer, but it does absolutely nothing to stop air movement.
If you just pile more insulation on top of existing air leaks, that warm, humid air will still push its way into the attic. Now, with even more insulation, the attic space and roof deck get even colder, which can dramatically increase the amount of condensation forming.
The right order of operations is always: 1. Seal all air leaks, 2. Ensure your ventilation is working properly, and only then, 3. Add or upgrade insulation.
How Much Does a Professional Attic Inspection Cost?
The cost for a professional attic inspection really depends on the size of your home, how complex the issue is, and what kind of diagnostic tools are needed. It's best to think of it not as a cost, but as an investment in getting the right answer the first time.
An expert inspection from a certified company like Pacific Mold Pros gives you a definitive diagnosis of where the moisture is coming from and a clear, actionable plan to fix it. This keeps you from wasting time and money on solutions that don’t work and protects the long-term value of your home. The best way to get an accurate number is to call a local, certified inspector for a consultation tailored to your property.